
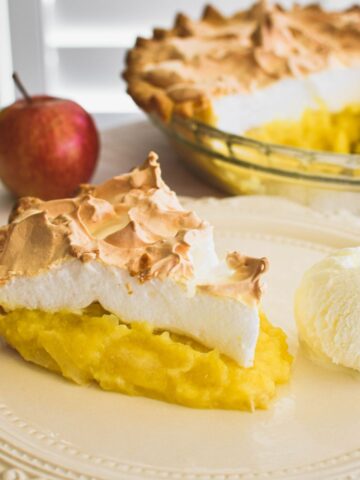
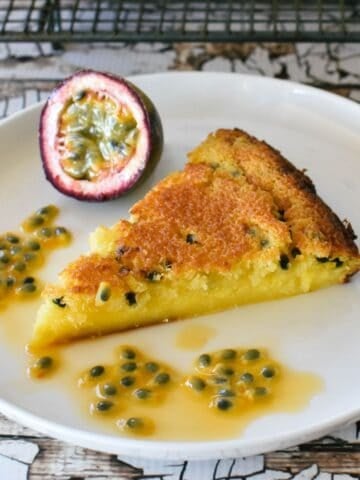
Tinned pineapple isn't the most glamorous of ingredients, but in this Pineapple Tart Recipe it is completely transformed. The pineapple filling is out of this world – a little bit custardy, a little bit tropical, a little bit old-fashioned and completely delicious. And the buttery tart shell and sweet meringue topping makes it all the more appealing.

Jump to:
Ingredient notes
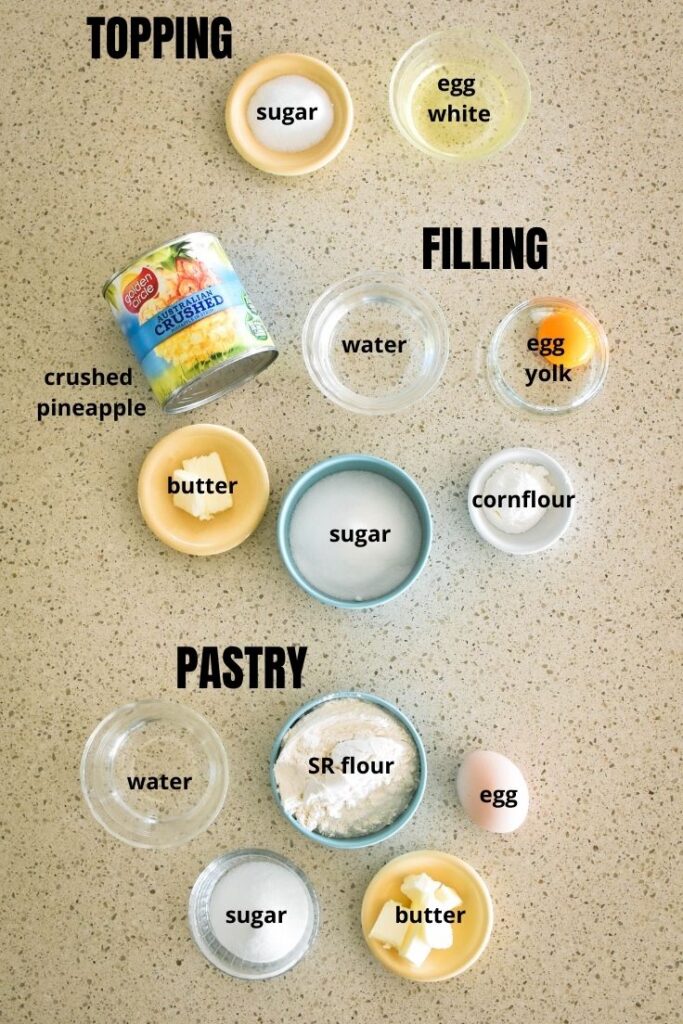
To make this amazing little tart, you may not need to look beyond your pantry and fridge. Here's what you'll need:
- canned crushed pineapple (in syrup) (you can also dice and crush a tin of pineapple thins)
- water
- sugar
- eggs
- butter
- cornflour (cornstarch)
- SR flour
- mint leave tips (optional, to garnish).
Tinned pineapple
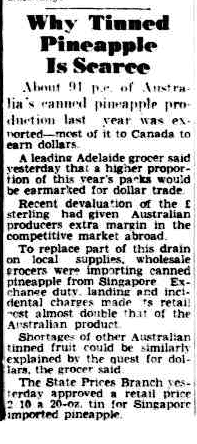
Tinned pineapple is truly the star of this dessert. It may seem rather pedestrian these days, and easily overlooked. However, it wasn't so easy to come by in days gone by.
In January 1950, Australian newspapers reported a tinned pineapple shortage. More than 90% of Australian tinned pineapple was being sold overseas thanks to a global financial situation which saw the devaluation of the sterling pound and Australian producers gaining a competitive advantage in the overseas market.
So, next time you walk down the supermarket aisle you might look at those rows of pineapple tins with a little more appreciation!
And if you're looking for more delicious recipes that use canned pineapple, check out these: Pineapple Balls, Pineapple Trifle, Boiled Pineapple Fruit Cake, Carrot Cake with pineapple and Sunshine Salad.
Making old fashioned Pineapple Tart
Start with the filling
The filling for this recipe is absolutely simple. It's simply a matter of combining the egg yolk, water and cornflour and then adding to the other ingredients in a saucepan.
Melt the butter and dissolve the sugar over medium heat before bringing the mixture to the boil.
Once the filling thickens – this should take about 5 minutes – you can set it aside to cool.
While the filling is cooling you can make the pastry tart shell.
Every time I make my own pastry I wonder why I bother with the bought varieties. You really cannot beat homemade pastry and it's simple to make.
It's messier than just taking a sheet out the freezer, I'll admit, but kitchens are made for mess.
Making the pastry tart shell
Tip: Of course you can substitute for the frozen variety if you're in a hurry or really don't care for pastry making.
If you're going for homemade, a handheld mixer is best to use here, since the quantities are a little small for a stand mixer.
Cream butter and sugar and then add the egg, beating again until well combined. Fold through flour and, if needed, water to form a dough. I usually need to add about 1 tablespoon of the water.
Knead the dough lightly on a floured surface to form a dough ball. Wrap in baking paper and place into fridge for half an hour.
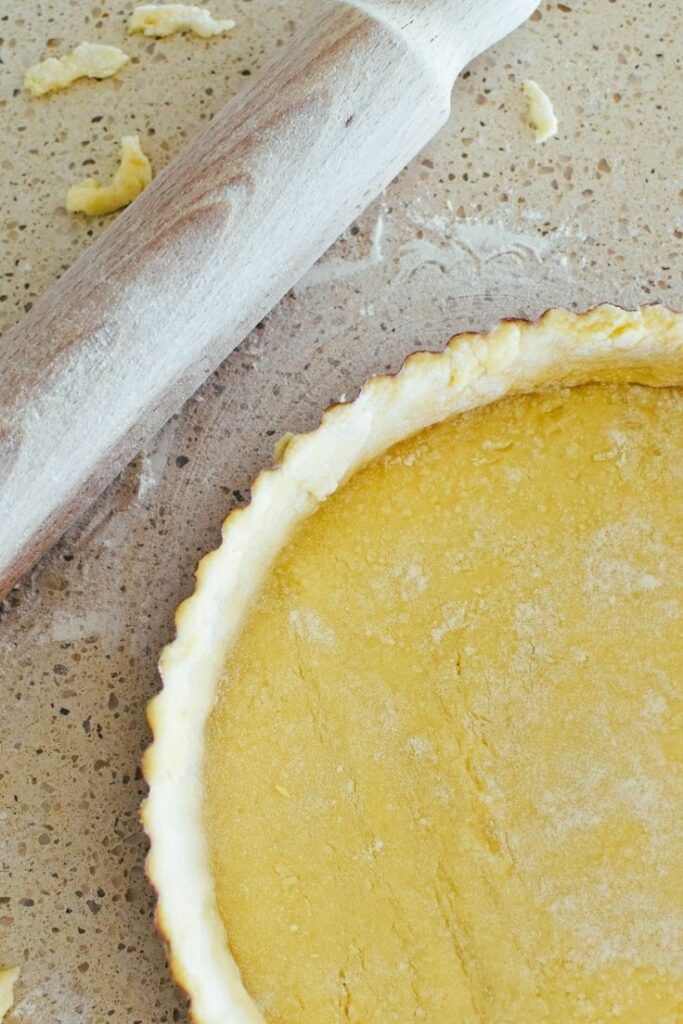
Once chilled, roll out the pastry on a floured surface to a circle large enough to cover the tart tin (approx 24.5cm x 3.5cm).
Using your rolling pin, roll dough onto pin and then gently unroll into ungreased tin.
Press pastry into tin, using any offcuts to patch any areas where the pastry doesn't cover the tin if necessary.
Place into fridge for 15 minutes.
Now you can pre-heat the oven to moderate (180 degrees celsius, fan-forced).
Remove tart tin from fridge and add baking paper and pie weights if you have them (or rice if you don't) to weigh down the dough.
Bake for 15-20 minutes, carefully removing the pie weights half way through the baking process.
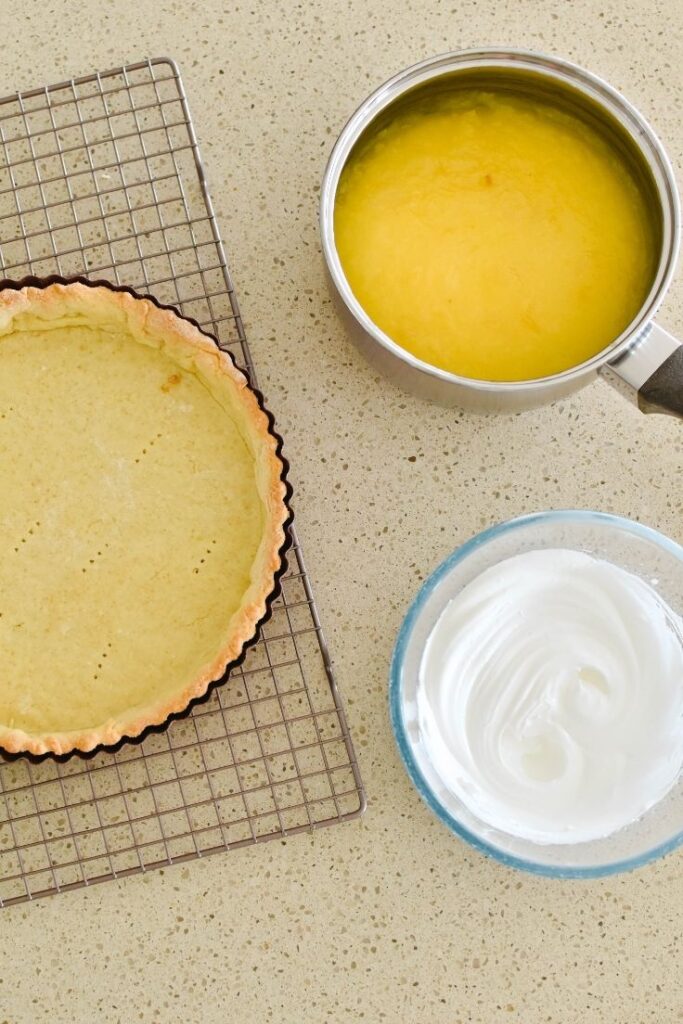
When cool, leave in the tin and pour cooled filling into pastry tart case.
Finally, you use the leftover egg white and a little sugar to create a meringue topping.
The meringue topping
Pre-heat the oven to moderate (180 degrees celsius, fan-forced).
Next, beat egg white until soft peaks form. Gradually add the sugar to egg white, beating well between each addition until mixture is thick and glossy.
Pipe or dollop mixture onto top of tart filling.
Turn oven down to 160 degrees celsius, fan-forced, and place into oven.
Bake for 10 minutes and then turn oven off. Leave tart in the oven for another 10 minutes before removing from the oven.
Allow to cool and sprinkle mint leave tips over tart. Store in fridge.
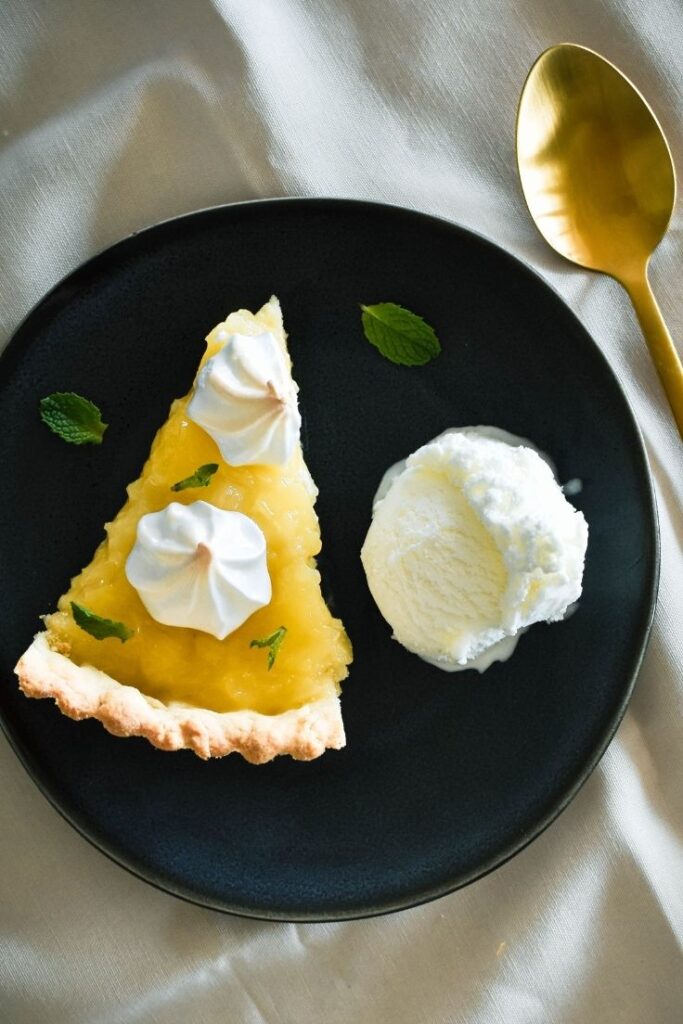
Enjoying your old fashioned Pineapple Tart
Serve with custard, cream or ice cream.
The tart should last a few days in the fridge.
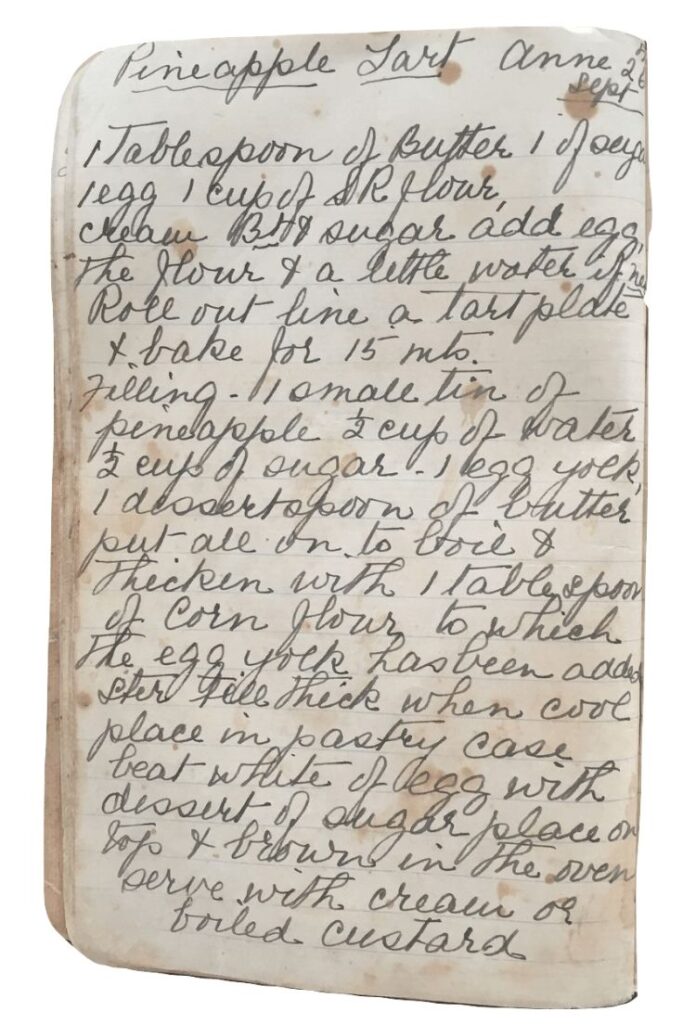
Nana Ling's original Pineapple Tart recipe
This recipe is based on another of Nana Ling's handwritten recipes from the late 1930s/early 1940s.
I've updated the original recipe so please keep scrolling to the recipe card below for the tested and tweaked version.
More perfect pies and tarts
Explore the entire pies and tarts recipe collection or jump straight to one of these favourites:
Made this recipe and love it? Please take a moment to rate the recipe and leave a comment below. It’s such a help to others who want to try the recipe. (And it really makes my day to hear how Nana Ling's recipes are being made, shared and loved all around the world! - Libby x)
For more fun and deliciousness in the kitchen, follow along on Facebook, TikTok and Pinterest, and subscribe for new posts via email.

Pineapple Tart Recipe
Equipment
- hand held mixer
- tart tin (approx 24.5cm x 3.5cm)
Ingredients
Filling
- 450 grams canned crushed pineapple (in syrup) (you can also dice and crush a tin of pineapple thins) Note that all of the contents of the can should be used - do NOT drain liquid before adding.
- ½ cup water
- ½ cup sugar
- 1 egg yolk
- 1 dessert spoon butter (10 grams)
- 1 tablespoon cornflour (cornstarch)
Pastry
- 1 tablespoon butter (20 grams)
- 1 ½ tablespoons sugar (30 grams)
- 1 egg
- 1 cup SR flour
- 1-2 tablespoons cold water
Topping
- 1 egg white
- 2 tablespoons sugar
- 1 tablespoon mint leave tips (optional, to garnish)
Instructions
Filling
- Whisk egg yolk, water and cornflour together.
- Put egg yolk, water and cornflour mixture along with all other filling ingredients into a saucepan. Stir over medium heat to dissolve sugar and melt butter. Bring to the boil, increasing heat if necessary.
- Boil, stirring, for 5 minutes or until thick. Set aside to cool.
Pastry
- Cream butter and sugar using a handheld mixer.
- Add egg and beat again until well combined.
- Fold through flour and , if needed, water to form a dough. (I usually need to add 1 tablespoon of the water).
- Knead lightly on a floured surface to form a dough ball. Wrap in baking paper and place into fridge for half an hour.
- Take pastry from fridge and roll out on a floured surface to a circle large enough to cover the tart tin (approx 24.5cm x 3.5cm). Using your rolling pin, roll dough onto pin and then gently unroll into ungreased tin. Press pastry into tin, using any offcuts to patch any areas where the pastry doesn't cover the tin if necessary. Place into fridge for 15 minutes.
- Pre-heat oven to moderate (180 degrees celsius, fan-forced).
- Remove tart tin from fridge and add baking paper and pie weights if you have them (or rice if you don't) to weigh down the dough. Bake for 15-20 minutes, carefully removing the pie weights half way through the baking process.
- When cool, leave in tin and pour cooled filling into pastry tart case.
Topping
- Pre-heat oven to moderate (180 degrees celsius, fan-forced).
- Beat egg white until soft peaks form.
- Gradually add sugar to egg white, beating well between each addition until mixture is thick and glossy.
- Pipe or dollop mixture onto top of tart filling.
- Turn oven down to 160 degrees celsius, fan-forced, and place into oven. Bake for 10 minutes and then turn oven off. Leave tart in the oven for another 10 minutes before removing from the oven.
- Allow to cool and sprinkle mint leave tips over tart. Store in fridge.
Notes
- Yes, you can substitute homemade pastry with store-bought frozen shortcrust pastry.
- The ingredients are pantry staples, and if you don't have canned crushed pineapple you can also dice and crush a tin of pineapple thins.


Sonia says
This sounds so delicious! Quick question: which type of tinned pineapple is best to use - syrup or juice? Thanks!
Libby Hakim says
Hi Sonia - good question! It's in syrup and I'll clarify that in the recipe. It is delicious - thanks and happy cooking 🙂
Guy says
What size should the tart tin be and should the pastry be blind baked. There looks to be a lot of filling and not much pastry. Should the tart tin be a deep one.
Is the tbsp an Australian 4tsp measure or the more common 3tsp measure thank you.
Libby says
Hi Guy. Sorry - this is one of the earlier recipes I created and I haven't managed to get back and update it yet. I intend to because it is a fantastic recipe and the filling is amazing. The tart tin is a standard one and yes I would blind bake it. It's the Australian 4tsp measure. Happy cooking!
Julie says
Do you add the juice from the can of crushed pineapple, or do you drain it ?
Libby says
Hi Julie - yes you add the contents of the tin, no need to drain. Thanks for asking. I'll edit now to clarify that in the method, too. Libby x
Deb says
Just want to thank you for this recipe I cook for the elderly and most pastries are too hard this base is perfect the base is softer and topping is great and they absolutely love it. I'm now making it once a week for them. I've even made it with fruit salad topping. Great recipe thanks again.
Libby says
Hi Deb. Thanks so much for taking the time to leave a comment. It made my day to hear this recipe is bringing more people happiness. And I love the idea of a fruit salad topping! Libby x