
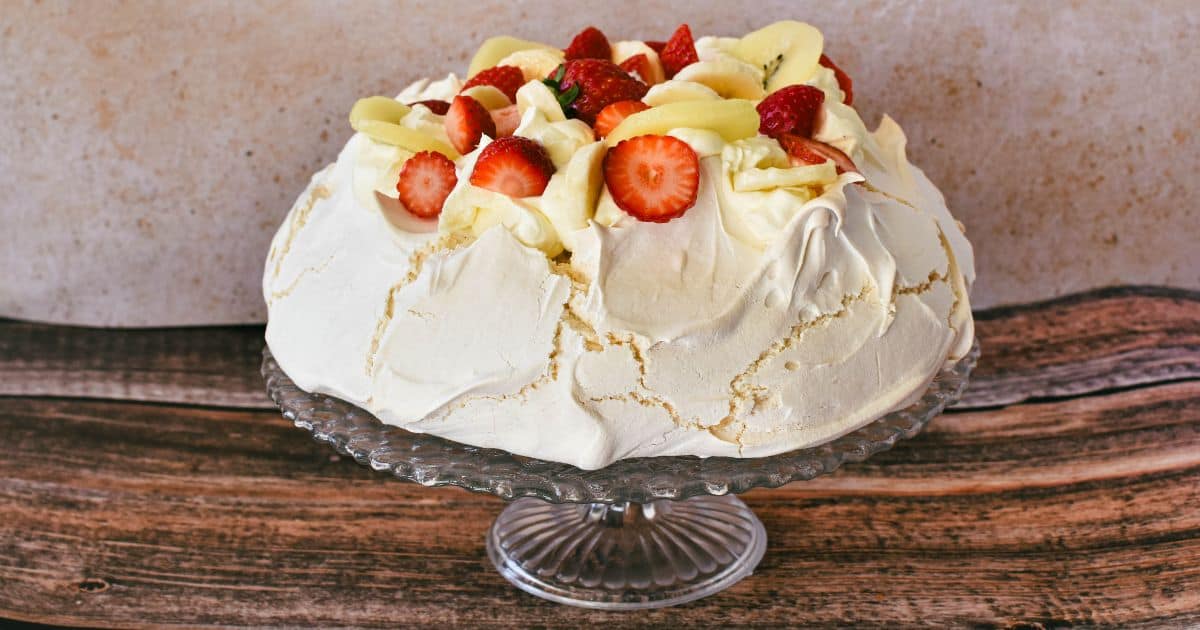
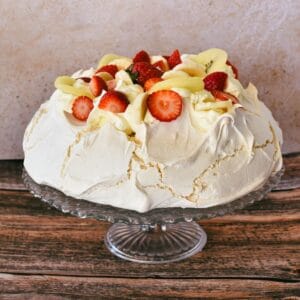
Fancy cutting out a couple of eggs and a couple of steps in the usual pavlova-making procedure? Then this 2-egg pavlova recipe might be the one for you! It creates a pavlova that's easily as large as a 4-egg pav.
I absolutely LOVE pavlova and am a bit of a purist when it comes to all things pav-related. My Nana Ling's traditional pavlova recipe is a beauty... in my book, it creates the perfect pavlova. However, I'm adding this recipe as it's also one worth adding to your recipe book. It's so handy if:
- you only have 2 eggs left
- you find the usual process tedious – the method is super simple, you just chuck all the ingredients in the bowl with this recipe and beat
- you love a very crisp and thick outer layer on your pavs.
Jump to:
The recipe
The original recipe is pictured below. However, keep scrolling for the recipe card at the end of this post – it's easier to read and contains more details and tips.
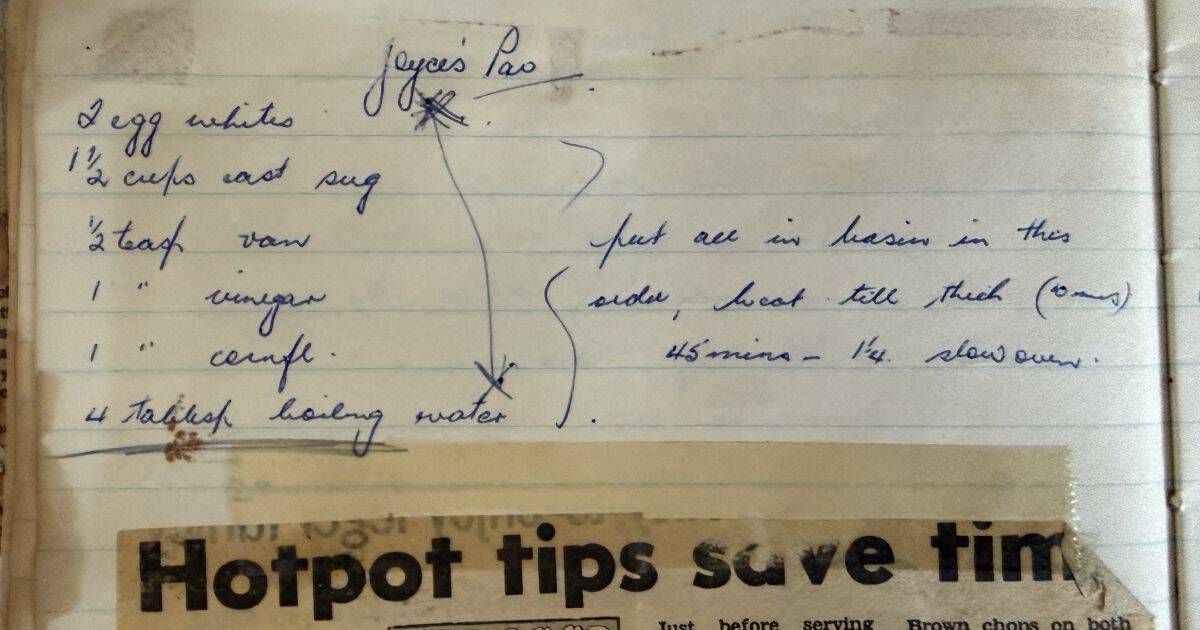
I found this recipe in a book of handwritten recipes and newspaper clippings. My mum bought the book at a garage sale and the book itself had belonged to one of her neighbours, Jean. It's found a great new home in the Cooking with Nana Ling kitchen. I've already found a few gems in this book that was clearly lovingly compiled over many years.
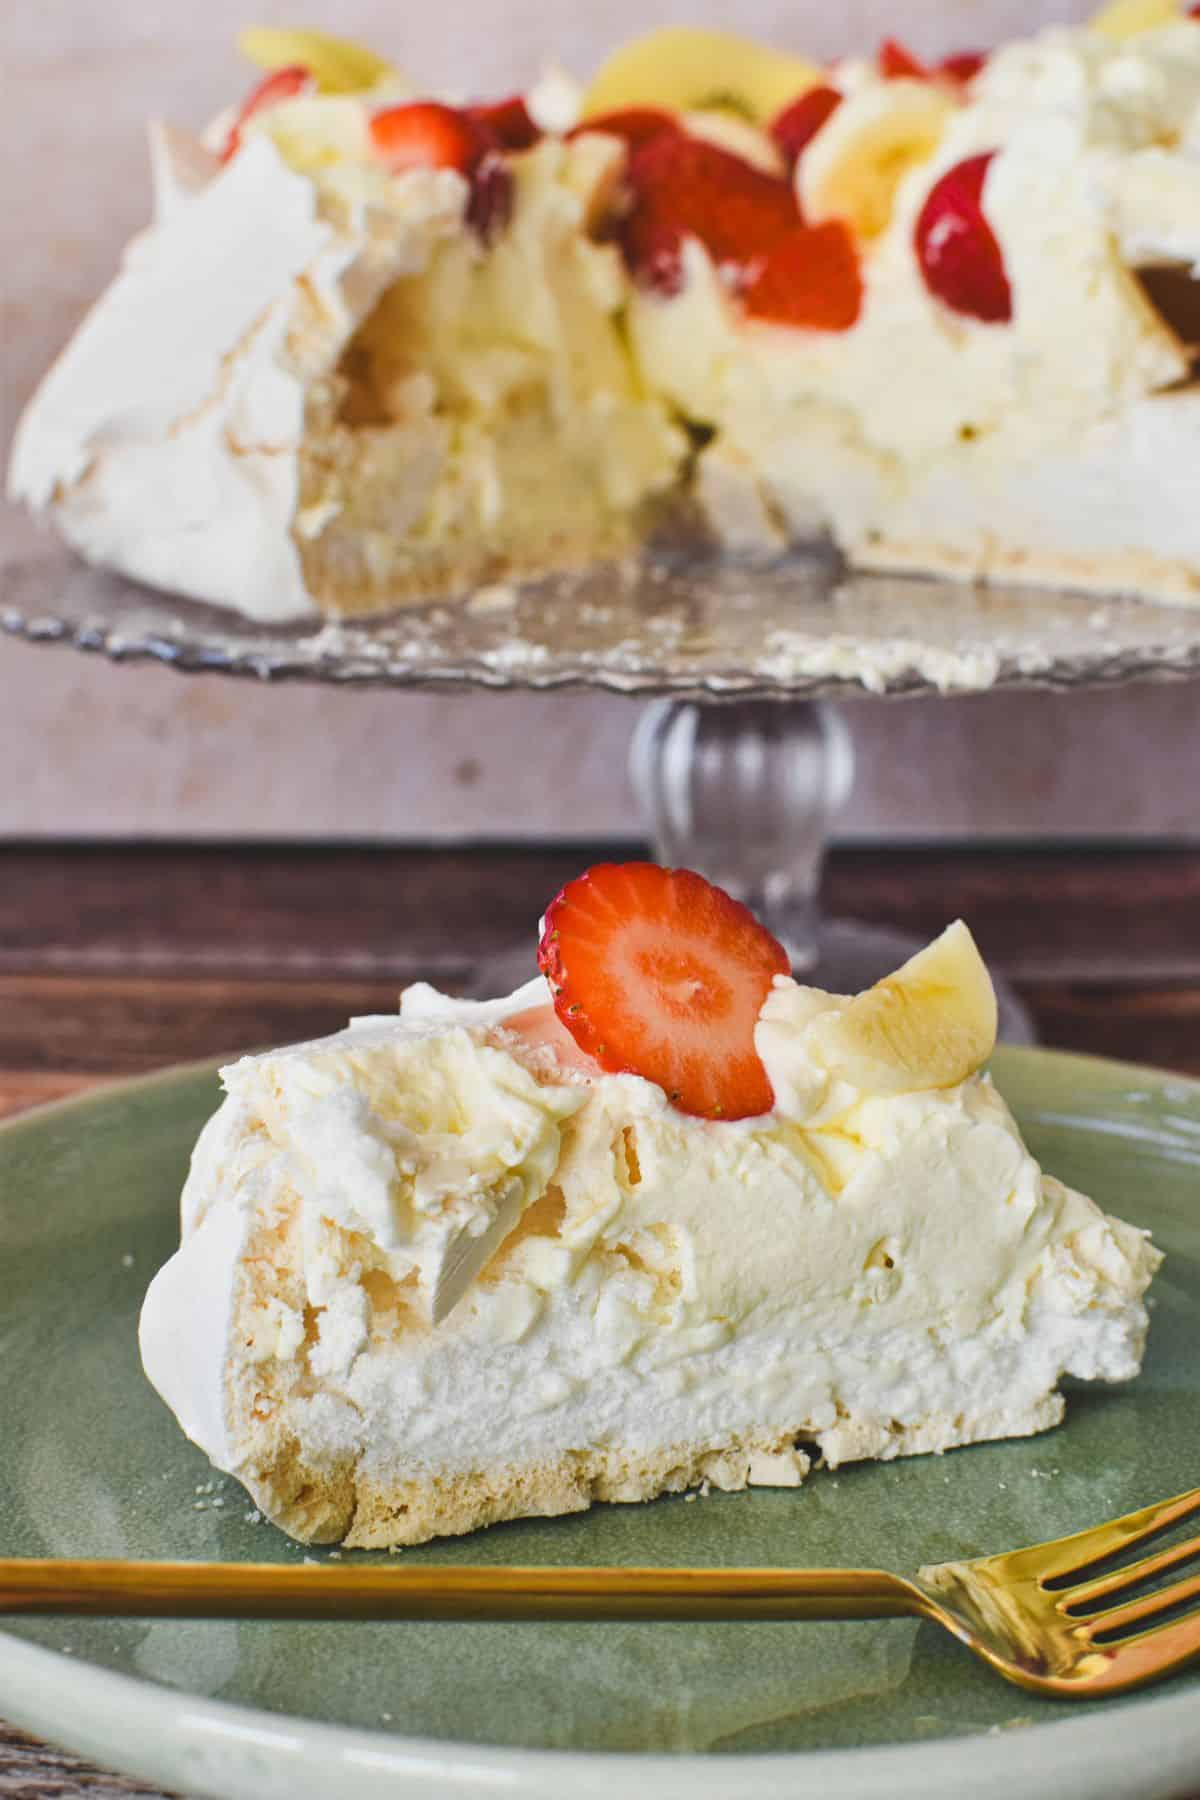
This recipe, which Jean calls "Joyce's Pav", immediately piqued my interest. Just 2 eggs? Adding boiling water? Placing all ingredients into the bowl at once? Would that even work? Yes, it does. It's a bit rougher looking, mine cracked a little, and doesn't slice up quite as nicely as your regular pav. But it's definitely a great-tasting dessert that is much easier and a little more affordable to make.
How to make a 2-egg pavlova
Like all pavlovas, this one needs to sit and cool slowly in the oven for at least 6 hours (preferably overnight). So, plan ahead!
You're also best to use egg whites at room temperature, so take the eggs from the fridge in advance.
Okay, let's go. Pre-heat the oven to 160 degrees celsius (320 degrees fahrenheit) and line a baking tray with baking paper.
TIP: A round pizza tray or bottom of a large round springform cake tin works well.
Next, add all ingredients to the bowl of a stand mixer. That's right, just put everything into the mixing bowl – no need to add sugar gradually or fold in the cornflour. Beat on medium speed for 1 minute. Increase the speed to high and beat for another 4 minutes or until mixture is thick and stiff.
TIP: I use 8 on my KitchenAid stand mixer for high speed.
Scrape the mixture out of the bowl and onto the prepared tray. Shape into a circle about 20cm in diameter using a spatula. Using the spatula, also flatten out the top of the pavlova and then brush up the sides of the pavlova on a slight inwards lean (say 20 degrees). This will create a slightly domed effect and slightly concave top which helps with stability.
Place the pavlova in the oven and cook for 5 minutes before turning oven heat down to 140 degrees celsius / 280 degrees fahrenheit (fan-forced) and cooking for another 60 minutes.
Okay, the next bit is important. Turn the oven off after cooking time elapses but DO NOT open the oven door. Leave the pavlova to cool in the oven for at least 6 hours, preferably overnight.
Serving and storage
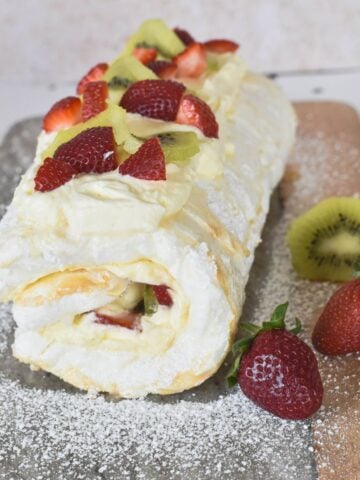
Once completely cool, remove from the oven and then decorate with thickened cream and sliced fruit before serving.
Store decorated pavlova in the fridge and enjoy leftovers the next day.
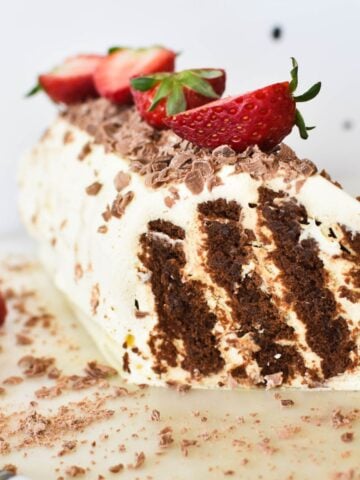
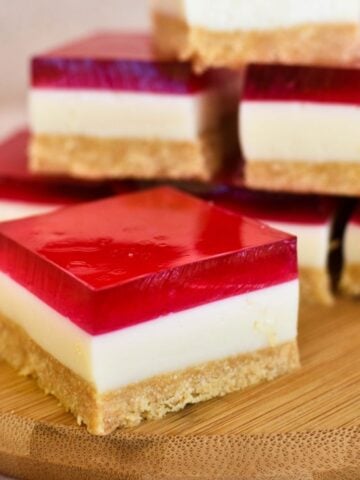
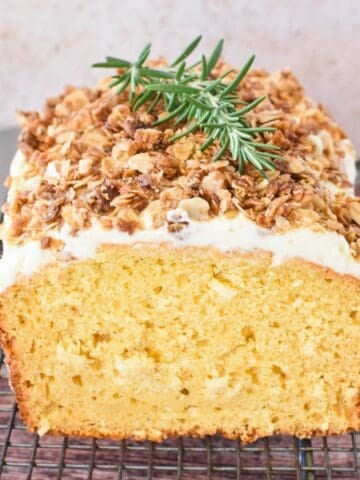
Other great Aussie desserts
Check out these other favourites:

Made this recipe and love it? Please take a moment to rate the recipe and leave a comment below. It’s such a help to others who want to try the recipe. (And it really makes my day to hear how Nana Ling's recipes are being made, shared and loved all around the world! - Libby x)
For more fun and deliciousness in the kitchen, follow along on Facebook, TikTok and Pinterest, and subscribe for new posts via email.
Easy 2-egg Pavlova Recipe
Equipment
- stand mixer (ideally, use a whisk attachment)
- baking tray (a round pizza tray or bottom of a round springform cake tin works well)
Ingredients
- 2 egg whites (60-70 gram eggs)
- 1 ½ cups caster sugar (1 ½ cups = 320 grams)
- ½ teaspoon vanilla
- 1 teaspoon white vinegar
- 1 teaspoon cornflour
- 4 tablespoons boiling water (4 tablespoons = 80ml)
- 300 ml thickened cream, whipped until thick (to decorate)
- sliced fruit (to decorate)
Instructions
- Pre-heat oven to 160 degrees celsius (320 degrees fahrenheit).
- Line baking tray with baking paper.
- Add all ingredients to the bowl of a stand mixer.
- Beat on medium speed for 1 minute. Increase speed to high (I use 8 on my KitchenAid stand mixer) and beat for another 4 minutes or until mixture is thick and stiff.
- Scrape the mixture out of bowl and onto the prepared tray. Shape into a circle about 20cm in diameter using a spatula. Using the spatula, flatten out the top of the pavlova and then brush up the sides of the pavlova on a slight inwards lean (say 20 degrees). This will create a slightly domed effect and slightly concave top.
- Place pavlova in oven and cook for 5 minutes before turning oven down to 140 degrees celsius / 280 degrees fahrenheit (fan-forced) and cooking for another 60 minutes.
- Turn oven off after cooking time elapses but DO NOT open the oven door. Leave the pavlova to cool in the oven for at least 8 hours, preferably overnight.
- Once completely cool, remove from the oven.
- Decorate with thickened cream and sliced fruit before serving.
Notes
-
- EGGS: separate whites from yolks while eggs are still cold (it's easier to ensure no yolk is in the whites) but leave whites out to come to room temperature before beating.
- REDUCING OVEN TEMP: There is a temperature drop during the cooking process, so make sure to set an alarm.
- BANANA: If adding sliced banana (it's a bit old-fashioned but my nan always added it and I still love it), squeeze a little lemon juice over to stop it going brown.

Leave a Reply