This Baked Mango Cheesecake is a triple-layered treat that uses three fresh mangoes.
This recipe can also be made up using frozen mango flesh, however it's at its best when mangoes are in season and you have that wonderful problem – surplus fresh mangoes.
To find success with this recipe, let's go through each of the layers before you get started.
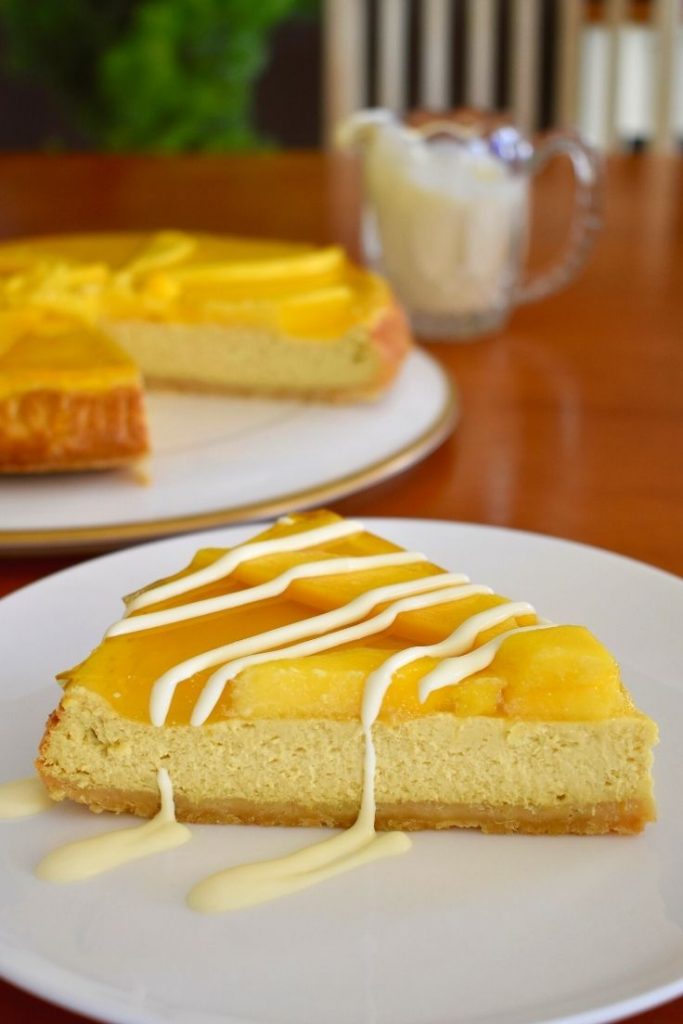
Layer 1: a Mango Cheesecake with a sweet biscuit base
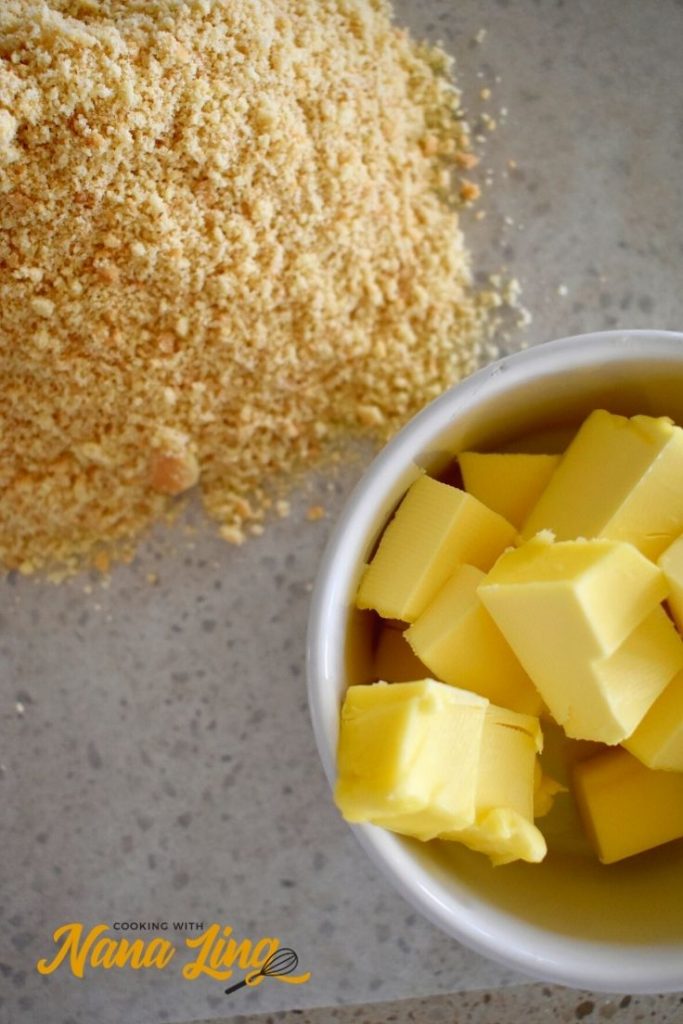
Like many cheesecakes, this one has a quick and easy biscuit base.
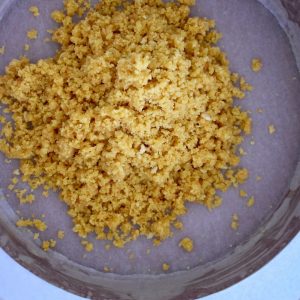
Simply blend the biscuits to a fine crumb and then mix in the melted butter.
Here, I've used Arnott's Scotch Fingers but any sweet biscuit will be fine.
Once combined, you press the mixture into a 22cm round springform cake tin that's been greased and lined with baking paper.
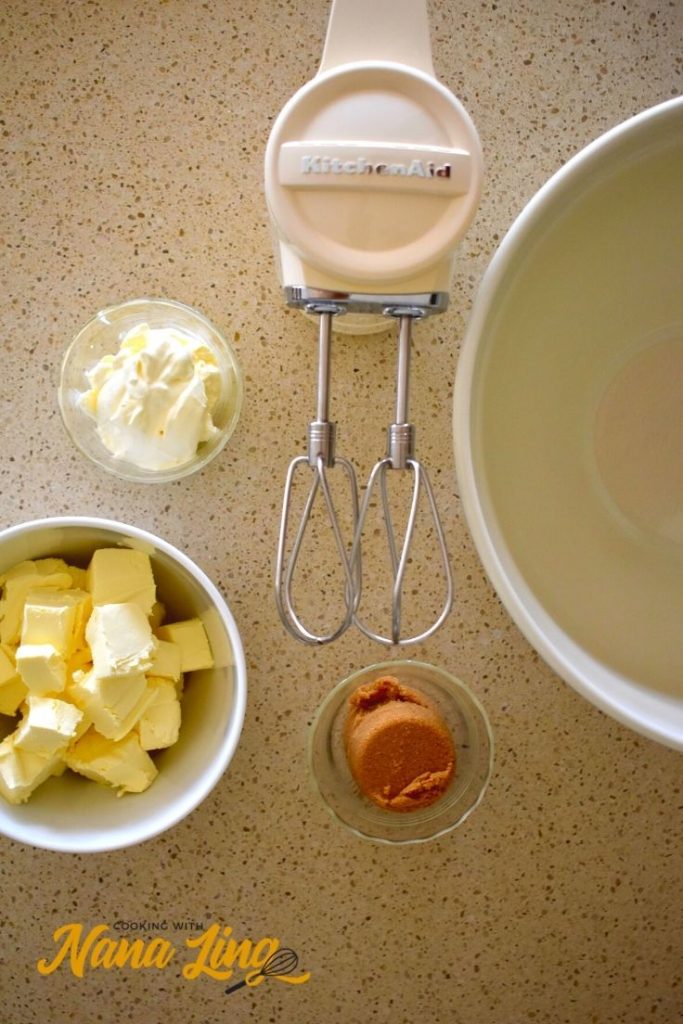
Layer 2: the (absolutely delicious) Mango Cheesecake filling
The cheesecake filling layer is packed with mango puree from two whole mangoes.
After mixing the cream cheese and sugar, you simply add the remaining ingredients – eggs, sour cream and mango puree – and beat again.
The key to success with this layer is:
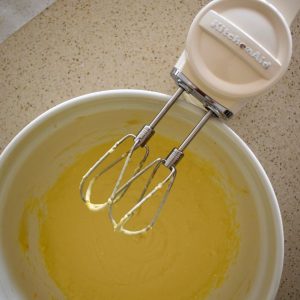
- making sure you don't overbeat the mixture – just beat enough on medium speed to make the mixture smooth
- using a water bath when baking (instructions below) to add moisture and prevent any cracking of your cheesecake.
Layer 3: the jelly layer (and more mango!)
You'll leave the cheesecake in the cake tin while you add the third layer.
As the cheesecake is cooking and cooling, make up a packet of mango jelly (with a little less water than the packet instructs – make sure you read the full recipe directions below).
When the jelly is half set, and the cheesecake is completely cool, you add the third layer.
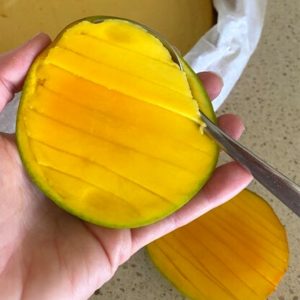
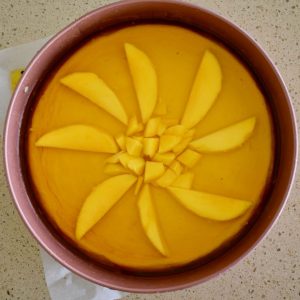
Slice the remaining mango and arrange on the top of the cheesecake.
Carefully add the half set jelly and return to the fridge to set.
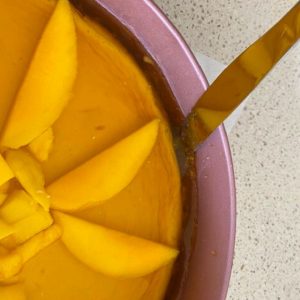
Once set, carefully remove the cheesecake from the tin.
Serve your Mango Cheesecake with pouring cream or ice cream.
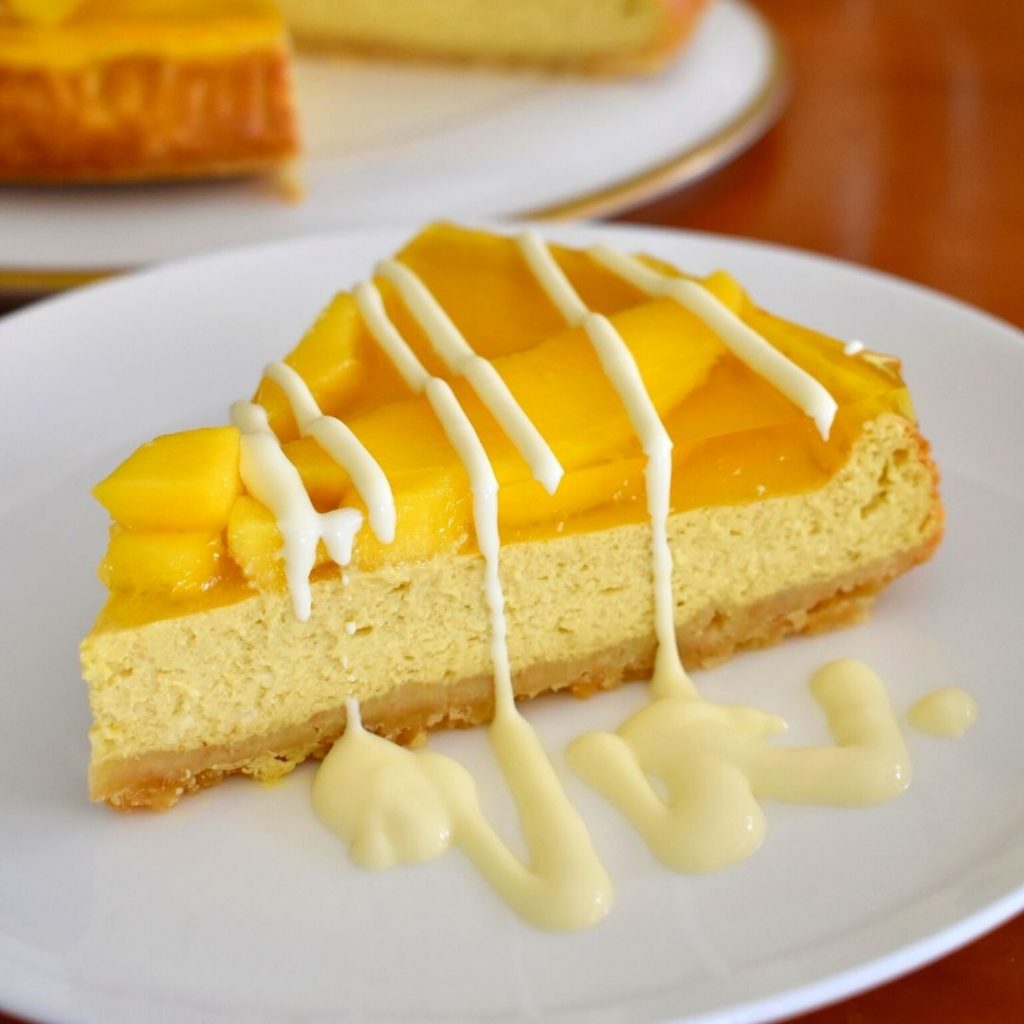
And if you still have an abundance of mangoes, check out our Mango Pudding Recipe or whip up a Pavlova that you can top with mangoes.
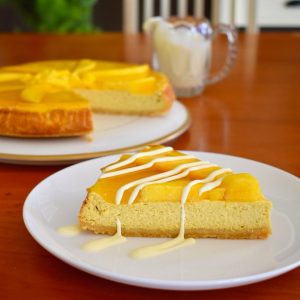
Baked Mango Cheesecake
Equipment
- 22cm round springform cake tin
Ingredients
- 190 grams Scotch Finger biscuits (or another sweet packet biscuit) (1 ½ cups)
- 100 grams butter, melted
- 400 grams cream cheese (Philadelphia brand or similar)
- ½ cup brown sugar
- 3 eggs
- ½ cup sour cream
- 3 fresh mangoes (approx 300 grams fresh mango flesh or equivalent frozen mango flesh)
- 1 packet mango jelly (85 grams jelly crystals)
Instructions
Base
- Prepare a 22cm springform round tin by greasing and lining with baking paper.
- Blend biscuits to a fine crumbly texture. Add melted butter and stir to combine.
- Press the mixture into the lined cake tin to create an even base.
- Chill in the fridge while you're preparing the cheesecake filling.
Cheesecake Filling
- Pre-heat oven to moderately slow (150 degrees celsius, fan-forced). Place a small baking dish filled with about an inch of water onto the bottom rack of the oven.
- Chop the flesh from two of the mangoes. You should have about 200 grams. Blend to a puree and set aside.
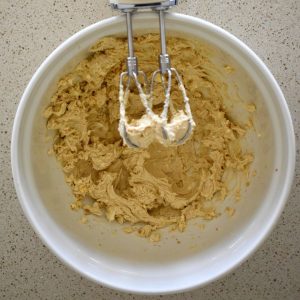
- Beat cream cheese and sugar on a medium speed until smooth. Don't overbeat.
- Add eggs, sour cream and mango puree. Beat again until just combined.
- Pour mixture into prepared cake tin and bake for 80 minutes.
- Once baked, remove from oven and allow to cool completely.
Mango Jelly Topping
- Make mango jelly according to packet instructions but less 50ml of water. If using Aeroplane jelly, add only 200 ml of hot water (rather than 250ml as instructed on packet) and 200ml of cold water (as per packet instructions). Place into fridge for one and a half hours to achieve a half set.
- Once cheesecake has cooled and jelly is half set, slice remaining mango cheeks in long strips.
- Place cake tin in a larger baking dish (in case any of the jelly leaks).
- Arrange mango slices on the cheesecake and then carefully pour jelly over the top. Place in fridge for at least two hours to set completely.
- Once jelly is set, carefully remove the cheesecake from the tin.
- Serve with pouring cream.


Leave a Reply