It's the TikTok trend that has seen foodies jumping over each other to get on board.
I'm a little slower to the Butter Board party – but did eventually decide it would be a nice recipe to cover with a little retro makeover.
With homemade butter, a simple selection of seasonal herbs and good quality artisan bread, this little snack is perfect to share over a catch up with friends and wash down with your favourite drink.
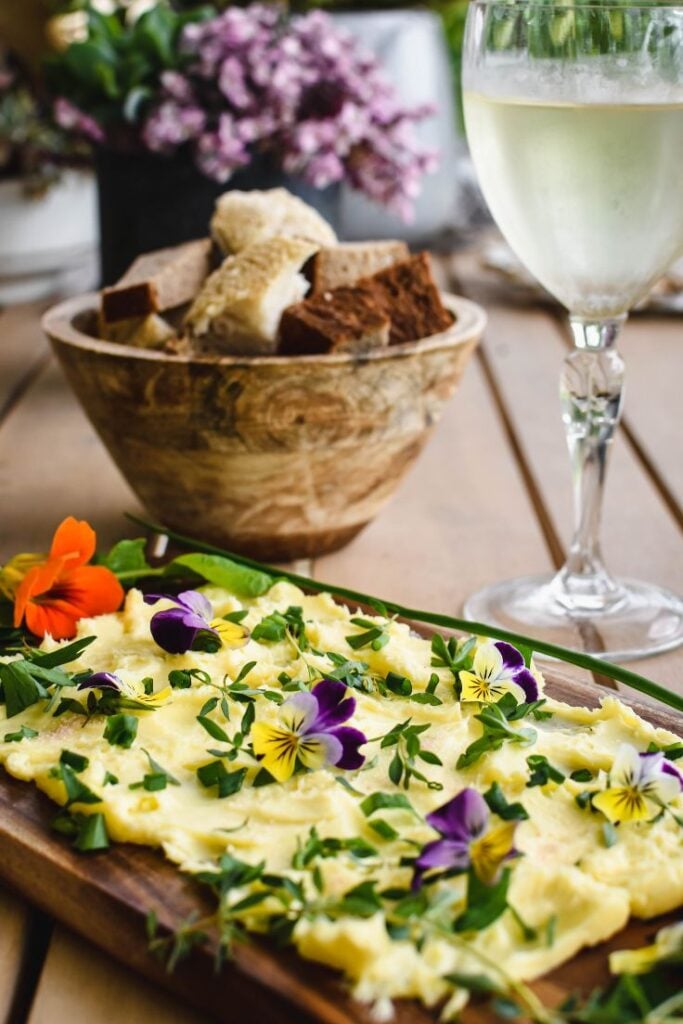
The viral Butter Board trend
The craze started when New York influencer Justine Doiron shared a Butter Board on TikTok and suggested it should be "the new charcuterie board".
She calls out American chef Josh McFadden as the original creator – but Justine made the idea famous after her post amassed millions of views and over one million likes.
Justine added salt, lemon zest, honey, coriander and edible flowers to her slab of butter, while others have added their own person touch with Halloween-themed boards, Desi butter boards, a Fig & Walnut version and a Fairy Bread Butter Board(not sure how that'd go down at a kids party – think I'll stick with the traditional Fairy Bread).
I've seen others pile on roasted garlic, tomatoes, meat and more, too.
When I think of bread and butter, I like to stick with simplicity. There really is nothing better than good quality bread and butter.
So the Cooking with Nana Ling version of this latest craze is all about getting back to basics – and doing them well.
Butter Board Recipe: what do you need to make this old-fashioned version of a new craze?
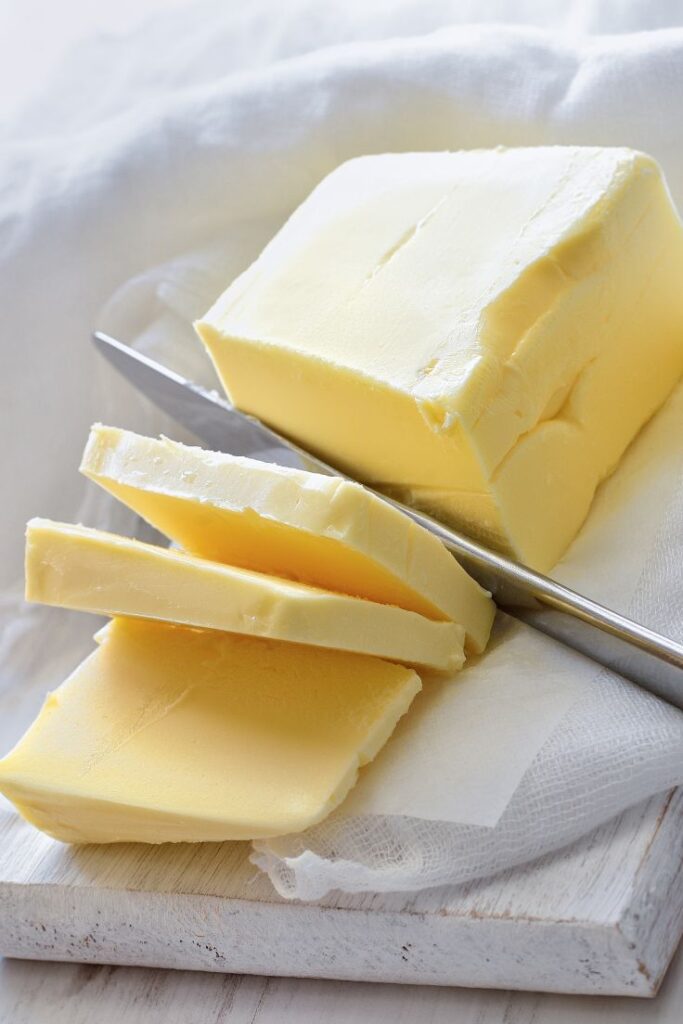
First, the butter.
Ideally, make your own by following my step-by-step instructions for homemade butter.
Otherwise, lash out if you can and buy batch churned or artisan butter.
You'll also need:
- pink salt
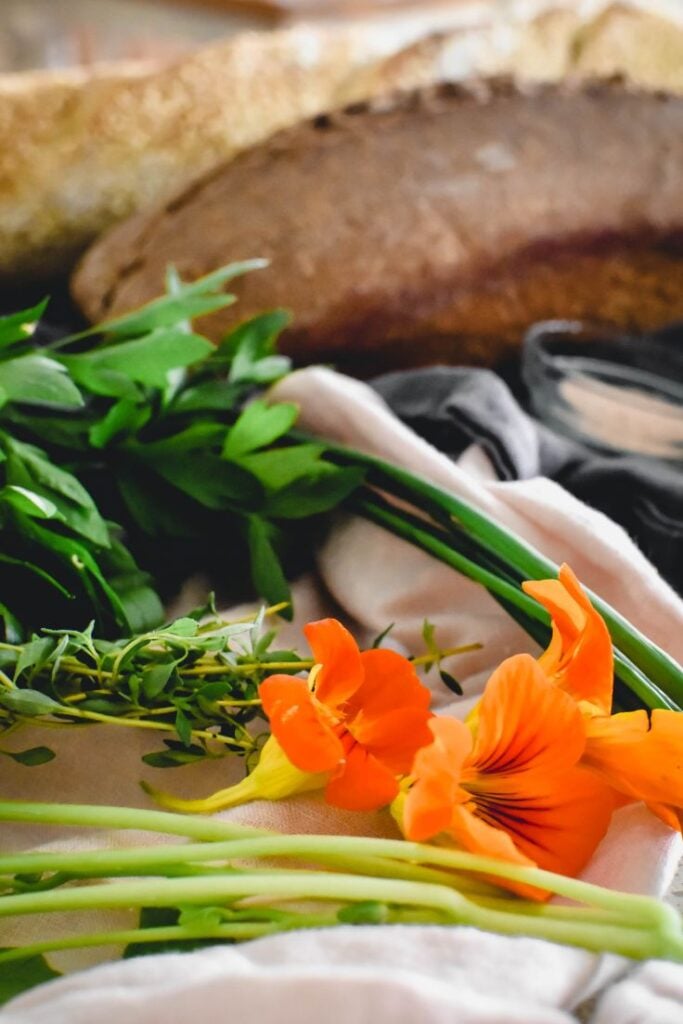
- fresh herbs (here, I've used chives, parsley and thyme)
- herbs and edible flowers to decorate.
Of course, you'll also need a long baguette or loaf to serve with your Butter Board. Amd once again, a good quality, artisan product will make all the difference to the end result.
Putting it all together: how to make a TikTok Butter Board
Choose a wooden serving board and then allow your butter to soften at room temperature for about half an hour so it can be easily spread across the wooden board.
Spread the butter on wooden board using a spatula. Dab it around a bit to create some texture.
Sprinkle salt and herbs over the butter.
Decorate around the edges with herbs and edible flowers.
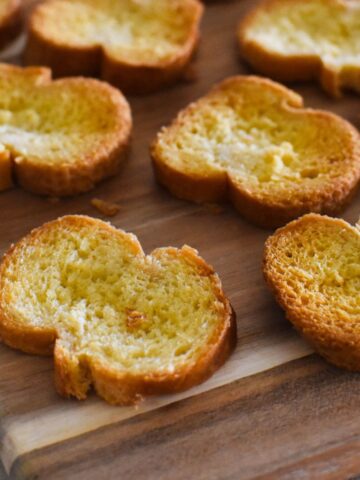
Serve with a bowl of sliced bread.
And remember to store the board in the fridge if you prepare it in advance – and then take it out about half an hour before serving to allow the butter to soften enough that it can be scooped up with the bread.

Butter Board
Equipment
- 1 wooden serving board
Ingredients
- 1 cup homemade butter (or good quality store-bought butter)
- 1 teaspoon pink salt
- 1 tablespoon chopped chives
- 1 tablespoon chopped parsley
- 1 teaspoon fresh thyme leaves
- herbs and edible flowers (to decorate)
- artisan long baguette or loaf (to serve)
Instructions
- Allow butter to soften at room temperature for about half an hour.
- Spread butter on wooden board using a spatula.
- Sprinkle salt and herbs over butter.
- Decorate with herbs and edible flowers.
- Serve with bowl of sliced bread.

Mel
I love this idea Libby but most of all I love your wooden serving board. Where would I get one just like that?
Libby Hakim
Hi Mel. Isn't it lovely! I bought it at a market day and have tracked down the website: https://madamshandmade.com.au/ Libby x
Jan
Comment 4 - At the end of World War II, we lived on a farm with a house built of rusty sheet iron. It was extremely hot in summer and very cold in winter but at least it did not leak. We did not have a refrigerator but did have a blue asbestos 'cool safe'. In hot weather Mum would set milk in the coolsafe overnight to make a small batch of butter early in the morning so she could make sandwiches (cold meat or jam) for the school and work lunches as soon as it was ready. But if the day was getting hot, the butter in the sandwiches would melt so we often ate them on the 3 mile bike ride to school while they were still firm.
Libby Hakim
Thank you so much for these lovely memories, Jan. Would love to have sampled some of your mum's butter! Libby x
Jan
Comment 3 - The paddles with grooves on one side can be used to make butterballs. Scoop out about a teaspoon of butter onto one paddle and then place the other paddle on top. Roll the butter into a ball between the two paddles, leaving it with a diamond patterned (more or less!) surface. Try to keep the butter balls the same size and serve in a small crystal bowl when serving scones or maybe vegetables to be served with butter melting on top. Making the butterballs was a 'kid's job'and I thought it was to make it pretty but Mum told me when I was grown up that it was about limiting how much butter everyone took! She used to allow one ball per person and one left over and said the butter then lasted much longer and sometimes there was even more than one ball left over. She said it looked mean to have exactly the right number of butterballs.
Jan
Comment 2 - My mother had been a professional dairy maid, milking her share of the herd twice a day. She carried the fresh milk to sell around the little township and they separated the remaining milk with most of the cream sent on the train to the butter factory (and the skim milk for the pigs and calves) but it was Mum's job to make butter on order for the townspeople. She was considered the best at it because she had 'cold hands'and she could get the whey out faster without the butter melting. She could 'bring' the butter very quickly too.
Jan
Comment 1 - Our cream (from 2 cows most of the year) was stockpiled each day and kept in a steel 'churn' with a lid in the laundry until there was enough to make a good amount of butter. By then the cream would have aged and matured and sometimes turned green or blue (the smell was 'interesting') but the butter when made was absolutely delicious - but we didn't cook with the buttermilk which was not nice - that went to the pigs or hens.