Is it even a party without Fairy Bread? Certainly not if you were at an Aussie kids birthday party during the 1980s! It's the sweet, colourful and nostalgic treat that kids (and many big kids) still love today!
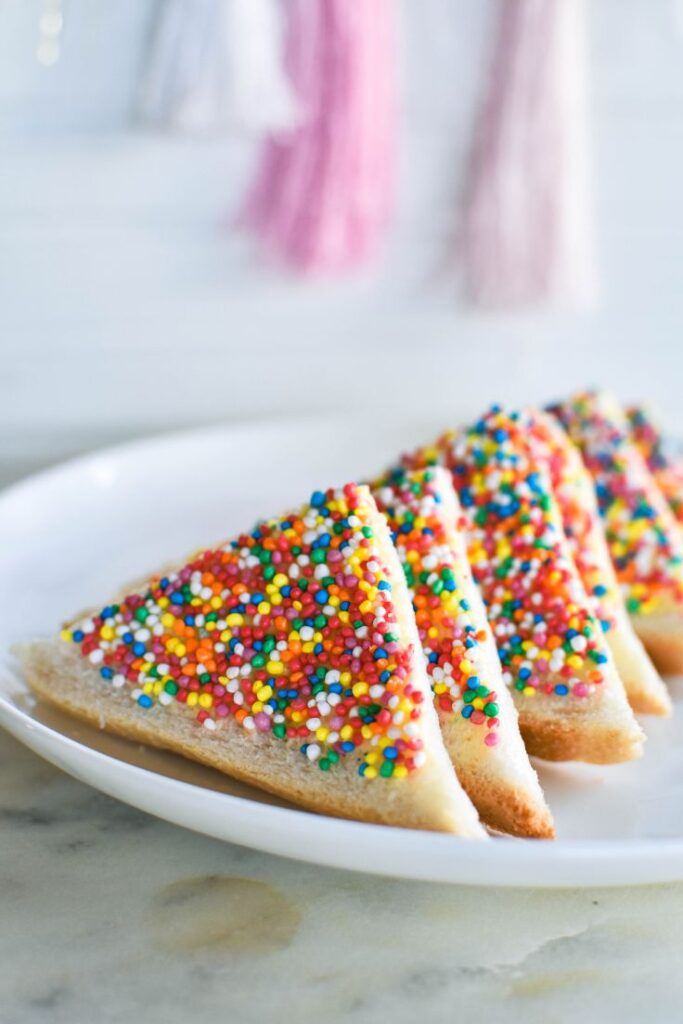
Making Fairy Bread is easy and it takes just three fairly ordinary ingredients – bread, butter and 100s & 1000s/sprinkles – and turns them into something quite magical. Something that might transport you back to your childhood. Ready for some magic?
Jump to:
Who invented Fairy Bread?
Like Lamingtons and Pavlova, Fairy Bread is something that Australians and New Zealanders like to tussle over sometimes. But, being an Aussie, I of course say it's as Aussie as those other great Aussie inventions – the Hills Hoist, Wi-Fi, Vegemite, Lemonade Scones and Damper.
While we don't know exactly who came up with this magic combination of ingredients, the earliest reference to what we know as Fairy Bread appears in a Tasmanian newspaper in 1929.
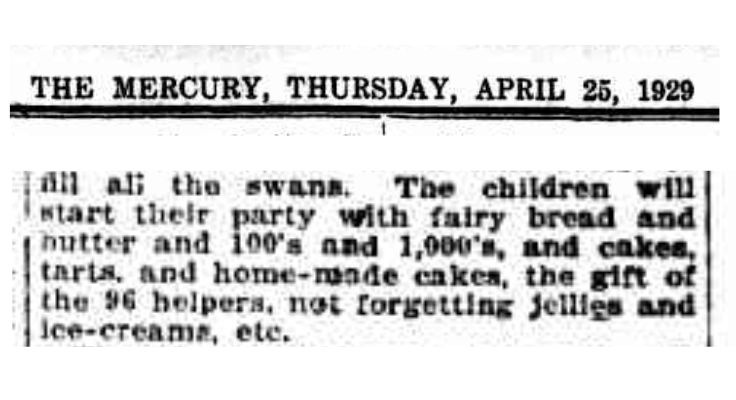
There are earlier references to Fairy Bread, but these seem to refer to a type of thin, wafer-like bread rather than what we know and love as Fairy Bread.
Whoever invented it, they deserve a big thanks for putting smiles on kids' faces for nearly 100 years!
A little slice of history
By the mid 1930s, Fairy Bread was firmly established as the snack of choice for kids during celebratory events such as birthdays and Christmas time.
The Sydney Morning Herald in 1934 suggests Fairy Bread for Christmas Dinner for toddlers and again the following year for a "Christmas without tears."
In the 1950s, a Wollongong newspaper reported school kids having "the jolliest time" with a party that included "gay party caps and jaunty little hats for everyone, real party food — 'fairy bread,' iced home made cakes, fruit cup and ice cream." Sounds like a real blast!
By the 1970s and 1980s, little me was enjoying this treat at parties. Into the 2000s, and I'm making it for my own kids when hosting a party.
Ingredient notes
To make Fairy Bread that disappears like magic, I believe traditional is best.
Just three ingredients go into this little treat:
- fresh white sliced bread (I use Baker's Delight toast sliced white bread)
- butter (make sure it's spreadable or has been softened beforehand by leaving it out the fridge for half an hour for easy spreading)
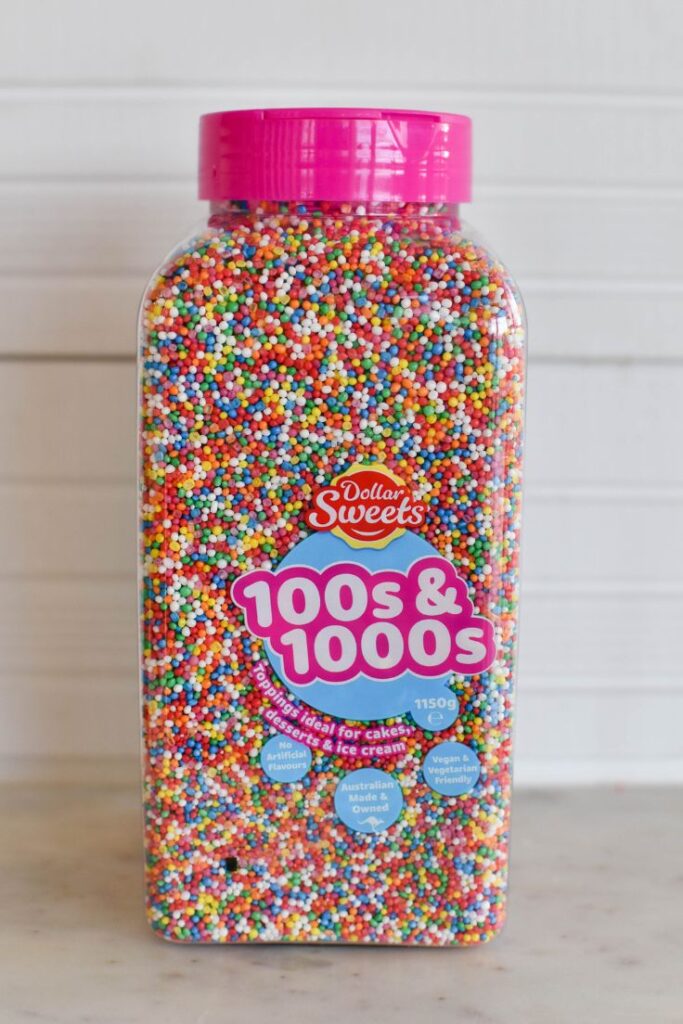
- 100s and 1000s (you might call them sprinkles, nonpareils or hagelslag).
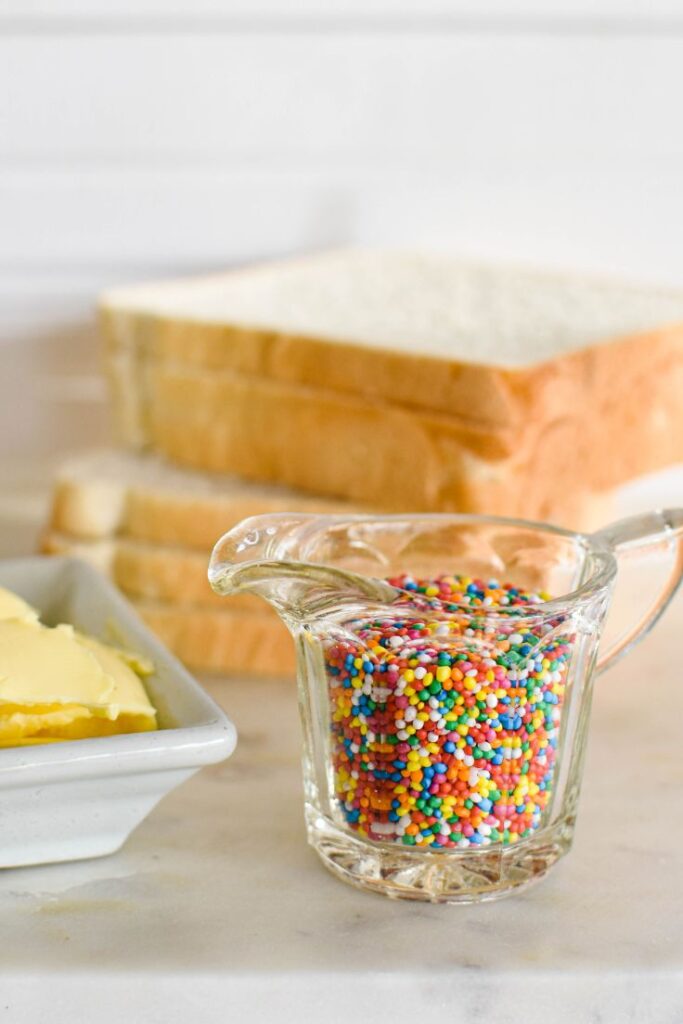
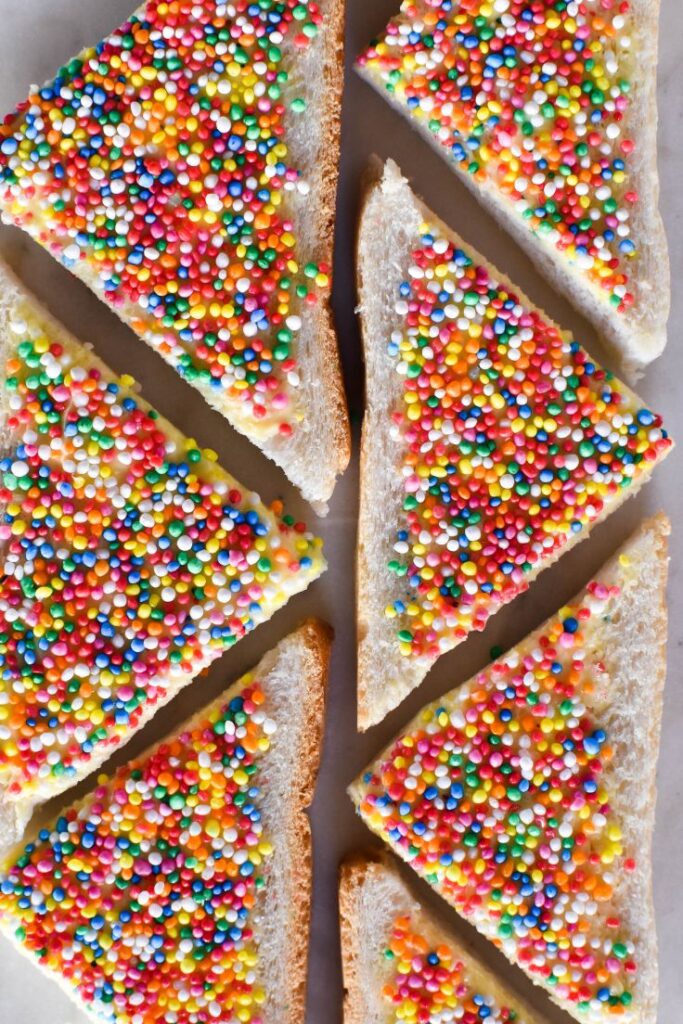
I've added quantities to the recipe card below, however it's one of those recipes that's hard to quantify. I suggest you look at the pictures closely if you haven't made Fairy Bread before and adjust the quantities as necessary.
How to make Fairy Bread
Like most recipes, the secret here is to use good quality ingredients and pay attention to the details.
Here are my ten top tips for making fabulous Fairy Bread:
- Use standard white bread in a block loaf that's sandwich-sliced. No sourdough. No high-top. Forget low GI. Definitely forget grains. If you're in Australia, my preferred bread is Baker's Delight white bread toast-sliced.
- Buy the bread the day of your party. You can't beat fresh bread.
- Use spreadable butter. Not margarine. Not a butter blend. Not a block of butter. If you don't have spreadable butter, simply leave regular butter out of the fridge for 30 minutes or so to ensure it's not too hard.
- Take the spreadable butter from the fridge and allow to sit at room temperature for 15 minutes to ensure it spreads very easily.
- Using a butter knife, spread the bread slices evenly with butter – not too thick and not too sparse – close to the edges but not right up to the edges.
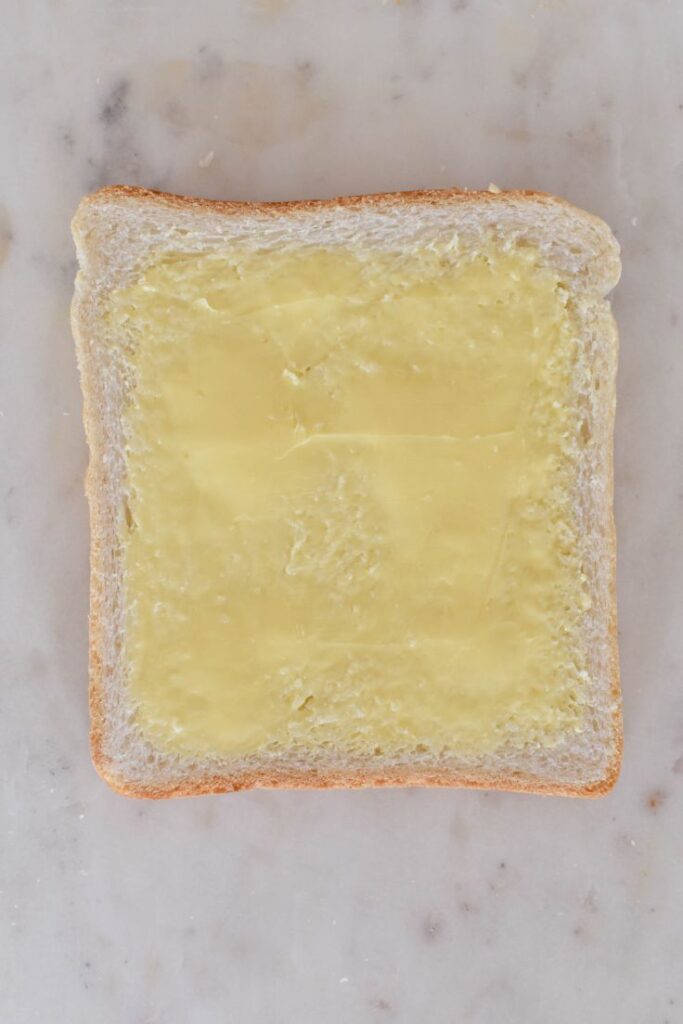
- Leave the crusts on! Who are these people that take the crusts off fairy bread? And definitely don't cut them into shapes with a cookie cutter – little triangles are just perfect and mean you don't waste any bread.
- Once the bread is buttered, sprinkle plenty of multicoloured sprinkles or 100s & 1000s over each slice using a pourer or spoon. I recommend using the traditional, multi-coloured round sprinkles that we in Australia know as 100s & 1000s.
- Tip the bread from side to side to ensure the 100s & 1000s stick to the butter and there aren't any gaps. Tip on its side over a tray or the sink to remove any excess 100s & 1000s.
TIP: If you're making fairy bread in large quantities, you can also pour the 100s & 1000s into a tray and then place the bread, butter side down, into the tray to coat in the sprinkles.
- Cut each slice twice, diagonally, to create 4 small triangles.
- Pile them on a plate or line up in rows on a platter and serve immediately.
Fairy Bread Variations
Okay, this is a controversial subject and I must admit to being a traditionalist here. I do not believe in variations for Fairy Bread. Nope. It's the perfect little slice of sweetness and nostalgia just as is.
I've seen people cut off the crusts, use shaped cutters and add other types of sprinkles to mix things up. You could use red and green sprinkles for Christmas Fairy Bread, pink and chocolate sprinkles for Easter Chocolate Fairy Bread or orange and black sprinkles for Halloween Fairy Bread.
But any time of year, bring out a plate of regular Fairy Bread and it's a recipe for pure joy.
Recipe FAQs
Absolutely not. Fresh white bread is the only way to enjoy this treat.
Of course! It's been around for nearly one hundred years! Next question.
It's definitely something that should be made up just before serving. And it doesn't take long so there's really no reason to make it a day ahead.
It happens each year on 24 November and is an event to celebrate Fairy Bread, sprinkle kindness and raise funds for ReachOut, Australia's leading online mental health service.
More kids party treats
There's a whole collection of kids party food recipes to discover at Cooking with Nana Ling. Jump into the collection now or take a look at these favourites:
Made this recipe and love it? Please take a moment to rate the recipe and leave a comment below. It’s such a help to others who want to try the recipe. (And it really makes my day to hear how Nana Ling's recipes are being made, shared and loved all around the world! - Libby x)
For more fun and deliciousness in the kitchen, follow along on Facebook, TikTok and Pinterest, and subscribe for new posts via email.
Fairy Bread
Equipment
- knife
- chopping board
- pourer or spoon
Ingredients
- 4 slices fresh white bread (nothing fancy and nothing healthy – just a regular loaf of white bread toast-sliced)
- 2 tablespoons spreadable butter
- ¼ cup 100s & 1000s / sprinkles / nonpareils
Instructions
- Take your spreadable butter from the fridge and allow to sit for about 15 minutes. This will ensure it's soft enough to spread without ripping the bread.
- Spread butter on each slice of bread, ensuring it's spread evenly and close to the edges but not reaching the edges.
- Sprinkle plenty of 100s & 1000s over each slice, using a pourer or spoon.
- Tip the bread from side to side to ensure the 100s & 1000s stick to the butter and tip on side over a tray or the sink to remove any excess 100s & 1000s.
- Cut each slice twice, diagonally, to create 4 triangles.
- Pile them on a plate or line up in rows on a platter and serve immediately.
Video
Notes
- Ingredient quantities are a guide only. Look at the pictures to get a good idea of how much butter and 100s &1000s are required.
- Use fresh, white bread.
- Use spreadable butter and leave out of fridge for 15 mins beforehand to ensure it really is easily spreadable.
- Make up fresh just before serving.
- Read the entire post for all hints and tips.




Leave a Reply