
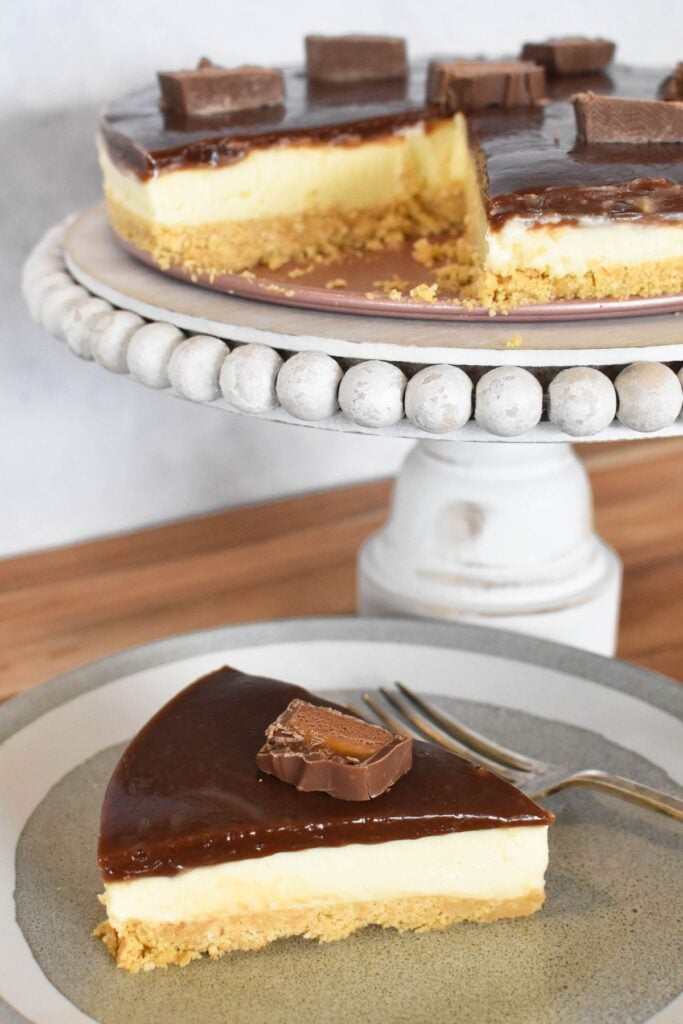
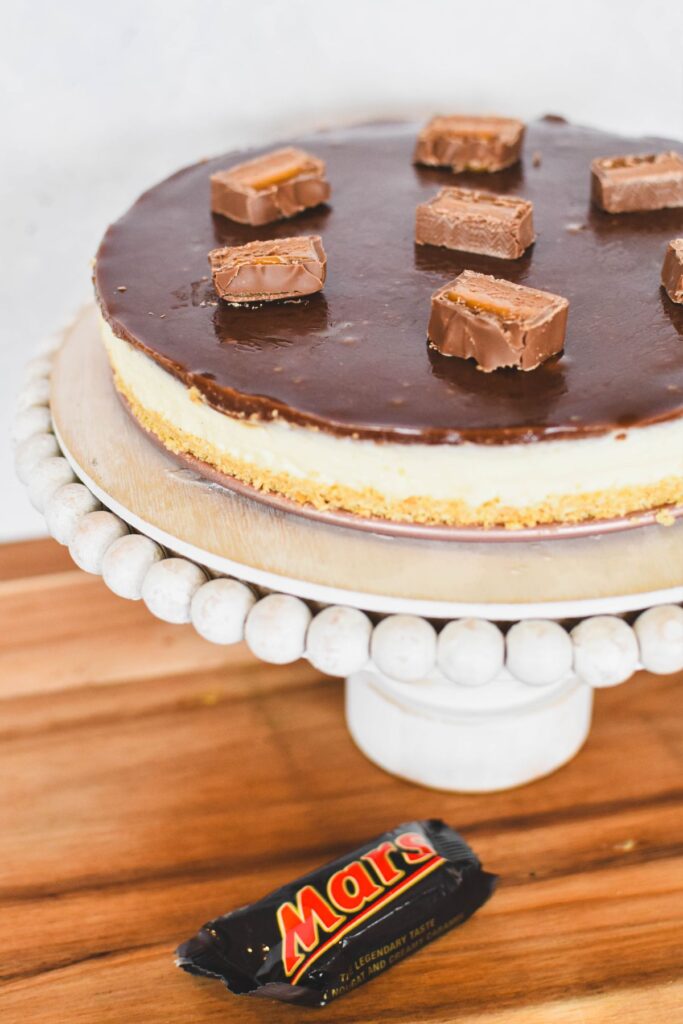
There was a point in time in the 90s when every good cafe would have Mars Bar Cheesecake on the dessert menu. This no bake recipe will take you right back to the heyday of this gloriously retro dessert.
There are many recipes out there for this popular cheesecake, but you'll love this one because:
- it's sweet but not too sweet (this one gets the balance between the tang of the cheesecake filling and the rich Mars Bar topping just right)
- It has that real Mars Bar taste that we've loved for decades (some recipes simply try to re-create the Mars Bar flavours, however I like the recipes that incorporate real Mars Bars)
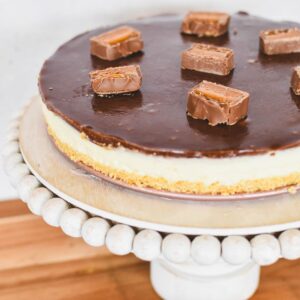
- the layers make this cheesecake quite visually striking - check out the glossy top layer makes it look quite fancy.
Like all recipes, it can be frozen and is super simple to make.
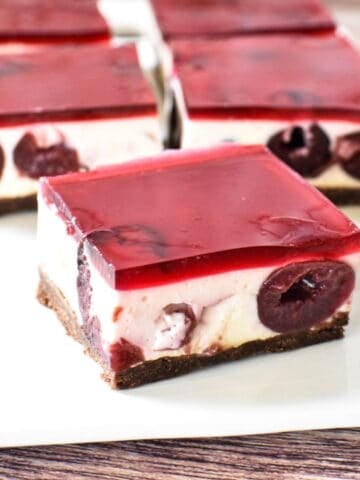
TIP: Another great retro Mars Bar Recipe is Mars Bar Slice.
Jump to:
The Recipe
So, where did I find this fabulous recipe?
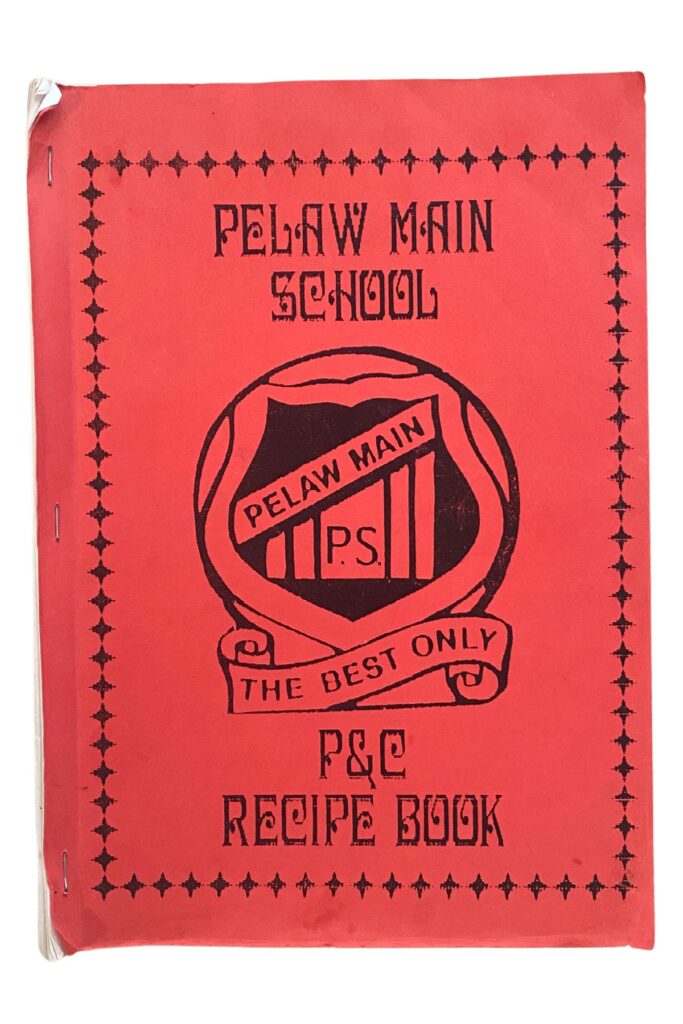
I've adapted it from a recipe I found in a school community recipe book that isn't dated but certainly looks like it comes from the 90s: the Pelaw Main School P & C Recipe Book. I loved the simplicity of the recipe, with three clear layers.
Ingredient notes
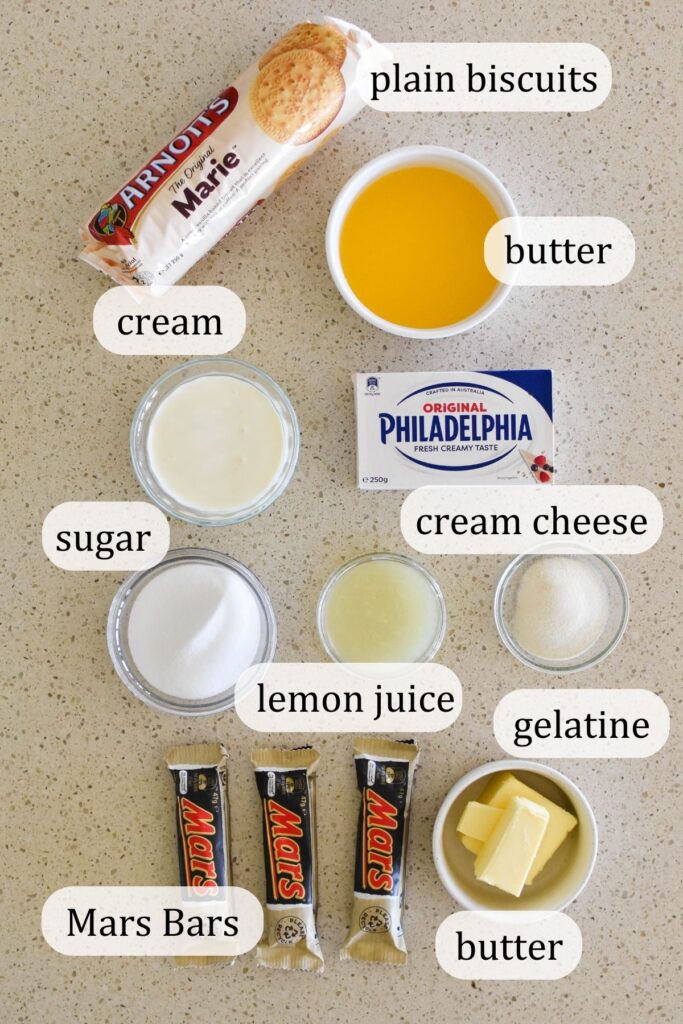
The ingredients you'll need are:
- Mars Bars
- plain biscuits (Marie, Milk Coffee or similar)
- butter
- cream cheese
- thickened cream / heavy cream
- caster sugar
- lemon juice
- gelatine powder
- cold water.
The ingredient measurements are in the recipe card at the end of this post.
How to make Mars Bar Cheesecake
This is one of the easier cheesecakes to get right. It's helpful to break it into these three steps:
Step 1 – Make the base
Crush the plain biscuits to a fine crumb consistency and then add the melted butter. Stir to combine and then press into a greased round tin (about 19cm in diameter).
Step 2 – Add the cheesecake filling
Beat the cream cheese, sugar and lemon juice together until creamy and soft. Add the cream, and beat until combined.
Next, add the gelatine. You'll need to add the water to the gelatine powder and whisk with a fork. Place the mixture into a microwave for 10 seconds. Stir again to dissolve and then stir through the cheesecake mixture until combined.
Spread the cheesecake filling mixture evenly over the biscuit base and place into the fridge
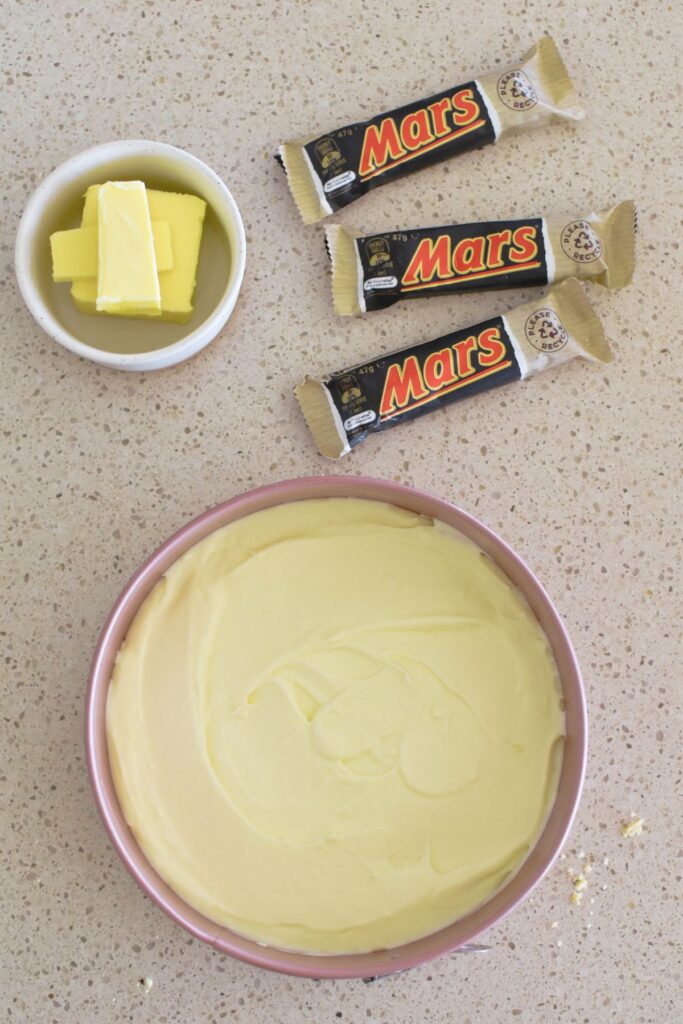
Step 3 – Top with Mars Bar layer
To make the Mars Bar layer, start by placing the butter into a saucepan and melting over low heat. Add the chopped Mars Bars when half of the butter is melted.
Stir over low-medium heat until the mixture is melted and smooth. You may need to use a whisk (stirring over heat) to achieve this smooth consistency.
Allow the Mars Bar mixture to cool for a couple of minutes before whisking again (to ensure smoothness of mixture) and then pouring it over the top of the cheesecake.
TIP: Angle the tin from side to side to ensure the Mars Bar mixture evenly covers the top of the cheesecake.
Place the cheesecake in the fridge for at least 4 hours to set.
Enjoying and storing your cheesecake
Serve it on its own or with cream or ice-cream.
Your cheesecake will last up to 5 days in the fridge. Cover with food wrap. It's best fresh, but you can freeze – wrapped well and placed in an airtight container – for up to a month.
More cheesecake recipes
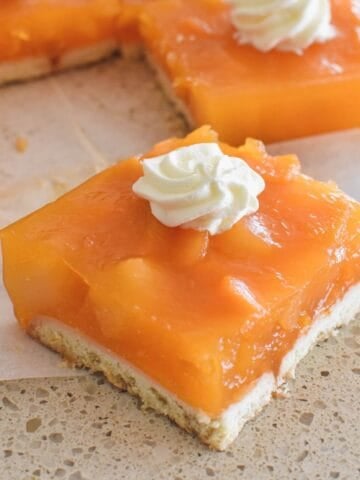
You might also like to try my Passionfruit Cheesecake Slice (which is VERY popular), Baked Mango Cheesecake or Easter Cheesecake.
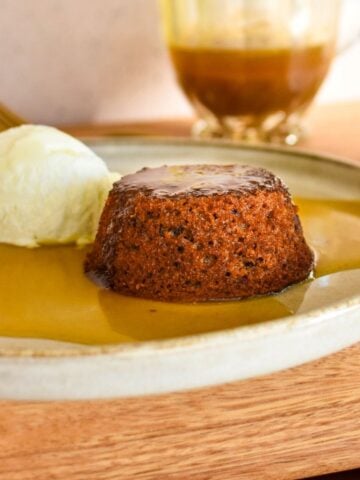
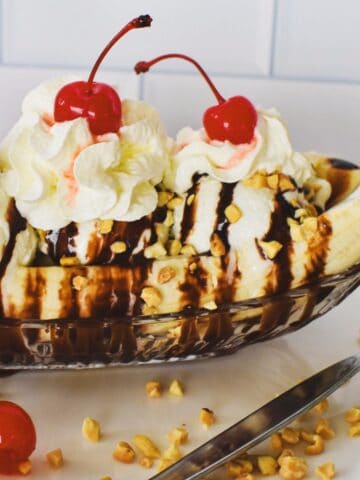
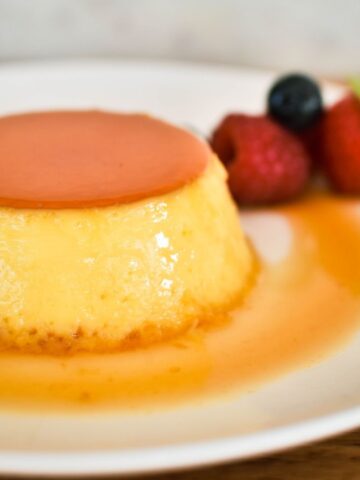
More retro desserts

Made this recipe and love it? Please take a moment to rate the recipe and leave a comment below. It’s such a help to others who want to try the recipe. (And it really makes my day to hear how Nana Ling's recipes are being made, shared and loved all around the world! - Libby x)
For more fun and deliciousness in the kitchen, follow along on Facebook, TikTok and Pinterest, and subscribe for new posts via email.
Mars Bar Cheesecake Recipe
Equipment
- round springform tin (19cm approx)
Ingredients
Base
- 125 grams plain biscuits (Marie, Milk Coffee or similar)
- 90 grams butter, melted
Cheesecake filling
- 250 grams cream cheese
- ½ cup thickened cream / heavy cream (125ml)
- ½ cup caster sugar (115 grams)
- 2 tablespoons lemon juice (40ml)
- 1 teaspoon gelatine powder
- 1 tablespoon cold water
Mars Bar Topping
- 3 Mars Bars (3 x 47 grams)
- 90 grams butter
- additional Mars Bar for decorating (optional)
Instructions
- Grease the round tin.
- Crush biscuits to a fine crumb consistency and add melted butter. Stir to combine and then press into the round tin.
- Beat the cream cheese, sugar and lemon juice until creamy and soft.
- Add cream, and beat until combined.
- Add the tablespoon of water to the gelatine powder and whisk with a fork. Place the mixture into a microwave for 10 seconds. Stir again to dissolve and then stir through the cheesecake mixture until combined.
- Spread the mixture evenly over the biscuit base and place into the fridge.
- Place butter into a saucepan and melt over low heat. Add chopped Mars Bars when half of butter is melted. Stir over low-medium heat until the mixture is melted and smooth. You may need to use a whisk (stirring over heat) to achieve this smooth consistency.
- Allow Mars Bar mixture to cool for a couple of minutes before whisking again (to ensure smoothness of mixture) and pouring over top of cheesecake. Angle the tin from side to side to ensure Mars Bar mixture evenly covers the top of the cheesecake.
- Place cheesecake in the fridge for at least 4 hours to set.

Leave a Reply