
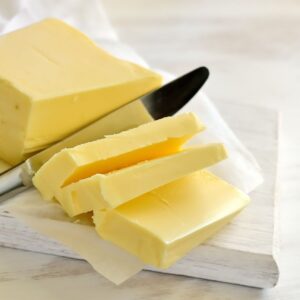
Want to know how to make butter at home (even though you can easily just buy it at the supermarket)? Awesome – you're my type of person!
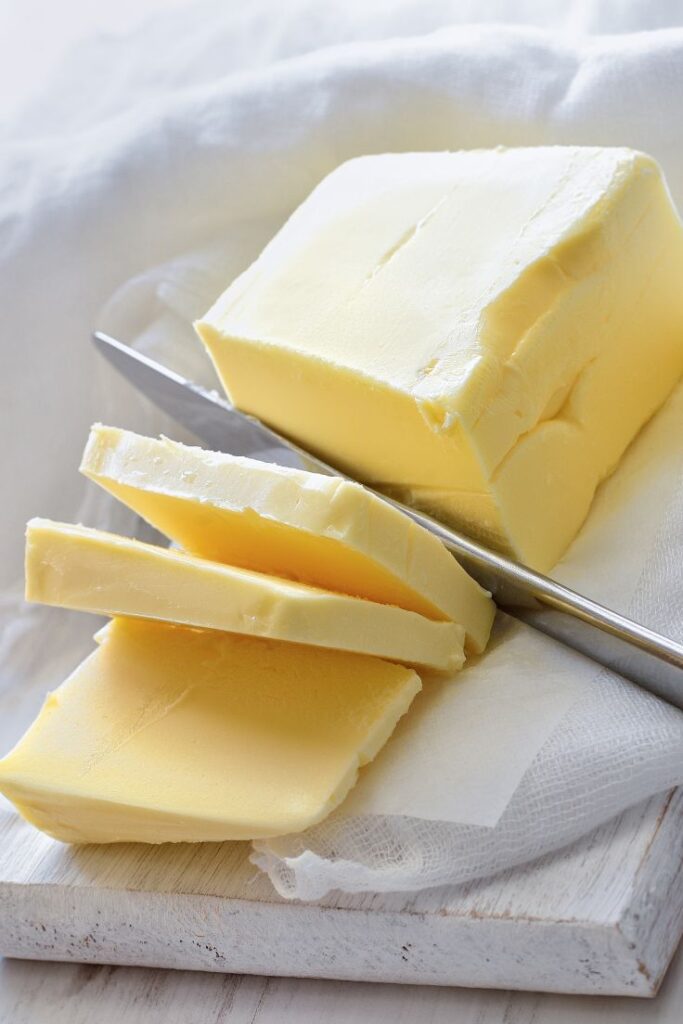
Making butter at home is fun, fairly simple and the result is amazing. It takes you back to simpler times and at the end of the process you'll have a super special homemade product that tastes phenomenal.
Ingredient and equipment notes
Here's what you'll need:
- 500ml thickened cream (also known as heavy cream)
- stand mixer (preferably with a cover, but you can also use a tea towel)
- spatula
- 2-3 cups cold water (I place ice in the water and removed the ice before using the water)
- couple of pinches of salt (if you prefer salted butter).
Nice-to-haves
These things aren't necessary, but if you start making your own butter regularly they may come in very handy:
- butter paddles
- butter keeper.
How to make homemade butter
Step 1
Pour the 500ml of thickened cream into your stand mixer bowl. Use the whisk attachment plus the plastic cover if you have one.
Step 2
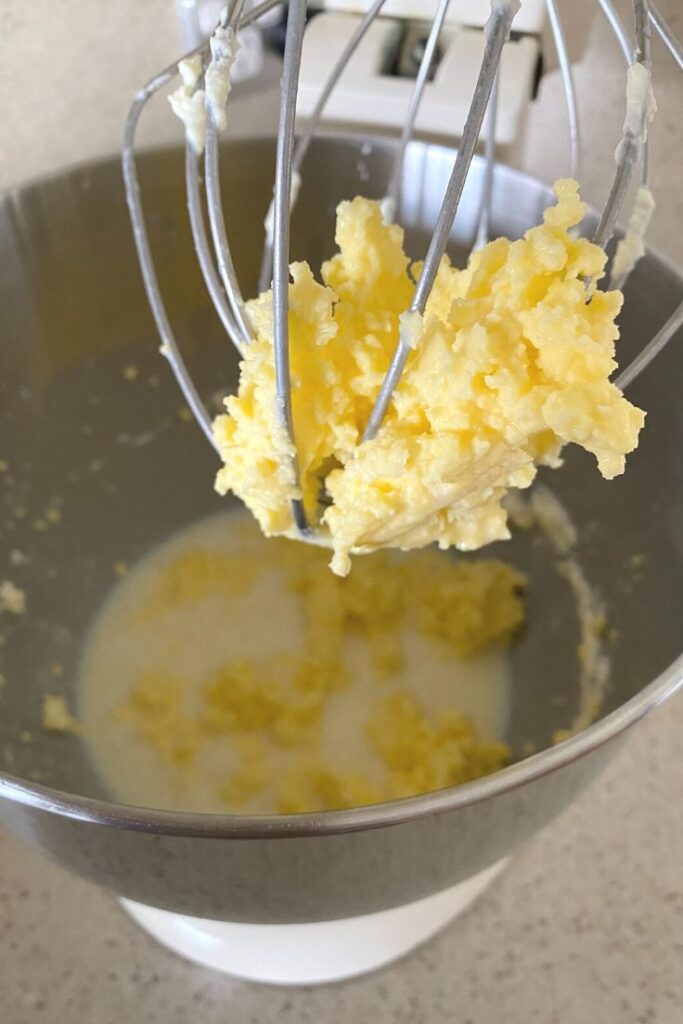
Whip that cream! First, it will thicken. Keep going – it's not ready yet.
Step 3
Whip it good! After about 3-5 minutes you'll notice the butter separating and leaving behind buttermilk.
Step 4
Drain out the buttermilk (and keep it – see some ideas below for using it in other cooking).
Step 5
Flush out the rest of the buttermilk by adding iced water (2–3 cups, adding about ½ cup at a time) and continuing to whip. Remove the liquid (but don't retain, throw this out unlike the first lot of buttermilk you've kept) after adding each time.
This bit is the most messy – I use a tea towel as well as the clear plastic KitchenAid cover.
Step 6
Keep going until the liquid is mostly clear. But don't overbeat or you'll end up with whipped butter.
Step 7
Squeeze the remaining liquid from the butter using your spatula.
At this stage, you can now add a pinch or two of salt and mix in (if you'd like salted butter) and form it into a rectangular shape using butter paddles or your spatula.
You've done it! Place your homemade butter in the fridge.
Back in Nana Ling's time
Of course, back in Nana Ling's day people often made butter for reasons other than curiosity or because they wanted something lovelier than the store-bought stuff.
I spoke to my Aunty Kay – who grew up in "the bush" near Maitland with Nana Ling, her grandmother, close by – about her memories of butter making:
"We made butter when we had an abundance of cream or when the cow was milking well. Sometimes it was made out of necessity if we hadn't been able to get to town or there was just no money to buy butter.
An alternative was to use dripping on our bread or toast.
When the cow was milked, Nan would put the milk in a large bowl and place it in the fridge (a kerosene fridge back then). A very thick cream would form on top, sometimes an inch thick. It'd then be scooped off and we would make the butter.
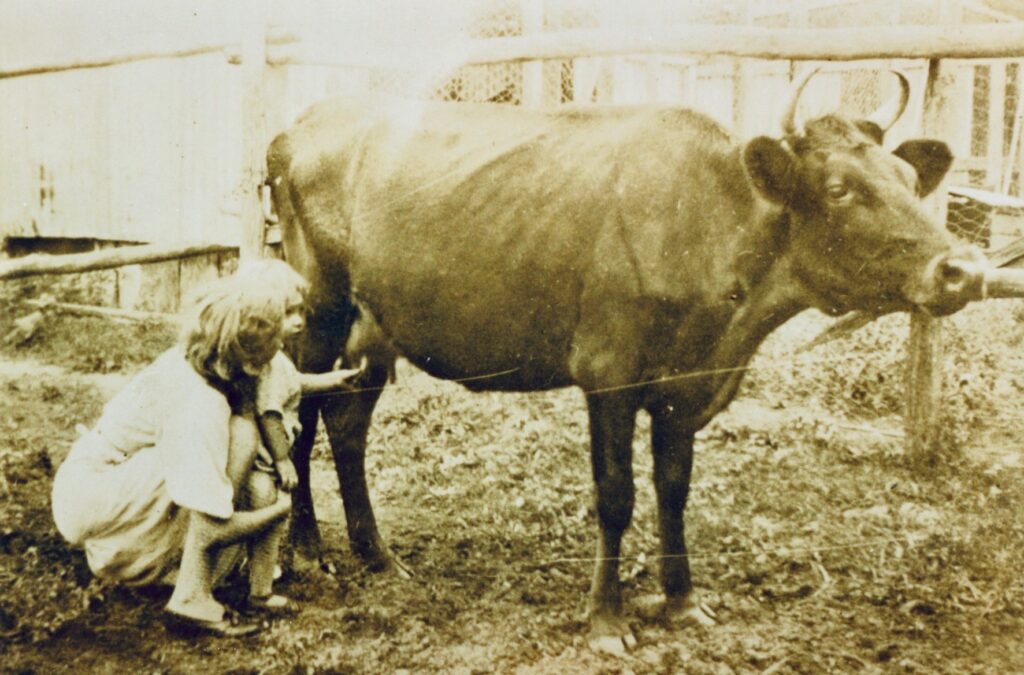
We used a hand whisk or what we called an egg beater which is one of those hand beaters. Our hands would get tired so we would all take turns. Once the power was connected the butter was then made in the mixmaster.
We used the buttermilk mainly in scones as far as I remember, especially fried scones.
I remember getting my own butter pat for either my birthday or Christmas. This was a thin piece of wood in the shape of a paddle. Mine had thin ridges down it so you could put a pattern on the butter. You'd pat it into a square then put the pattern on it. I did a checker pattern."
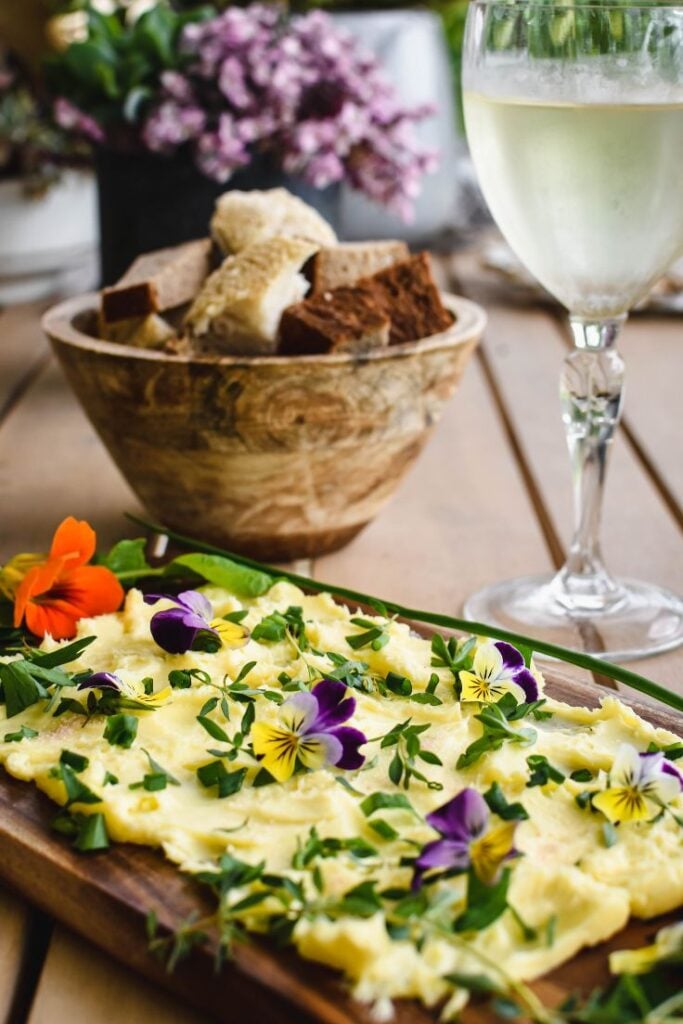
Using your homemade butter
It is brilliant on your own homemade damper or scones. Another popular idea these days is the (very fancy) butter board.
Using what's left: the buttermilk
Using the above steps, you should end up with about ¾ - 1 cup fresh buttermilk.
Here are some ideas so you don't waste that lovely leftover buttermilk:
- Buttermilk Scones
- substitute some of the regular milk for buttermilk in this Damper Recipe.
Have you made butter using our guide? Do you have any other tips and tricks? I'd love to hear from you in the comments section below!
Homemade Butter
Equipment
- stand mixer
- spatula or butter paddles
Ingredients
- 500 ml thickened cream (heavy cream)
- 2-3 cups cold water
- 2 pinches salt
Instructions
- Pour the 500ml of thickened cream into your stand mixer bowl. Use the whisk attachment plus the plastic cover if you have one.
- Whip the cream for about 3-5 minutes. You'll notice the butter separating and leaving behind buttermilk.
- Drain out the buttermilk (and keep it – see some ideas below for using it in other cooking).
- Flush out the rest of the buttermilk by adding iced water (2–3 cups, adding about ½ cup at a time) and continuing to whip the butter. Remove the liquid (but don't retain, throw this out unlike the first lot of buttermilk you've kept) after adding each time. Keep going until the liquid is mostly clear. But don't overbeat or you'll end up with whipped butter.
- Squeeze the remaining liquid from the butter using your spatula.
- Add a pinch or two of salt and mix in (if you'd like salted butter) and form it into a rectangular shape using butter paddles or your spatula.
- Store your homemade butter in the fridge.
Leave a Reply