
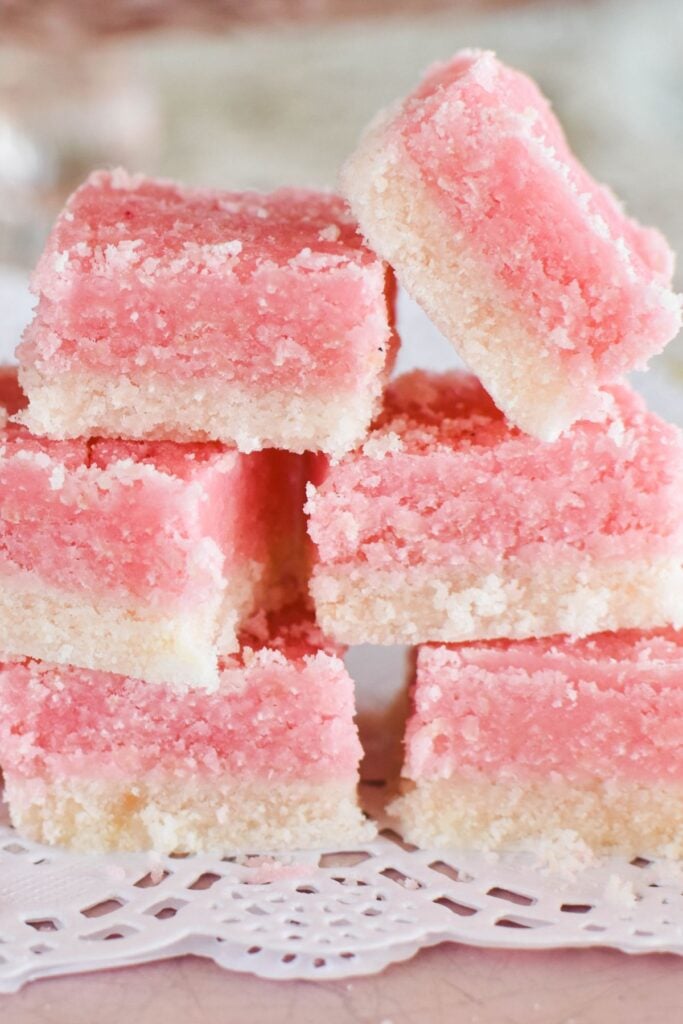
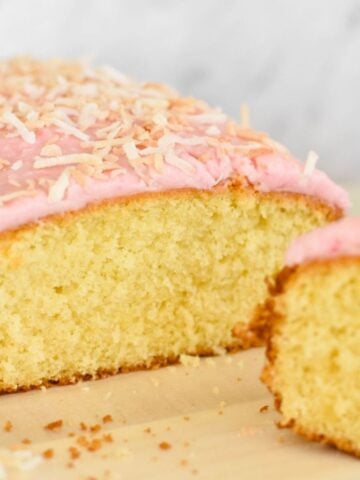
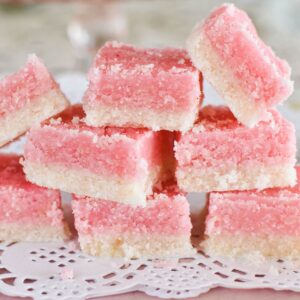
Coconut Ice is the pretty sweet we fell in love with at fetes and school stalls all those years ago. Today, biting into the lovely layers of pink and white sends you back in time and directly to coconut heaven (delivering a mighty good sugar kick in the process!)
Jump to:
The recipe
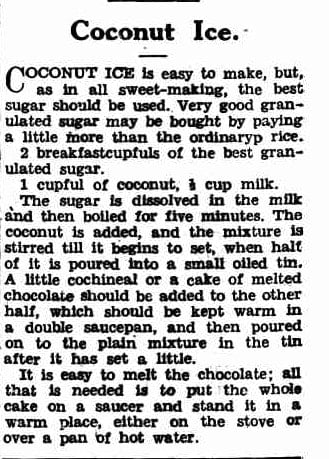
This recipe for Coconut Ice is similar to many published in the 1930s and 1940s. Here's an example below that appeared in The Australian Worker newspaper in 1938. Remember, though, to keep scrolling for the updated and tweaked recipe – with full instructions – in the recipe card below.
Traditional Coconut Ice vs Condensed Milk Coconut Ice
This recipe makes coconut ice the "proper" way! This old-fashioned recipe uses milk and sugar and a traditional sweet-making process rather than the condensed milk version which is perhaps more popular today. It produces the classic pink and white Coconut Ice that has been enjoyed for generations. If you're looking for the old-fashioned version you might remember from childhood, this is the recipe for you.
Condensed milk Coconut Ice is a more modern variation. It's a little quicker and easier to make, with a softer, creamier texture and a sweeter flavour.
Why make it the old way? Easy – it tastes better. It might take a little more effort, but it creates the firm, slightly crumbly texture that many people remember from old-fashioned sweet shops, community cookbooks and family recipe collections.
Ingredient notes
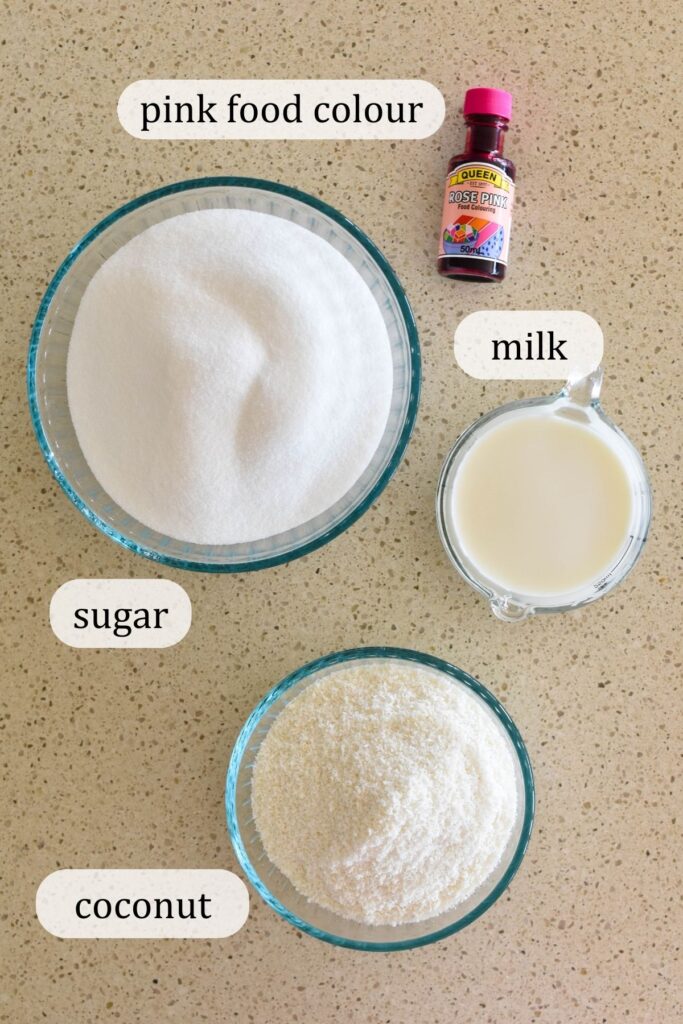
This recipe requires only three ingredients plus a little food colouring for the pink layer:
- caster sugar (superfine sugar)
- milk
- desiccated coconut (unsweetened)
- pink food colouring.
How to make traditional Coconut Ice
The method is fairly straightforward. However, there's two thing to keep in mind:
- you are working with hot sugar – so please take care
- you do have to work a little quickly when pouring the layers – so read through the process carefully before starting.
Prepping
First, grease a slice tin (approx 28 x 18 centimetres) and line with baking paper – leaving some extra on either side to lift the coconut ice slab out of the tray.
Step 1: Boiling the milk and sugar
Combine the sugar and milk in a large saucepan and stir over low heat until the sugar is dissolved. Remember, low heat to dissolve the sugar first before it boils.
Bring the milk and sugar mixture to the boil and allow to boil, stirring from time to time, for 5 minutes.
TIP: You'll probably need to reduce the temperature to the lowest setting to maintain the boil. If the mixture starts to boil too rapidly, take the mixture off the heat for a few moments.
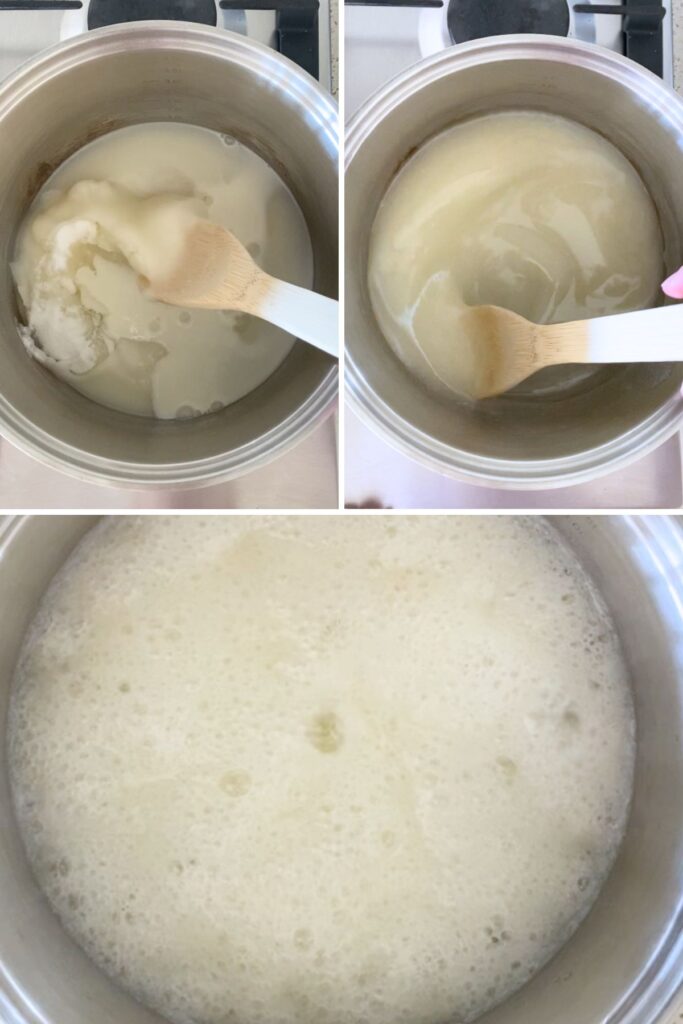
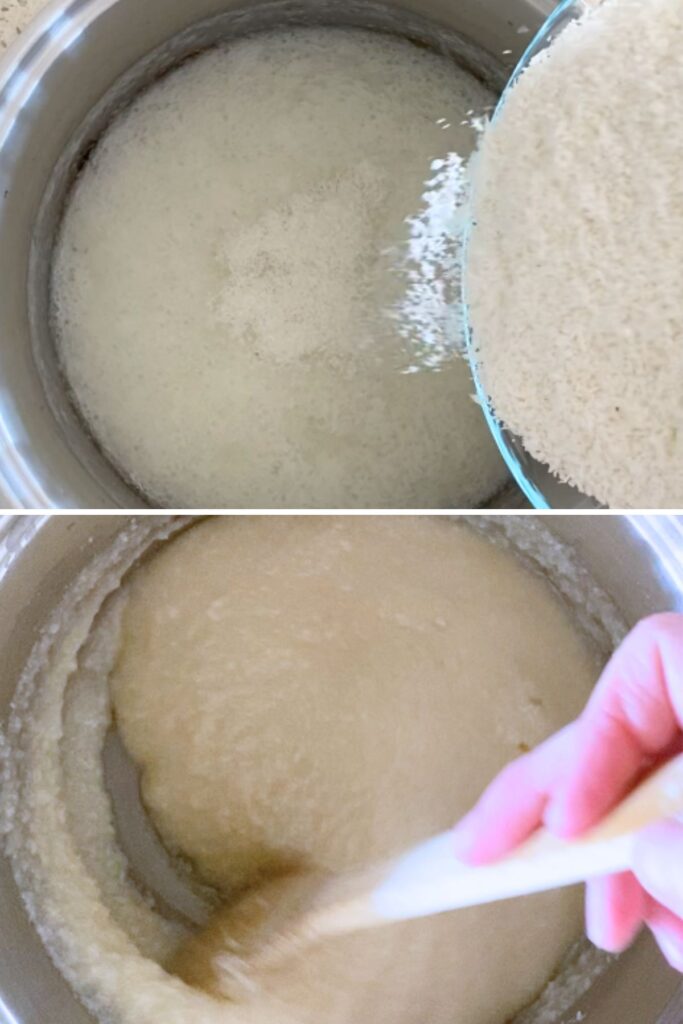
Step 2: Add the coconut
Remove the sugar and milk mixture from the heat and add coconut. Stir to combine.
Return the mixture to the heat and cook, stirring, for another 5 minutes.
It should thicken to a sloppy porridge-like consistency and, as you stir it, start to momentarily lift from the bottom of the saucepan a little. It may need a little longer than 5 minutes but no more than 10 minutes.
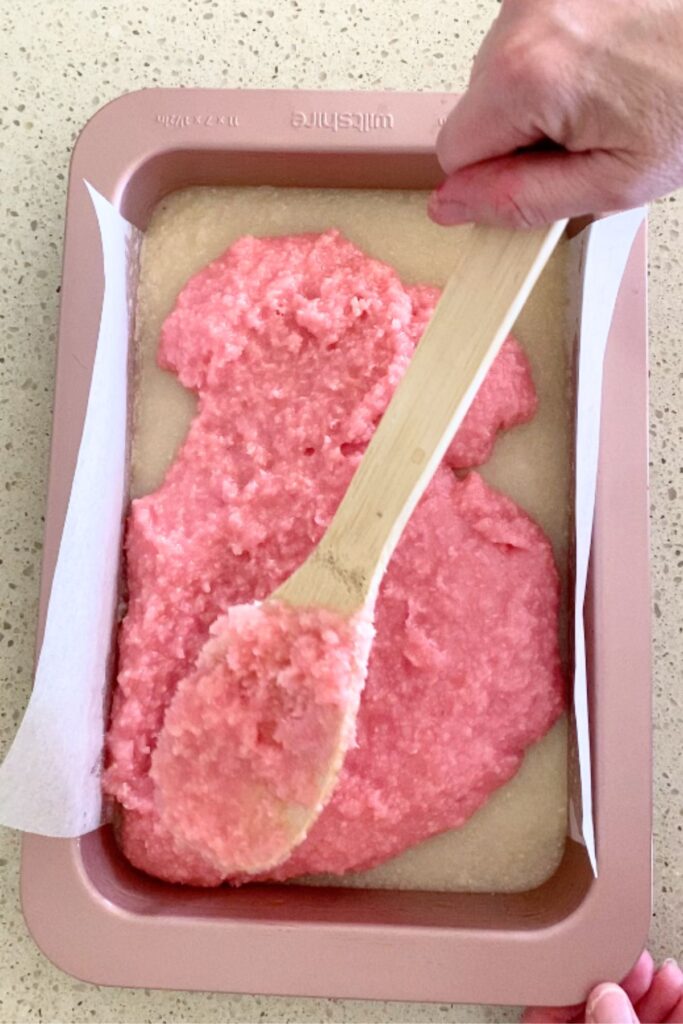
Step 3: Pouring into the tin
Pour half the white mixture into the prepared tin and place into the fridge for 5 minutes.
Add a few drops of pink food colour or red food colouring to the remaining mixture and stir through the mixture to create that pretty pink layer. Place the mixture on low heat to keep warm.
TIP: If pink coconut mixture becomes too thick by the time you're ready to pour it over the white coconut layer, add up to a tablespoon of milk and stir through over low heat to achieve a runnier consistency.
Remove slice tray from the fridge and check that the mixture has set enough to pour the next layer.
Use a spoon to check as the mixture may still be hot. If it's not set enough, return to the fridge for another 5 minutes.
Pour pink mixture onto top of first layer in the slice tin and allow to set at room temperature.
Once cool, cut into small squares using a sharp knife. It makes 24 medium squares, 48 medium rectangles or 96 tiny, bite-size squares.
Variation ideas
There are a few ways you can change up this recipe.
- First, change the pink layer to any other colour you like. Blue, yellow, orange... whatever you can dream up.
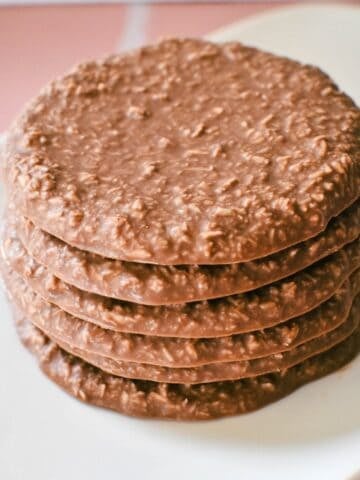
- You can also make chocolate coconut ice by adding melted chocolate or cocoa instead of pink food colouring.
- You could also try adding a flavour, such as vanilla, almond or lemon essence to the coloured layer.
- Some readers have commented that they have made this recipe successfully using soy milk and coconut milk.
Perfect for gifting
Coconut Ice keeps well, making it a perfect gifting idea! Wrap some squares in a little cellophane, add some festive ribbons and you have the perfect little gift.
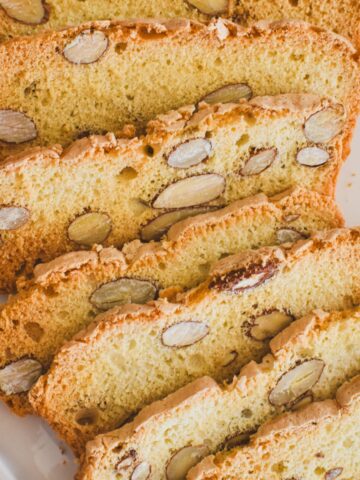
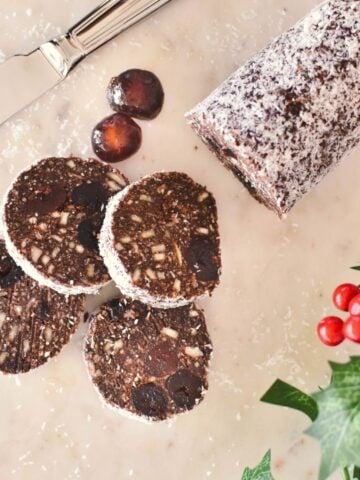
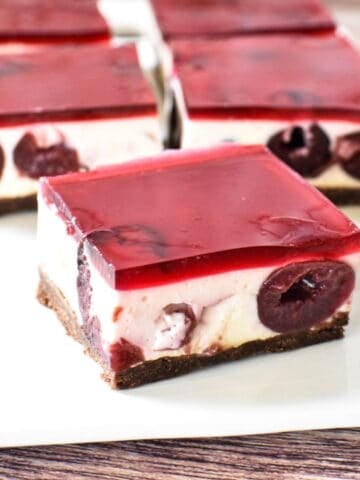
Some other recipes that are perfect for gifting include:
FAQs
Because of the high sugar content (with sugar being a preserver), it should keep for up to a month at room temperature if kept in an airtight container.
You haven't cooked it enough. Just pop it back in the saucepan and cook a little longer.
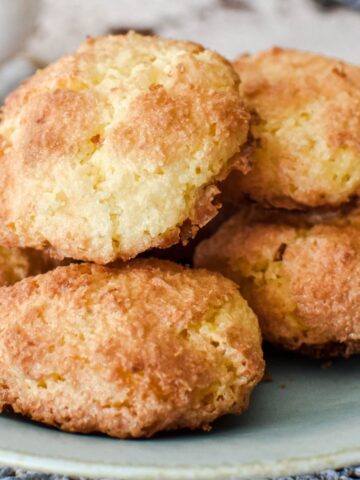
More Coconut Recipes
Made this recipe and love it? Please take a moment to rate the recipe and leave a comment below. It’s such a help to others who want to try the recipe. (And it really makes my day to hear how Nana Ling's recipes are being made, shared and loved all around the world! - Libby x)
For more fun and deliciousness in the kitchen, follow along on Facebook, TikTok and Pinterest, and subscribe for new posts via email.
Coconut Ice Recipe
Equipment
- Slice Tin (28 x 18cm/11 x 7 inch)
Ingredients
- 4 cups caster /superfine sugar (850 grams)
- 1 cup milk (250 ml)
- 2 ½ cups desiccated coconut (200 grams)
- few drops pink food colouring
Instructions
- Grease the slice tin and line with baking paper, leaving some extra either side to lift the coconut ice slab out of the tray.
- Combine sugar and milk in a large saucepan and stir over low heat until sugar is dissolved.
- Bring the milk and sugar mixture to the boil and allow to boil, stirring from time to time, for 5 minutes. You will likely have to turn the temperature down to the lowest setting (and even take the mixture off the heat for a few moments) if it starts boiling too rapidly.
- Take the mixture off the heat and add the coconut. Stir to combine.
- Return mixture to the heat and cook, stirring, for another 5 minutes. The mixture should start to thicken slightly. When ready, the consistency resembles sloppy porridge (that needs a little more cooking) and as you stir the mixture should momentarily lift from the bottom of the saucepan a little. It may need a little longer than 5 minutes but no more than 10 minutes.
- Pour half the mixture into the prepared tin and place into the fridge for 5 minutes.
- Add a few drops of pink food colouring to the remaining mixture and stir through to create an even pink colour. Place mixture on low heat to keep warm.
- Remove slice tray from the fridge and check that the mixture has set enough to pour the next layer. Use a spoon to check as the mixture may still be hot. If it's not firm enough to pour the next layer, return to the fridge for another 5 minutes.
- Pour the pink mixture onto top of first layer in the slice tin and allow to set at room temperature.
- Cut into 24 medium squares or 48 medium rectangles or 96 tiny squares.
Video
Notes
- Dissolve the sugar. Make sure the sugar dissolves in the milk over low heat before bringing the mixture to the boil.
- Is it ready? Go by cooking time and consistency. Once you've added the coconut, the mixture needs to cook again to reach the right consistency. Watch the video to get a good idea of the sloppy porridge-like consistency you're working towards.
- Is the pink mixture too stiff to pour? Add up to a tablespoon of milk and stir through over low heat to achieve pouring consistency again.
Malissa says
We're a group of volunteers and opening a new scheme in our community.
Your website offered us with valuable info to work on. You've done a formidable job
and our entire community will be thankful
to you.
Jenny says
Could you tell me what a slice tin is and what size it is?
Libby Hakim says
Hi Jenny it's a rectangular tin - 27 x 17 x 3.5 cm - usually called a slice and brownie pan or tin in Australia and available at supermarkets, kitchen stores etc
Sally Smith says
Hi Libby,
This recipe is a lot nicer than the copha one that I had. I thought a sugar thermometer was needed to make coconut ice the "proper" way. Alcohol sugar thermometers don't seem much good so I bought a mercury (laboratory) one - probably illegal but it works well for preserves. I wondered what the "correct" temp is for coconut ice - any hints would be very welcome. Can't rate yet but will when I've tried it.
Sally Smith
Sue says
Thank you! Just one thing to point out: the tray should be 28x18cm, not 28x8! Fortunately I checked the inches too before making this in a loaf pan. 25x20cm also works as that's about the same area.
For what it's worth, I measured and weighed the sugar (regular sugar - we can't get castor sugar where I live) and 4 cups came to 800g. I used coconut milk as we're dairy-free, and also measured the coconut since weights vary immensely with desiccated coconut. 2.5 cups was 180g.
Also, since I don't like using food colourings, I stirred 20g dark (vegan) chocolate into the second half of the mixture - I didn't melt it first, just broke it roughly and it melted in the heat of the mixture. It all set beautifully.
Libby Hakim says
Hi Sue. Thanks for this great feedback and leaving a rating - much appreciated! I've corrected the typo. The weights will vary, I agree. Happy cooking!
Josie says
Also...why is it so crumbly?
Libby Hakim says
It is harder and a little more crumbly than the more fudge-like condensed milk version. But it shouldn't crumble apart. If it does, you need to add a little more liquid.
Josie says
I made these with regular sugar...the white part I put in fridge didn't harden up...the pink part that didn't go in fridge did harden up...why did that happen do u think?
Libby Hakim says
Hi Josie. That's unusual if both were cooked for the same time - I'm not really sure what is going on there, sorry! I don't imagine the colour would make it set. Sorry I can't be of any more help!
Hen says
Does the milk have to be full cream, and/or almond milk??
Libby Hakim says
Hi Hen. People have made it successfully with soy and coconut milk, so I'm guessing both low fat and almond milk would also work fine. Happy cooking!
Mill says
Hi thanks for sharing your recipe i love coconut i can't wait to try it out i didn't know you have to put it on the stove but I can't wait to try it out have a great weekend
Libby Hakim says
You're welcome, Mill!
Barbara says
Sadly I shall not use this again.
Libby Hakim says
Hi Barbara - that's a shame as this recipe generally gets great ratings and reviews. Was there a particular problem you encountered?
Helen says
Hi
I know you gave the nutritional value for this, so I apologise for asking a daft question but does it refer to all of it or per square (see, daft)
Libby Hakim says
Hi Helen - not daft at all as it doesn't actually say! But it is per serve. Definitely something to enjoy in moderation! The nutritional info gets pulled out automatically so I might see if I can change the template to specify per serve as this quesrtion has been asked before. Thanks and happy cooking!