
Freshly-popped, fluffy popcorn coated in a thin, sweet and crunchy honey caramel. This Honey Popcorn will disappear fast!
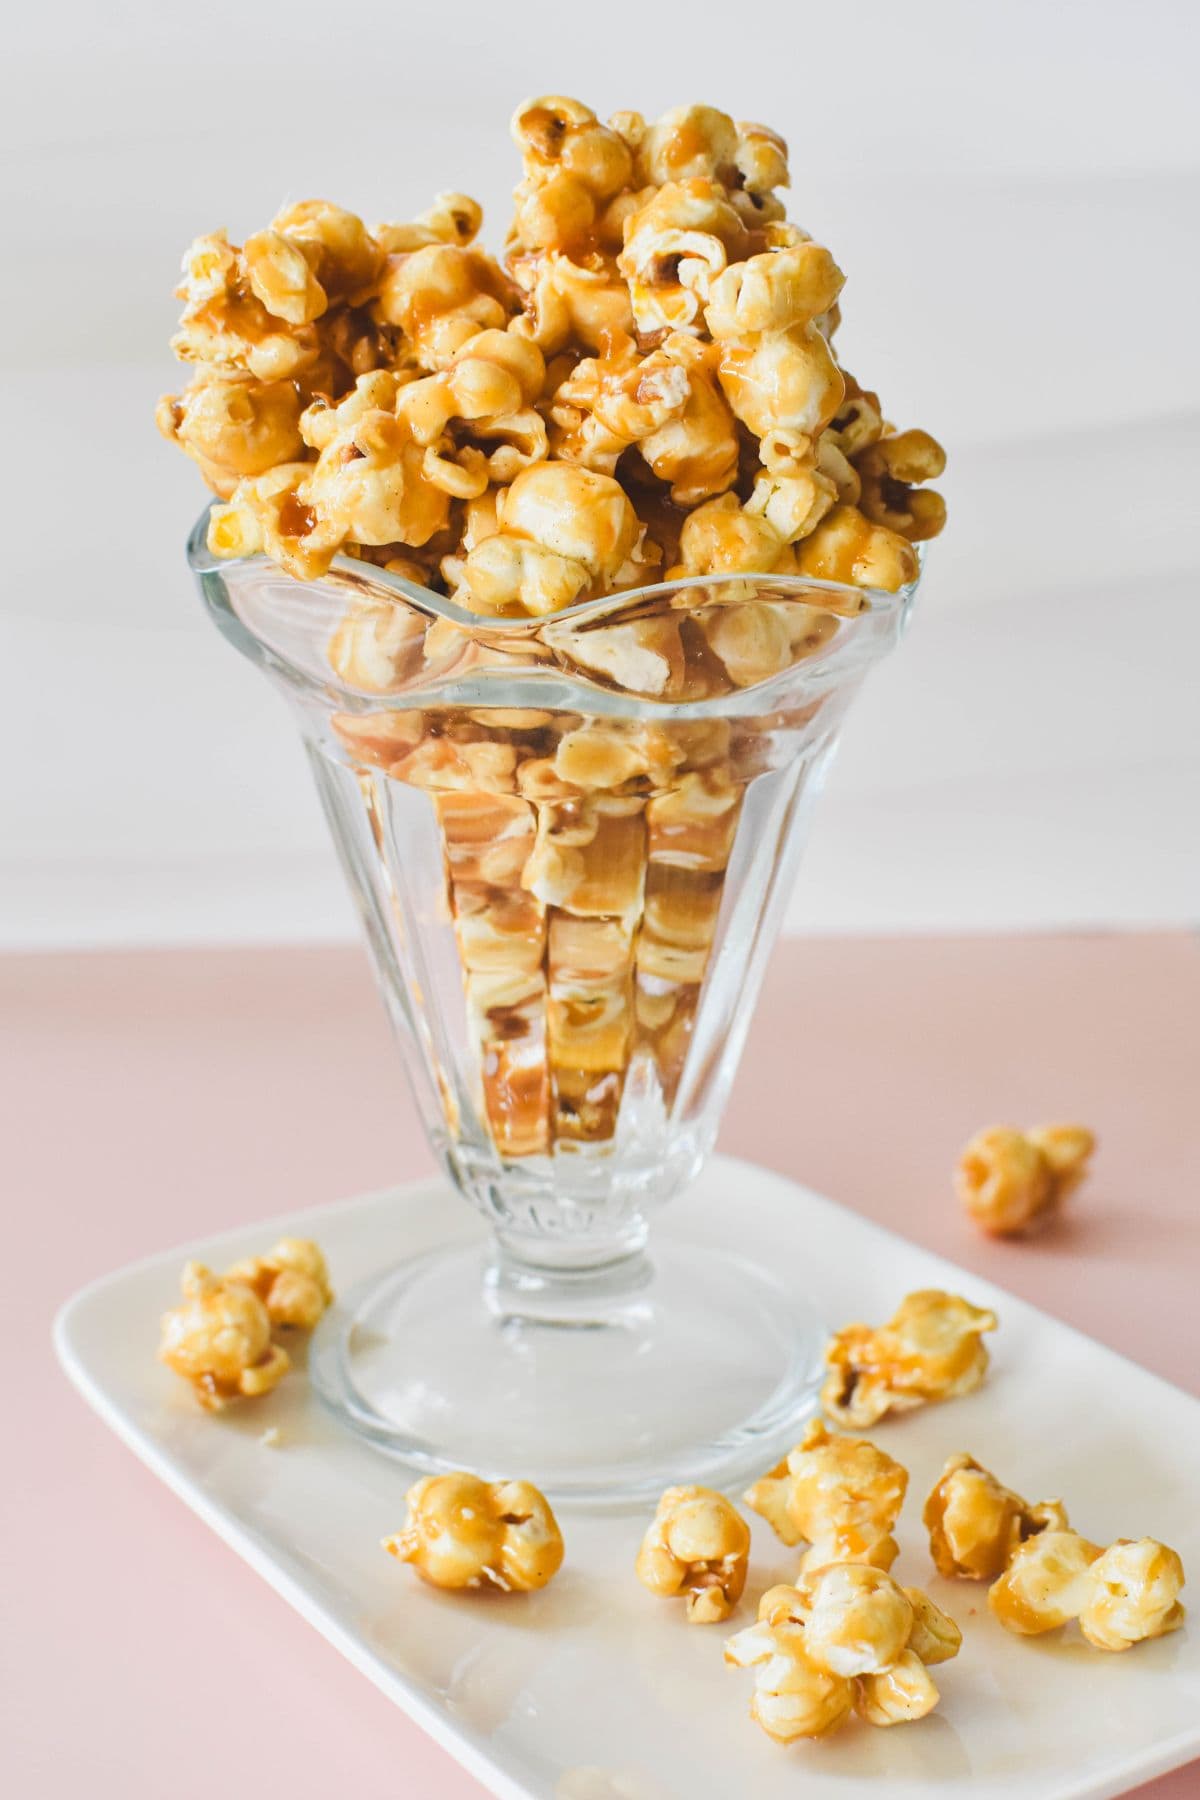
Also known as Butterscotch or Caramel Popcorn or Cracker Jack, this type of popcorn is my type of popcorn. And the homemade version is exponentially better than what you can buy at the supermarket.
The recipe can be traced back to the US in the 1800s – but this recipe uses honey instead of corn syrup and molasses.
Ingredient notes
Freshly popped popcorn works best for this recipe. You could buy popcorn, but you'll need 10 cups, which is several large bags from the supermarket. Bought popcorn isn't as fresh, obviously. And popping it yourself is easy provided you have a heavy-based saucepan with a lid. You can buy popping corn kernels at the supermarket and you just need some oil (vegetable is perfect but canola is also good) and butter to cook it in.
Honey Popcorn also requires honey! Buy raw, local honey if you can – it's so much tastier and better for you and the environment. (And, if you love honey, check out the recipes for Honey Jumbles, Honey Joys, Honey Biscuits, and Honey Snaps.)
Making the coating for the popcorn also requires butter and caster sugar.
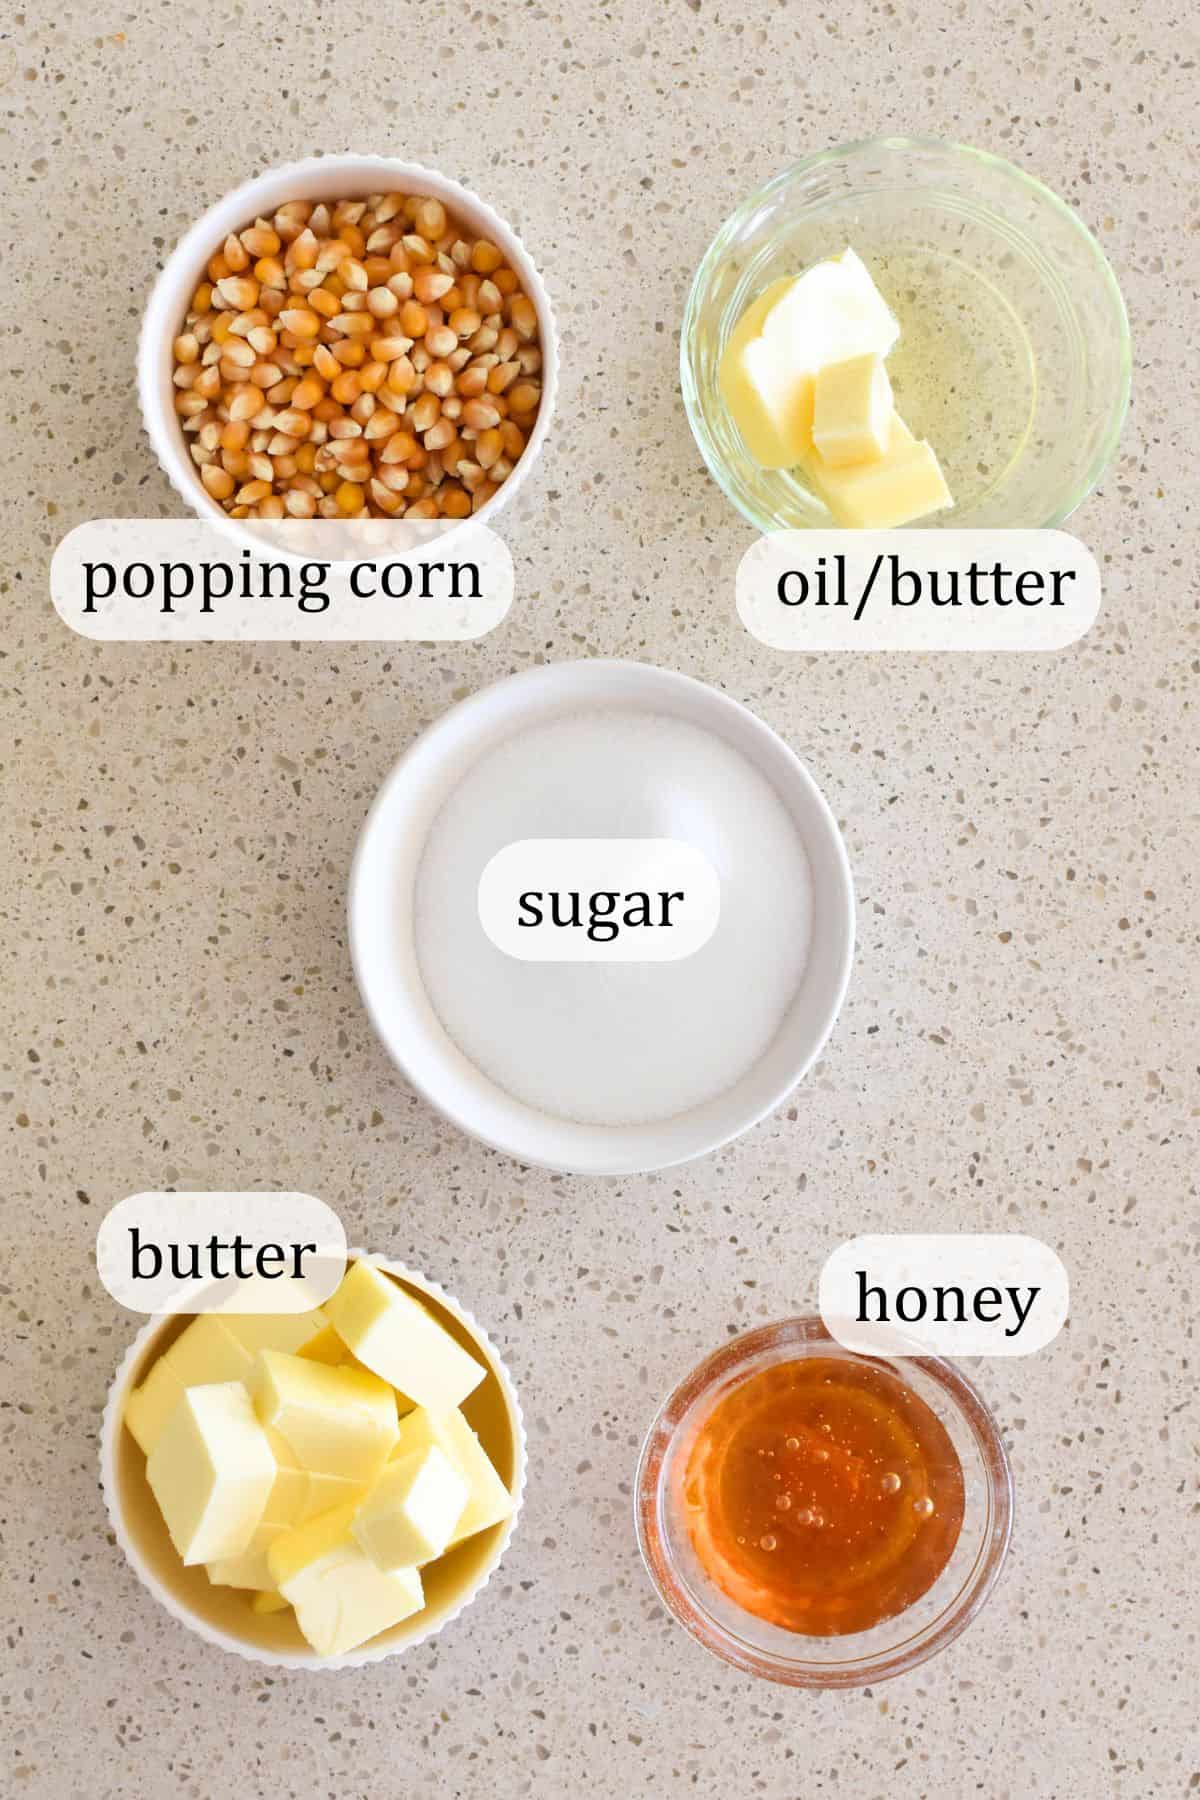
See the recipe card at the end of this post for ingredient quantities.
Variation idea
Substitute 1 cup of the popped corn with ½ cup salted peanuts for a boost of saltiness and that original "Cracker Jack" taste.
How to make Honey Popcorn
Grab a very large baking tray – I use a 28 x 38 x 6cm tray. If you don't have such a large baking tray, use two. Line the tray or trays with baking paper.
The popcorn
Okay, start by popping the corn kernels. This is the fun part!
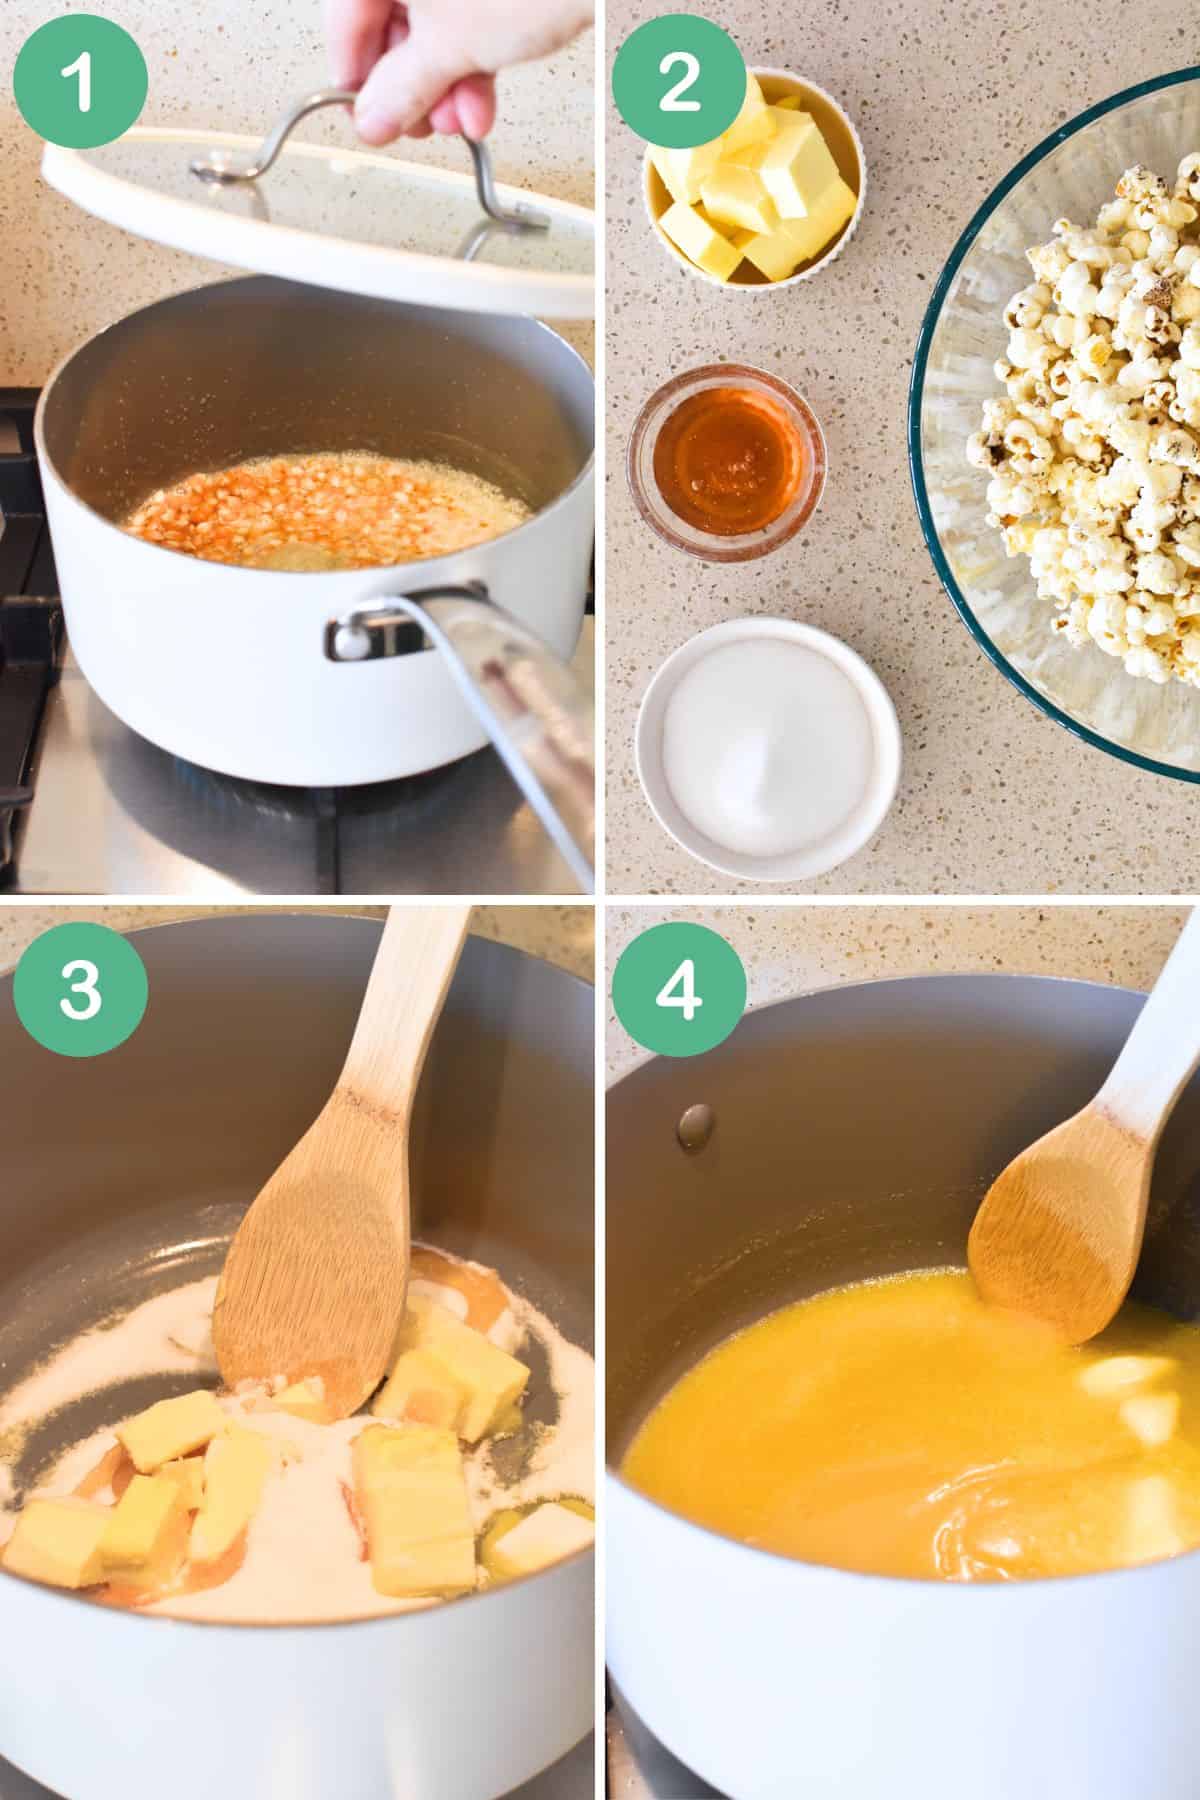
Place the oil and first measure of butter in a medium heavy-based saucepan, Remember, you'll need a lid for that saucepan. Heat the oil and butter over medium/high heat until the butter has melted. Then, add the popping corn kernels and place the lid on the saucepan (see image 1).
Once the corn is popping rapidly, turn the heat down to low and keep the saucepan over the heat until the popping slows. Turn the heat off.
Once the popcorn has cooled a little, transfer it to a bowl. You should have about 10 cups of popcorn.
TIP: Make sure to remove any of the hard, un-popped kernels.
Okay, so now you have your popcorn and the honey caramel ingredients (see image 2).
The honey caramel
Add the sugar, second measure of butter and honey to a large saucepan (see image 3).
TIP: The saucepan should be large enough to allow popcorn to be added once this mixture cooks.
Place the saucepan over low heat, and stir the ingredients gently until the sugar has dissolved (see image 4).
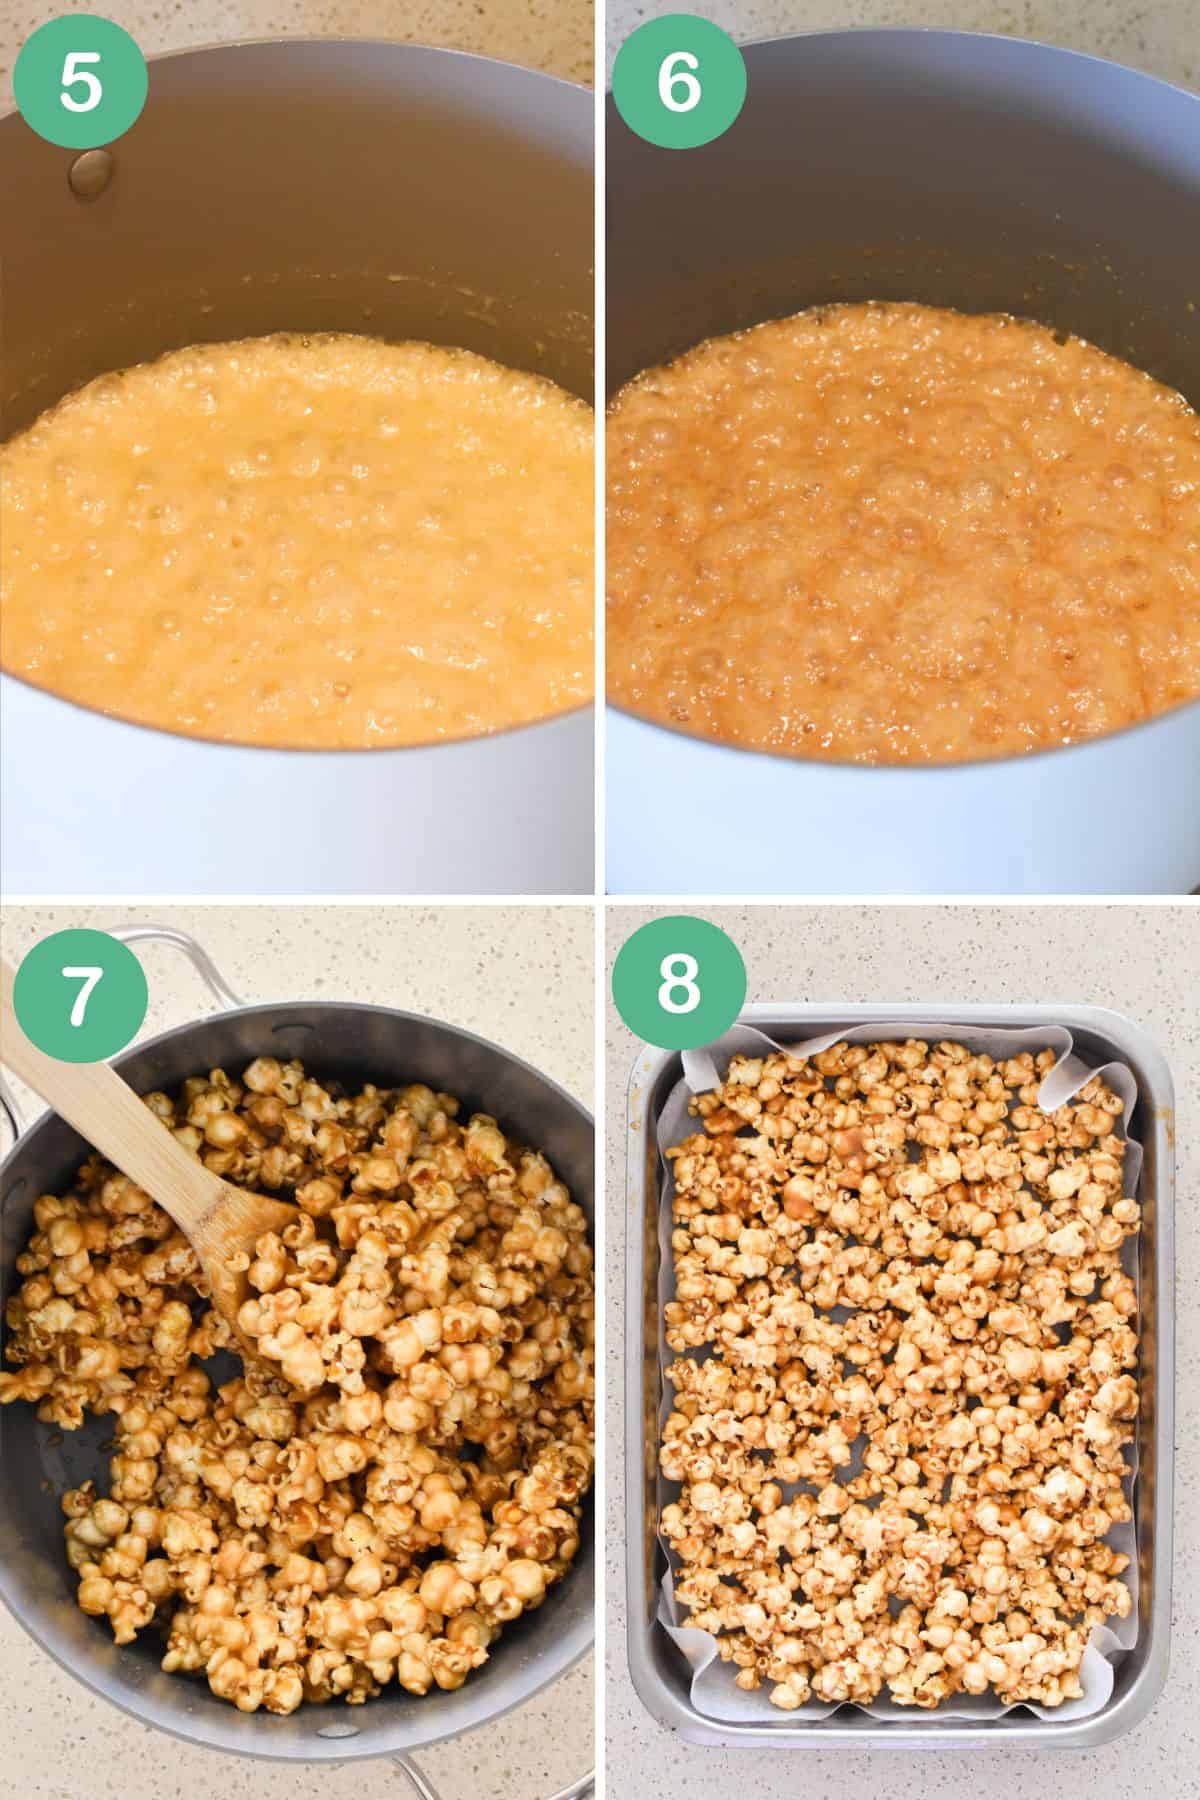
Bring the mixture to a steady simmer (see image 5). You may have to raise heat to low-medium. Simmer for 5 minutes or until the mixture changes from a yellow colour to a more golden, light caramel colour (see image 6).
TIP: Keep an eye that the mixture doesn't start simmering too rapidly – you don't want to risk burning the mixture.
Turn off the heat and add the popped corn to the mixture in the saucepan. Stir to ensure all of the popcorn is coated in the mixture (see image 7). Pour the popcorn onto the baking tray (see image 8) and allow it to set at room temperature. Once set, you can break the popcorn into smaller pieces.
Storage
Stored in an airtight container, your Honey Popcorn will keep for up to 2-3 weeks. You might have to hide it, though, if you want it to last that long!
More sweet stuff
Looking for other recipes like this? Try these:
Made this recipe and love it? Please take a moment to rate the recipe and leave a comment below. It’s such a help to others who want to try the recipe. (And it really makes my day to hear how Nana Ling's recipes are being made, shared and loved all around the world! - Libby x)
For more fun and deliciousness in the kitchen, follow along on Facebook, TikTok and Pinterest, and subscribe for new posts via email.

Honey Popcorn Recipe
Equipment
- medium heavy-based saucepan with lid
- large saucepan
- large baking tray (at least 28 x 38 x 6cm) or 2 smaller baking trays
Ingredients
- ½ cup popping corn kernels (115 grams)
- 2 tablespoons vegetable oil
- 2 tablespoons butter (40 grams)
- ¾ cup caster sugar (160 grams)
- 125 grams butter
- 2 tablespoons honey (60 grams)
Instructions
- Line a very large baking tray (or 2 x baking trays) with baking paper.
- Place oil and first measure of butter in a medium heavy-based saucepan (that has a lid). Heat over medium/high heat until butter has melted and then add the popping corn kernels. Place lid on saucepan. Once corn is popping rapidly, turn heat down to low and keep saucepan over heat until popping slows. Turn heat off.
- Once popcorn has cooled a little, transfer popcorn to a bowl. Make sure to remove any un-popped kernels. You should have about 10 cups of popcorn.
- Add the sugar, second measure of butter and honey to the large saucepan. (Saucepan should be large enough to allow popcorn to be added once this mixture cooks).
- Place saucepan over low heat, stirring, until sugar has dissolved. Bring to a steady simmer (you may have to raise heat to low-medium) and simmer for 5 minutes or until the mixture changes from a yellow colour to a more golden, light caramel colour.
- Turn off heat and add popped corn to the mixture in the saucepan. Stir to ensure all of the popcorn is coated in the mixture.
- Pour popcorn onto baking tray and allow to set at room temperature.
- Once set, break apart into smaller pieces and store in an airtight container.

julie Trenna Cahill
I will be making this for when my grandkids come next time, thanks Libby
julie Trenna Cahill
I will be making this for when my grandkids come next time, thanks Libby
Libby Hakim
Great recipe! Hope you love it