
Here, you'll discover how to tell when jam is ready.
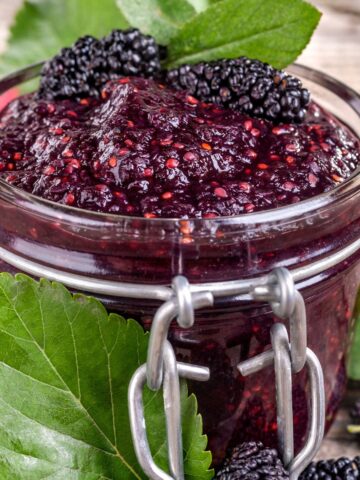
If you've ever tried homemade jam, you'll know that there truly is no comparison with store-bought jams.
Not only does it taste exceptional, it's also a great way to use excess fruit that may otherwise go to waste.
However, if you've ever tried to make homemade jam, you'll also know it can initially be a little tricky. Until now.

The jam-maker's dilemma: is it ready to take off the stove?
Part of the fun in jam-making is the experimentation. You can change the fruit combinations, leave it a little chunkier, add a little vanilla or other flavour and make it just how you like it.
A big barrier for wannabe jam-makers, though, is the uncertainty involved in knowing when your jam is ready to take off the stove.
The result of not knowing when to take it off the stove can be disaster. I'm not sure what's worse, sloppy jam or toffee jam.
So, to save you from disaster, here are three ways to tell if your jam has reached setting point.
The wrinkle method
One of the most popular ways to test homemade jam when it's cooking is to take a teaspoon of jam from the saucepan and place it on a saucer that's been in the fridge.
If the jam is ready, you should see a wrinkle effect when you hold the saucer up vertically to allow the jam to run (or when you push the jam with your finger).
While it's a popular method, I find this method a little fiddly, especially if you're new to jam-making. When I relied on this method only, I ended up spooning out half the pot before I though it was ready!
The temperature method
There's a general rule that you should bring jam to 105 degrees celsius before removing from the heat.
Sounds like a great method, however we don't all have a sugar thermometer on hand.
The foolproof method
I've come to rely on my own "foolproof" method for making perfectly set jam.
First, there's a little cheating involved. I use jam-setting sugar rather than regular sugar. Shhh. It may be cheating a little, but it's just way too easy to make jam with this special sugar.
Second, I read the packet of the jam-setting sugar for the recommended cooking time and use this as a guide.
Even though there's a cooking time specified on the packet, it can still vary a little depending on the fruit you use. So, you need to watch your jam closely. Swirl it around as it cooks from time to time, and you'll notice a subtle change.
At first, the jam is a water-like consistency. When it's ready to take off the stove, it will be a little thicker and stick to the pan slightly as it swirls.
Because you've used jam-setting sugar, this process takes very little time, usually in the range of 5 to 15 minutes.
At first, you can combine it with the wrinkle method so you can get familiar with what your jam should look like when it's reached setting point.
Ready to make jam?
There's a lot to be said for practice makes perfect.
By relying on my foolproof method, you'll get a feel for when your jam is ready. It may take a little trial and error at first , but it really is worth breaking through that barrier as homemade jam is simply unbeatable. And with the foolproof method, it's so easy.
And if you are looking for some great jams to make, browse through the Cooking with Nana Ling jams and condiments recipes here.


Julie Henson
can you fix jam that has set too long, is so stiff you can't spread it?
Libby Hakim
You can try! Pop it back in the saucepan and heat gently while adding a little more water. It may work, however sometimes it won't thicken again and sometimes it has a burnt sugar taste you can't eliminate... but it's worth a try! Good luck!