
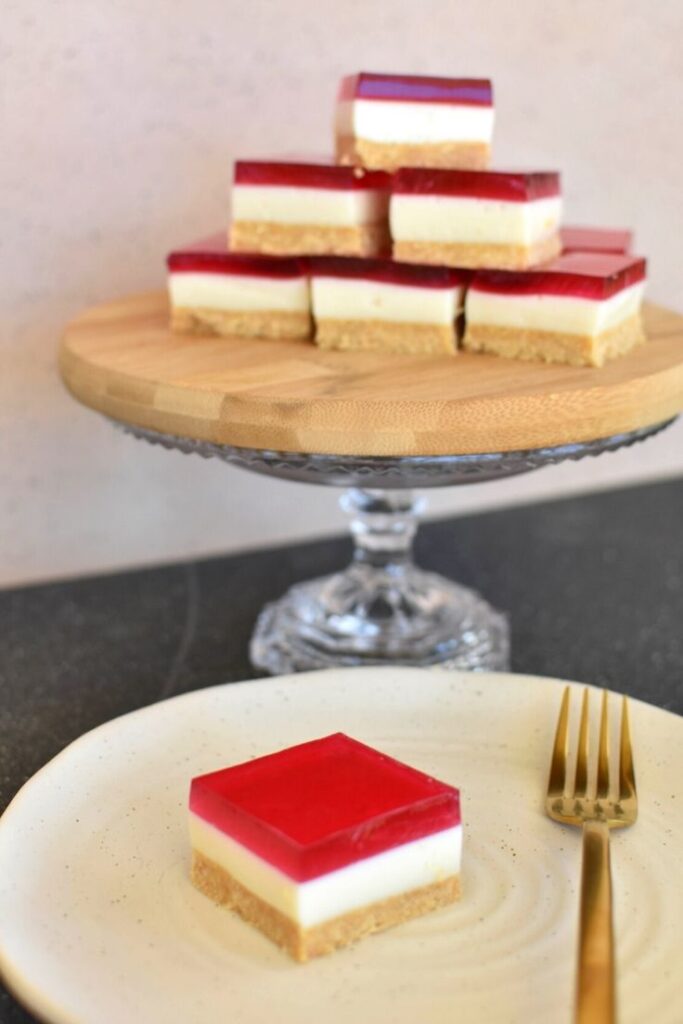
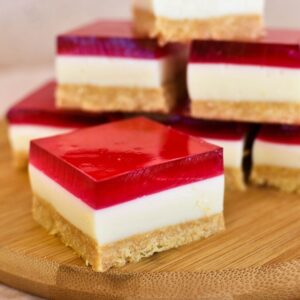
This fun and colourful no-bake Jelly Slice is as delicious as it looks, with a buttery biscuit base, lemon and condensed milk filling and – of course – the sweet jelly topping.
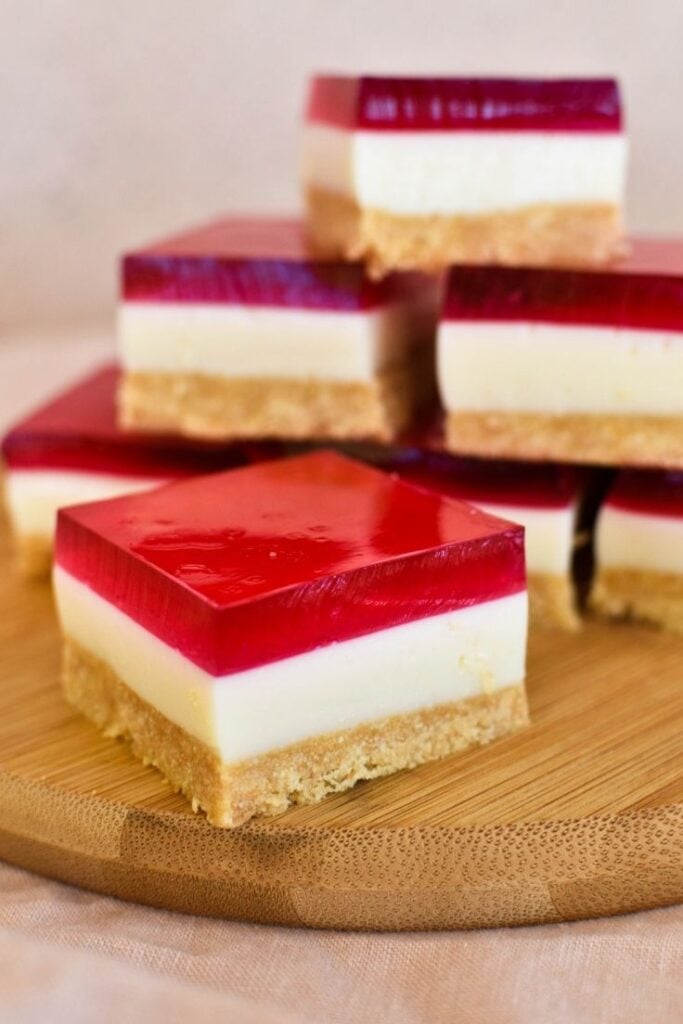
It really is an eye-catching dessert that will be a hit with little kids and big kids alike. Parties, Christmas, bring-a-plate gatherings... you'll be the most popular person there if you serve up this classic.
I've used the tried and true recipe used in Aussie kitchens for decades here, because it really is the best jelly slice recipe.
Below, I break the process into five easy steps. The recipe card at the very end of the post also includes all of the exact quantities and directions.
The original, old-fashioned, unbeatable Jelly Slice recipe
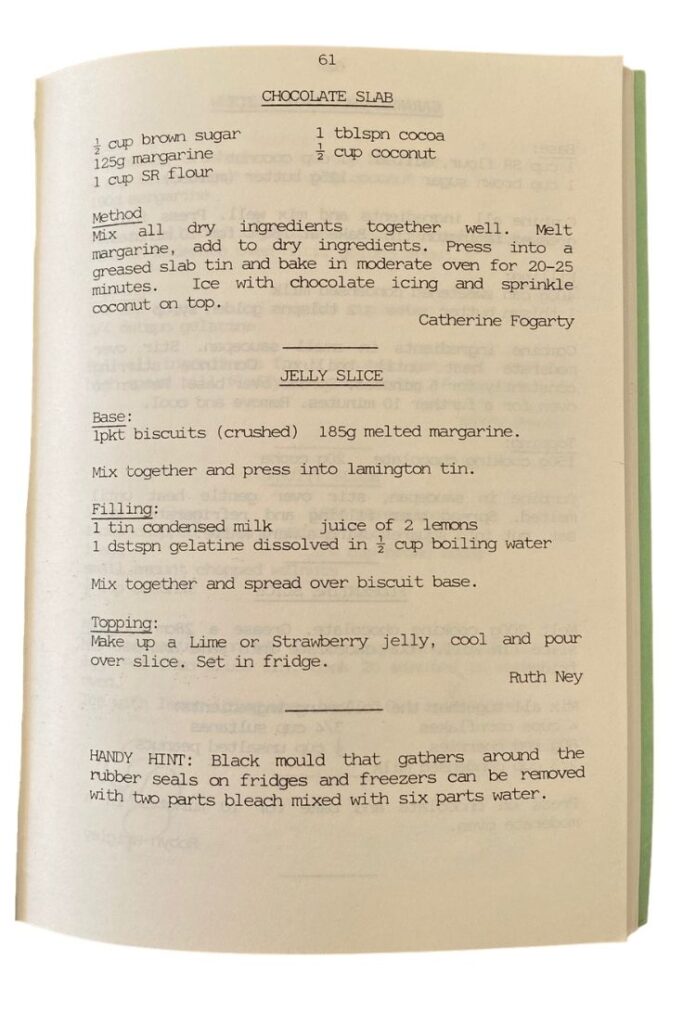
This recipe is a popular one and various versions have been shared around for decades. I've based my recipe on one from a community cookbook, The Lourdes Hospital Recipe Book, 2nd Edition. This hospital is in Dubbo, NSW Australia and the original author is Ruth Ney. The cookbook is part of my mum's collection.
I have, however, tweaked the original recipe a little and clarified the instructions. So please keep scrolling past the image of the original recipe below to the recipe card which is further below.
Jelly Slice ingredients
To make this triple layered treat you'll need these 7 ingredients:
- plain biscuits (Arrowroot, Nice, Marie or a combination of those work well)
- butter
- condensed milk
- lemon juice
- gelatine powder
- jelly crystals
- water.
I've used raspberry jelly here but you can use your preferred jelly flavour to make this easy Jelly Slice recipe.
How to make Jelly Slice
It takes only about 15 minutes to make, however there is some setting time involved.
I find it best to make it the day before.
Step 1: Prepare your jelly topping
Before you do anything else, make up the jelly topping.
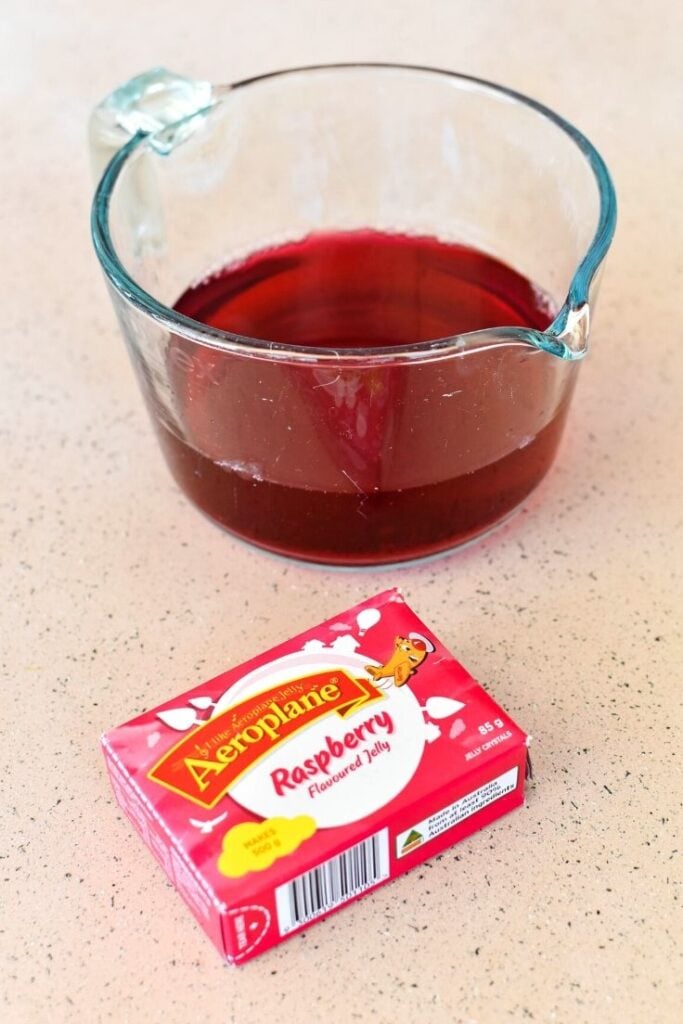
Using your favourite flavour of jelly crystals (mine is raspberry for both the colour and flavour), add 1 cup of boiling water, as per the instructions on the packaging.
Once you've stirred this well, add just 150ml of cold water and stir to completely dissolve the jelly crystals. Note that this is 50ml less than the packet instructs. By adding less water, this will ensure a nice, firm jelly topping that holds together when you cut your slice up into squares.
I've used Aeroplane jelly in this recipe. If you're using a different brand of jelly, which may have slightly different instructions, just apply the same principle when making it up. Add a little less water for firmer jelly.
Once you've made up the jelly, set it aside so that it can cool to room temperature. Don't place it in the fridge – we're aiming for room temperature.
Step 2: Create the biscuit base
Now it's time to create the base.
First, though, grease a slice tin (27 x 17cm) and line the base of it with two layers of baking paper. Allow the baking paper to overhang each side. This will help you to remove the slice from the tin once it's set and you're ready to slice it up.
Choose your favourite plain biscuits – I've used half a packet of Arrowroots and half a packet of Nice here – and chop them into a breadcrumb texture.
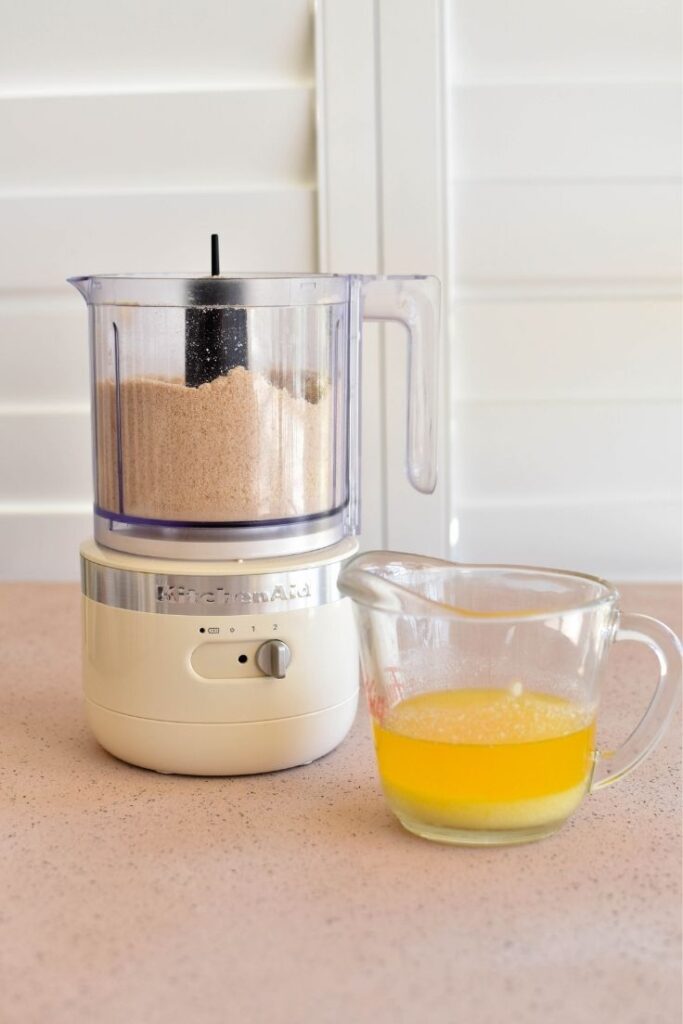
You can use a rolling pin, food processor or food chopper.
Melt the butter in the microwave or on a stovetop and then combine with the biscuit crumbs.
Press the biscuit mixture into the slice tin and then place it into the fridge to set while you move on to the next step.
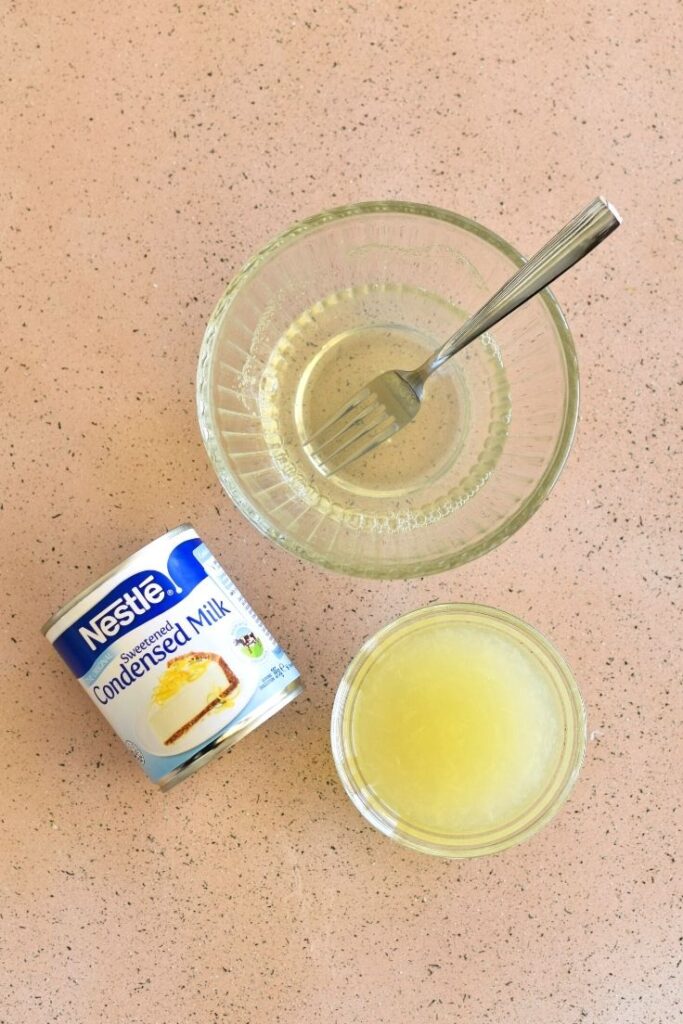
Step 3: Mix up the middle layer
Okay, so this step just involves mixing all of the ingredients together until they're well combined and the mixture is smooth:
- tin of condensed milk
- juice of two lemons (½ cup)
- 2 teaspoons of gelatine mixed with ½ cup of boiling water.
Once you have a beautiful smooth and creamy filling mixture, remove the slice tin from the fridge and pour over the filling mixture.
Return the slice to the fridge to set. You'll need to leave it in the fridge for at least one hour.
Step 4: Get set
You can add the jelly layer once the jelly has reached room temperature and the filling layer has been in the fridge for at least an hour.
Before adding the jelly layer, I recommend placing the slice tin into a larger container. This will make it easier to transfer the slice to the fridge once the jelly layer has been added. The slice tin will also be quite full once you have added the jelly layer and the container can catch any spills (rather than your floor or fridge) if you get the wobbles transferring it to the fridge.
When pouring the jelly, there is a risk that the pour will dig little holes in your filling layer if the filling layer is still a little soft. To prevent this, use a spoon to disrupt the flow. So, pour the jelly slowly onto a spoon held above the slice tin and the pour will not be centred in one spot.
Once you transfer the slice, complete with jelly layer, back to the fridge you should leave it for at least six hours to set.
Step 5: And... go!
Ready? (Jelly) Set?
Go!
This sweet treat looks so tempting that it will be hard to wait for it to set.
But please, do wait!
Once it's set you can remove the slice from the tin using the overhanging baking paper to ease the whole slab of slice from the tin.
Occasionally, the baking paper might rip as you're attempting this removal. If it does, don't stress. Simply cut one row in the tin and remove piece by piece and then use a spatula to remove the remaining slab of slice.
Cut into 24 pieces using a sharp knife.
Enjoy!
Jelly Slice FAQs
Q. How long does this slice last?
The slice should keep in the fridge for up to five days.
Q. Does it need to be kept in the fridge
Yes! Particularly if the weather is warm. If you serve this slice on a platter be sure to get the leftovers back in the fridge pronto to avoid the jelly melting.
Q. Are there any popular variations?
The jelly flavour is the easiest way to alter this slice recipe. Love strawberry jelly slice? Use strawberry jelly. Want green jelly slice? Use lime jelly. Another favourite of mine is Port Wine jelly.
You could also try chocolate biscuits for the base and I've even seen people mix 100s &1000s through the middle layer for a fairy bread version of this slice.
Q. Do you have any other jelly recipes?
I sure do!
If you love this jelly recipe, you might like these other jelly recipes from the Cooking with Nana Ling collection:
- Jelly Lamingtons
- Broken Glass Jelly
- Jelly Crystal Cookies
- Flummery (Jelly Whip)
- Mini Trifles
- Classic Trifle.
Q. Do you have any other slice recipes?
So many! Check out the ever-popular Mars Bar Slice recipe, Hedgehog Slice recipe, Lemon Slice, Peppermint Slice and the entire slice collection here.
Jelly Slice
Ingredients
Biscuit Base
- 250 grams plain biscuits (Arrowroot, Nice, Marie or a combination of those work well)
- 185 grams butter, melted
Lemon Filling
- 395 gram tin of condensed milk
- ½ cup lemon juice (juice from approx 2 large lemons)
- 2 teaspoons gelatine powder
- ½ cup boiling water
Jelly Topping
- 85 gram packet jelly crystals (raspberry or another preferred flavour)
- 250 ml boiling water (1 cup)
- 150 ml cold water
Instructions
- Prepare the jelly topping by mixing the jelly crystals with the boiling water and then cold water until crystals are dissolved. Note that we are making up the jelly using 50ml less water than the instructions on the package.
- Leave the jelly out so it cools to room temperature.
- Grease a slice tin (27 x 17cm) and line base with two layers of baking paper, allowing the baking paper to overhang each side (to assist with removal once it's ready to slice).
- Crush the biscuits until they resemble fine breadcrumbs using a rolling pin, chopper or food processor.
- Add melted butter to the biscuit crumbs and stir to combine.
- Press the biscuit mixture into the bottom of the slice tin and smooth with the back of a metal tablespoon. Place into fridge.
- Pour condensed milk into a bowl. Add the lemon juice and use a whisk to combine.
- Dissolve gelatine in the boiling water and then add this to the lemon and condensed milk mixture. Use the whisk to combine.
- Remove the slice tin from the fridge and pour over the filling mixture. Return to fridge for at least one hour to set.
- Once jelly has reached room temperature and filling has been in fridge for at least one hour, remove the slice tin from the fridge and place in a larger dish (this will make it easier to transfer to the fridge and catch any jelly spills).
- Pour the jelly over the second layer of the slice. (TIP: Pour onto a metal spoon to break up the flow and avoid the direct flow creating a hole in the filling layer of the slice).
- Return to the fridge and allow to set for at least 6 hours.
- Remove slice from tin using the overhanging baking paper to ease the whole slab of slice from the tin. (TIP: If this method doesn't work, cut one row in the tin and then use a spatula to remove the remaining slice.) Cut into 24 pieces using a sharp knife.
Video
Notes
- You can make this slice in advance as it should keep in the fridge for up to five days.
- Store in the fridge, particularly if the weather is warm. If you serve this slice on a platter be sure to get the leftovers back in the fridge pronto to avoid the jelly melting.
- The jelly flavour is the easiest way to alter this slice recipe. Love strawberry jelly slice? Use strawberry jelly. Want green jelly slice? Use lime jelly. Another favourite of mine is Port Wine jelly.
- Make sure you use the lesser quantity of water when making up the jelly as indicated in this recipe. Do NOT make up the jelly according to the packet instructions as it will not set firm enough to cut into a slice.
- Don't be tempted to rush this recipe. You need to make sure all layers have set to get that lovely and defined 3-layered effect.
Aimee Eversen
Hi, would limes work in place of the lemon juice? i have some limes but couldn't get lemons this week at the shop!
Libby Hakim
It does work, I've tried this myself before. It will taste a little different, obviously - but if you like limes that's not a problem! Happy cooking!
Christine Whelan
can you use reduced fat in the condensed milk
Libby Hakim
Hi Christine. You could give it a try but I haven't tested the recipe with reduced fat so can't guarantee the outcome. Happy cooking!
Libby Hakim
Hi Tori. Perhaps the slice and/or filling weren't set enough? And the jelly should be at room temperature rather than warm. Also, was the biscuit mixture pressed firmly into the tin? These are the likely culprits, I'm thinking.
Stefanie Fischer
Why pour the jelly onto the slice before it has set
Libby Hakim
So it sets as a layer of the slice rather than having chunks of jelly on top 😄
Becacooks
trying it... with a green tree on a red jelly top...
Clive Baines
Hi there Libby.
can I use jelly cubes with less water instead of jelly crystals.
thanks ...Clive .
Libby Hakim
Hi Clive. Sorry, but I don't know what you mean by jelly cubes and have only tested this recipe with jelly crystals.
Sarah
I’ve used this recipe several times now and it’s definitely a favourite in the house.
Libby Hakim
That's great to hear, Sarah! Thank you so much for the rating and review - much appreciated. Happy cooking! Libby x
Julie
This jelly slice is delicious and five star on taste and presentation
Libby
Thank you!!😘