
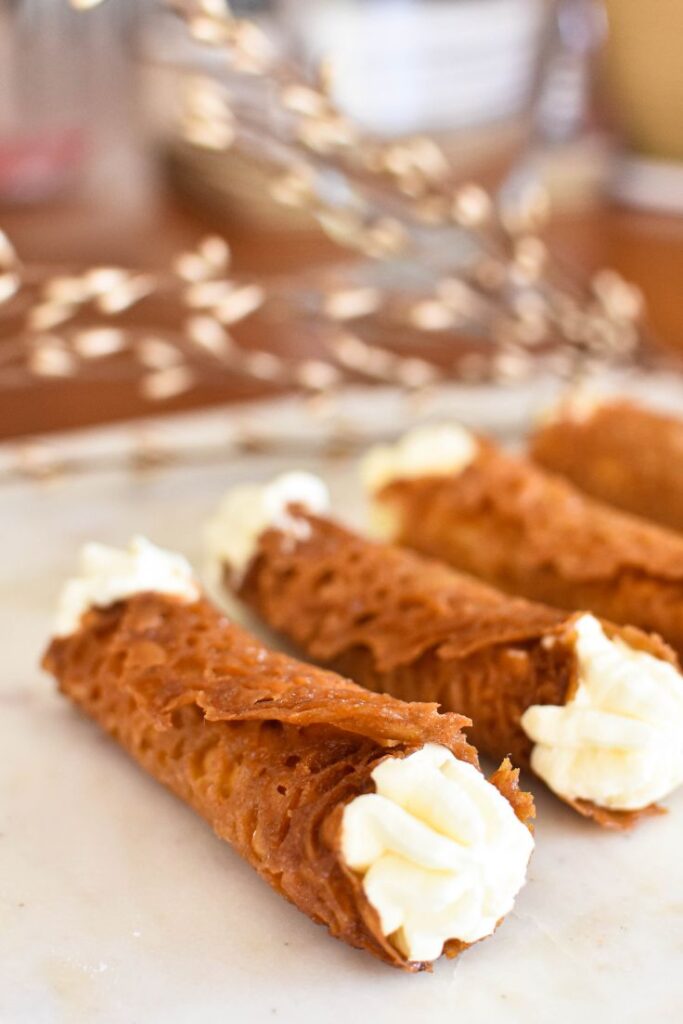
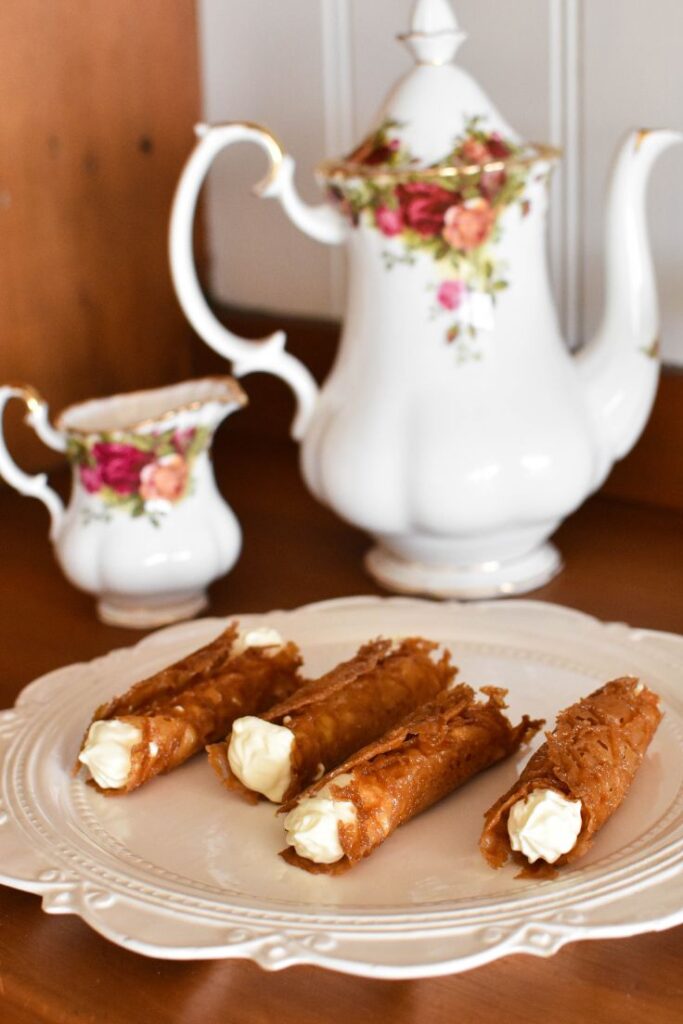
Brandy Snaps are a "special occasion" kind of treat, combining a crispy golden crunch with the pure decadence of smooth whipped cream.
Brandy Snaps are particularly popular in the UK, Australia and New Zealand.
They might be compared to Italian Cannoli, but I think Brandy Snaps are in a class of their own!
Jump to:
Why we LOVE this delightful dessert
- They're packed with memories. The primary-school-aged me remembers them perfectly shaped and lined up in rows on my Aunty Judy's kitchen bench in the 80s.
- They're one thing that is still usually reserved for Christmas or special occasions only – and I understand why after making them myself!
- While the mixture is simple and quick to make, baking them off and shaping them into those neat little tubes I remembered was a little fiddly. But I've got all the tips and tricks here in this Brandy Snap recipe to help you find success – even if it's your first attempt!
- The fact that they are a little fiddly to make and need to be filled just before serving means we don't often see them in the shops or on menus. Whiuch makes them almost exclusively homemade treats. Made with LOVE and a little home cook know-how, this makes them all the more irresistible.
Ingredient notes
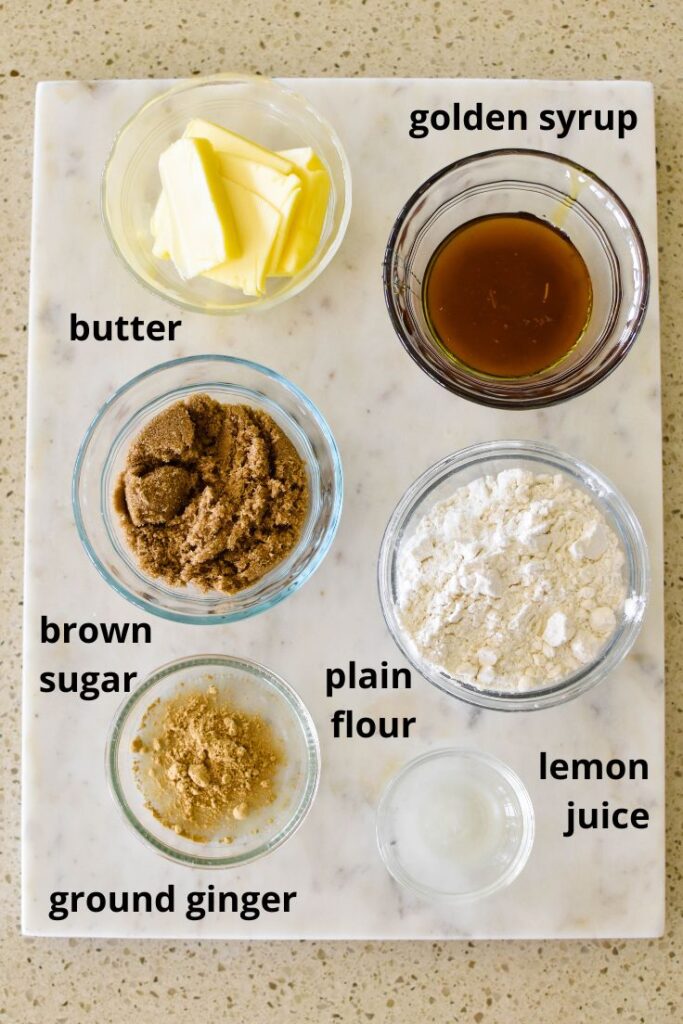
To make Brandy Snaps you'll need these simple ingredients:
- butter
- brown sugar
- golden syrup
- ground ginger
- plain flour (all purpose flour)
- pinch salt
- 1 teaspoon lemon juice.
The filling
You'll also need thickened cream to fill them before serving. You could alternatively fill with Brandy Custard, whipped cream cheese or flavour the cream with a little brandy, Bailey's Irish Cream, cocoa, or anything else you fancy.
But you really can't beat the simplicity of whipped thickened cream!
Is there brandy in Brandy Snaps?
There's actually no brandy in most Brandy Snaps recipes.
Historians suggest the name "first appears in glossaries of Northcountry words starting with that of John Trotter Brockett in 1825, with a suggestion that the name comes from 'branded' as in burned."
How to make Brandy Snaps
Prepping
The recipe I've used here is based on my Aunty Judy's recipe and a few others I found in old Australian newspapers and cookbooks.
Start by pre-heating your oven to moderate (180 degrees celsius, fan-forced) and greasing a baking tray.
TIP: If this is your first time making Brandy Snaps or you haven't made them for a while, I recommend baking only two at a time on one baking tray.
EQUIPMENT: Use two or three baking trays so you can rotate them as you go. You'll also need a wooden spoon with a small cylindrical handle – preferably two to make it easier to roll and cool your Brandy Snaps.
Making the mixture
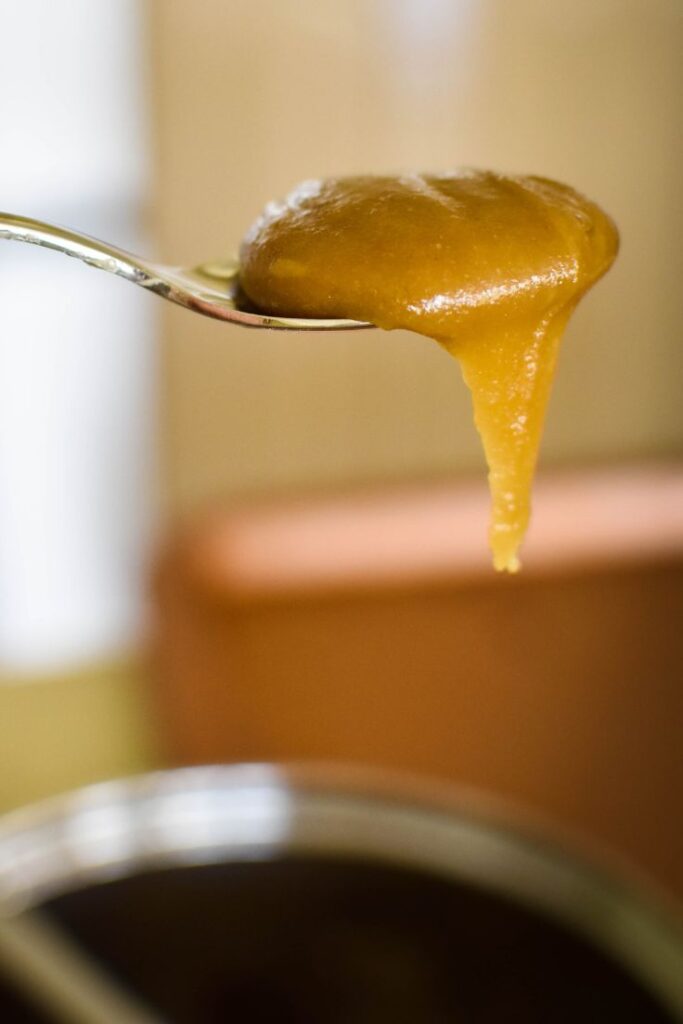
Measure out butter, sugar, syrup and ginger into a saucepan. Stir over low heat until melted and dissolved. Do not allow the mixture to simmer.
Remove from heat and stir in sifted flour and salt. Next, stir in the lemon juice.
Baking the snaps
Drop teaspoons of mixture onto your well greased baking tray. Place at least 10cm apart. Remember, it's easier to cook two at a time only to begin with (so you can get familiar with the process).
Bake for about 7 minutes or until spread out, bubbling and a golden brown colour.
Rolling the snaps
Remove from the oven and allow to cool for about a minute. The bubbling should have given the snaps a lace-like look.
Slide a spatula under the snap. It should be soft but able to be moved without breaking apart.
Wrap around the handle of a wooden spoon to form a tube.
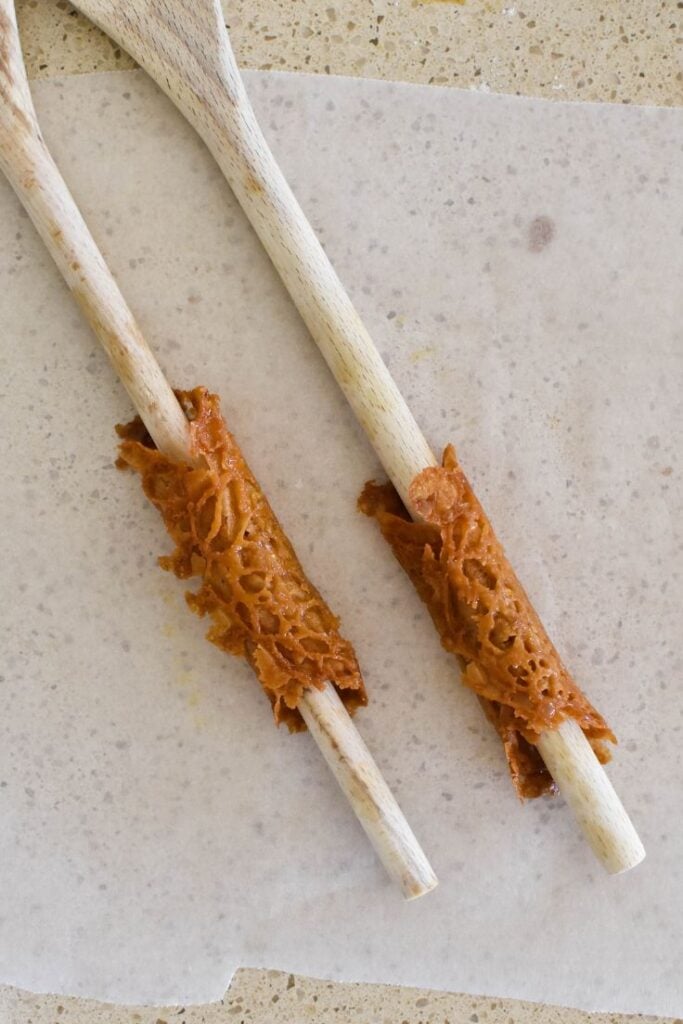
Allow to cool for a couple of minutes with overlapping edges at top before removing the spoon handle and placing the Brandy Snap on a cooling rack to cool completely.
TIP: Keep baking off Brandy Snaps in lots of two until you get more confident in the process and can manage more at once.
Once all the brandy snap tubes are completely cool store in an airtight container until you are ready to fill and serve them.
Filling the tubes
When you're ready to start your Brandy snap celebration, simply whip cream and then pipe into the brandy snap tubes.
TIP: Fill as closely as possible to the time you are serving the snaps. If you allow them to sit for too long, the cases will start to soften.
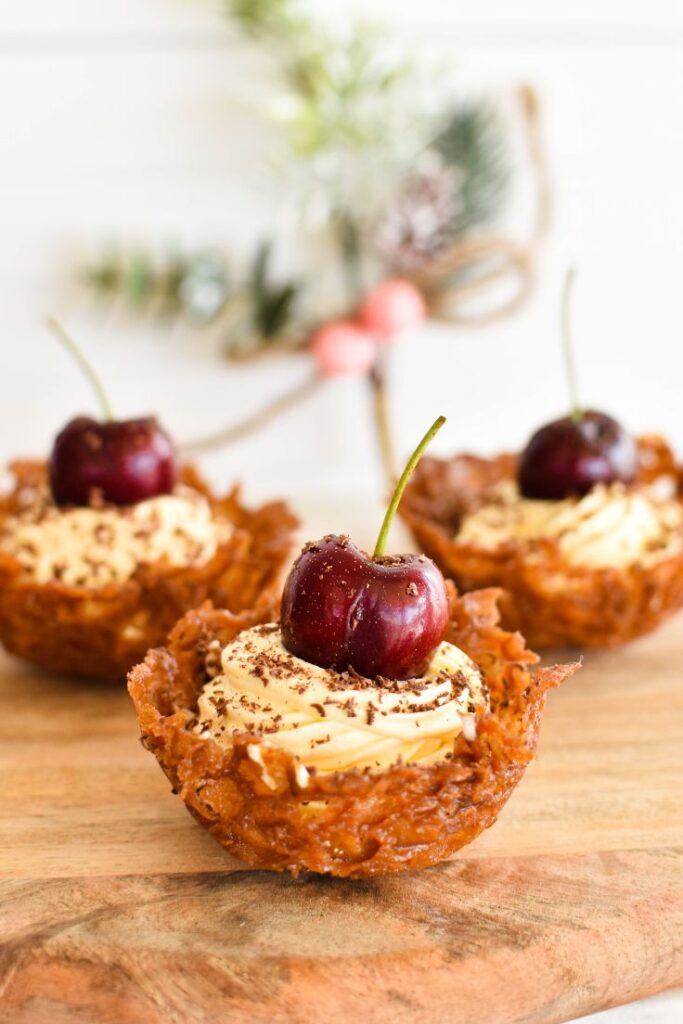
Variation idea: Brandy Snaps Baskets
A nice little variation on Brandy Snaps is Brandy Snaps Baskets.
You make them in exactly the same way but instead of wrapping the Brandy Snap around a wooden spoon handle to create a tube, you invert a cupcake pan and mould the Brandy Snap around one of the cups and allow to cool.
These are perfect to serve for dessert or at a dinner party – any time of year. Fill them with cream, custard, fruit or ice-cream.
Here, though, I've created a Christmas-themed dessert by filling with Brandy Custard, sprinkling grated chocolate on top and adding a fresh cherry!
Recipe Tips and FAQs
I'd say they are not super simple but they're not hard to make either – just a little fiddly. So read through this post and all the FAQs before making them, especially if it's your first attempt.
As I mentioned above, they don't necessarily and this recipe does not include brandy. However, if you really want to sneak some in, you can replace the lemon juice with brandy or add a little brandy to your cream or custard filling.
They'll last, unfilled, in an airtight container for about 5 days. They do, however, soften with time. For crispy Brandy Snaps, bake that day or the day before and fill just before serving.
Add a little extra melted butter or golden syrup to make your mixture a little more runny. If this starts happening half way through making them, you might need to just warm the mixture a little.
Pop them back into a warm above for 10-20 seconds again to warm and soften them.
Trying turning your oven temperature down a little and/or adding a little extra flour.
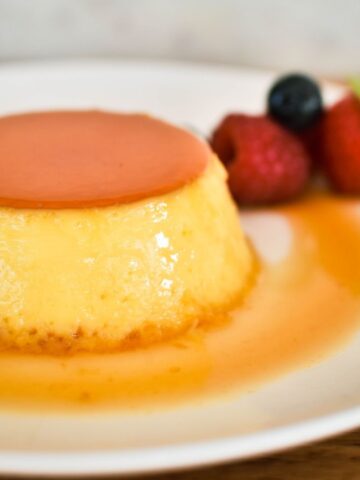
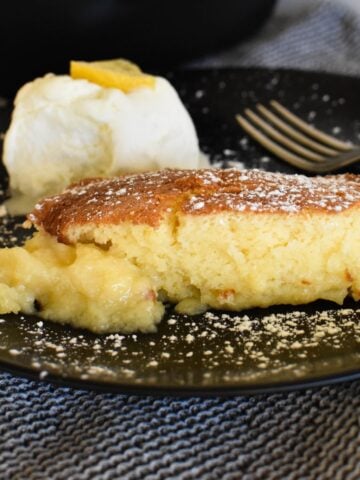
Want more old-fashioned desserts?
There are plenty more tucked away in the collection, including:
Made this recipe and love it? Please take a moment to rate the recipe and leave a comment below. It’s such a help to others who want to try the recipe. (And it really makes my day to hear how Nana Ling's recipes are being made, shared and loved all around the world! - Libby x)
For more fun and deliciousness in the kitchen, follow along on Facebook, TikTok and Pinterest, and subscribe for new posts via email.

Brandy Snaps Recipe
Equipment
- wooden spoon (at least 2, with round cylindrical handles rather than a flatter shaped handle)
- baking tray
Ingredients
- 60 grams butter
- ⅓ cup brown sugar
- 2 tablespoons golden syrup (50 grams)
- ½ teaspoon ground ginger
- ½ cup plain flour (all purpose flour)
- pinch salt
- 1 teaspoon lemon juice
- 200 grams thickened cream (heavy cream)
Instructions
- Pre-heat oven to moderate (180 degrees celsius, fan-forced).
- Combine butter, sugar, syrup and ginger in a saucepan and stir over low heat until melted and dissolved. Do not allow to simmer.
- Remove from heat and stir in sifted flour and salt.
- Stir in lemon juice.
- Drop teaspoons of mixture onto a well greased baking tray. Place at least 10cm apart and cook two at a time only to begin with (so you can get familiar with the process).
- Bake for about 7 minutes or until spread out, bubbling and a golden brown colour.
- Remove from oven and allow to cool for about a minute.
- Slide a spatula under the biscuit. It should be soft but able to be moved without breaking apart. Wrap around the handle of a wooden spoon to form a tube. Allow to cool for a couple of minutes with overlapping edges at top. Remove spoon handle and then place on a cooling rack to cool completely.
- Keep baking off brandy snaps in lots of 2 until you get more confident in the process and can manage more brandy snaps at once.
- Once all the brandy snap tubes are completely cool store in an airtight container until you are ready to fill and serve them.
- When ready to serve, whip cream and then pipe into the brandy snap tubes.
monika says
How is there no actual brandy in the BRANDY snaps?! I thought that's what it gives it their snap.