
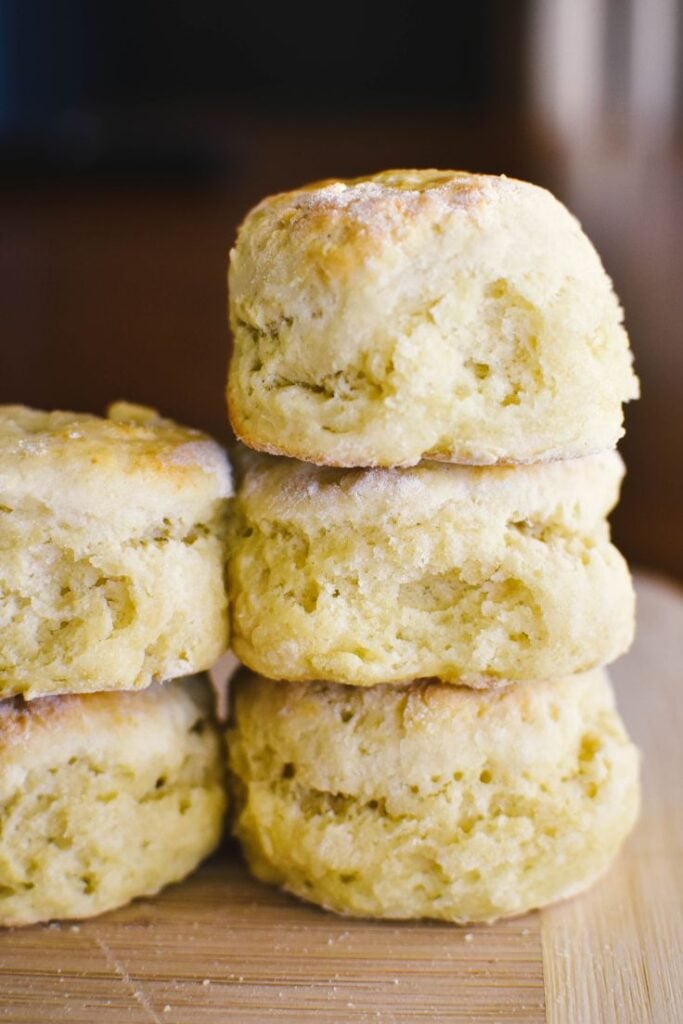
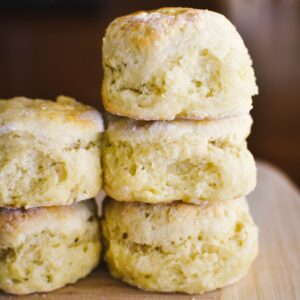
Buttermilk Scones are the lightest and fluffiest scones of them all. This recipe has everything you need to create scones you can brag about!
This recipe is based on the CWA Buttermilk Scones Recipe and my learnings at a CWA scone making workshop I attended a few years ago. I've also made and sampled scones for decades. I know a good scone from an ordinary one – and I've made sure this recipe creates a very good scone!
Why buttermilk? Buttermilk adds a delicious tang and its acidity helps tenderise the gluten, giving your scones a softer texture and more body.
Ingredient notes
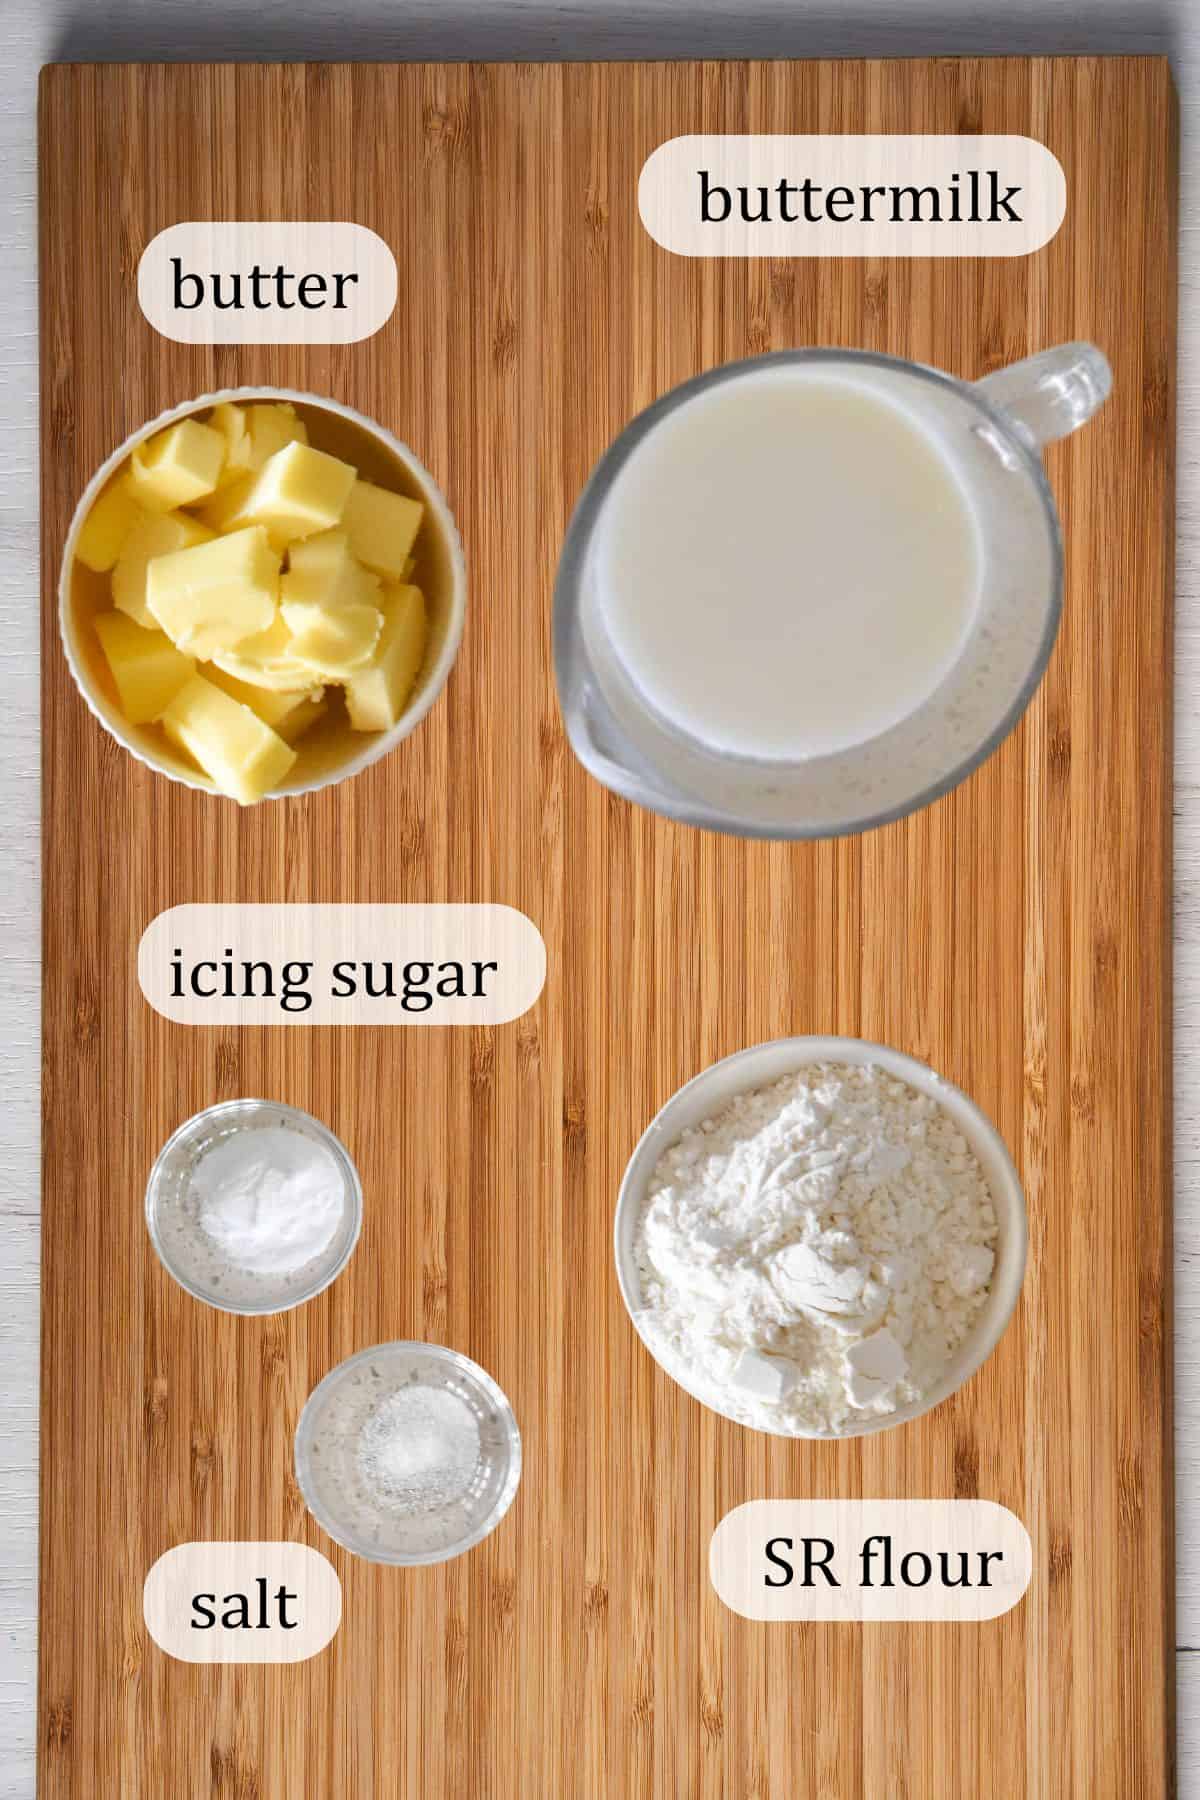
As the name suggests, this recipe calls for buttermilk. I've tested this recipe using both store-bought cultured buttermilk and regular buttermilk that is the product of making homemade butter – both work just fine. You can also make buttermilk with milk and lemon juice or vinegar. All the details are below in the recipe card.
You'll need SR flour - that's self-raising flour. If you only have plain /all purpose flour, you can use that and add baking powder. All of the ingredient details, including this substitution, can be found below in the recipe card.
You'll also need cold butter, salt and icing sugar.
Note: Keep scrolling to the bottom of this post for ingredient quantities.
Equipment
You'll need a slice tin or cake tin (or any baking dish with higher sides) along with a 5cm scone cutter.
How to make Buttermilk Scones
Pre-heat the oven to 210 degrees celsius / 410 degrees fahrenheit (fan-forced) and grease the tin with butter.
For the most perfectly fluffy buttermilk scones, follow these steps.
In a mixing bowl, whisk together sifted flour, salt and sugar.
Using cold butter, straight from the fridge, cut it into small cubes around the size of a dice and rub into the flour by hand until the mixture resembles fine breadcrumbs.
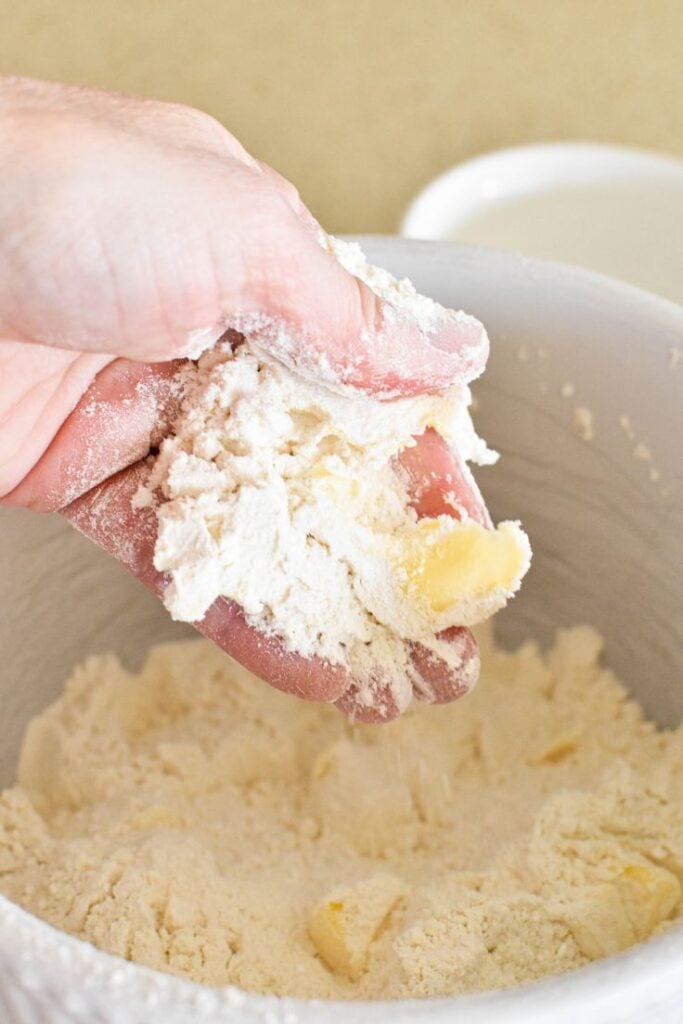
TIP: Throughout the process, you want to incorporate as much air as possible. As you are rubbing in the butter, lift the mixture up and let it sprinkle back into the bowl rather than pushing the butter and mixture down into the bowl.
Next, make a well in the centre of the mixture and pour in all of the buttermilk.
Stir with a butter knife until the mixture sticks together in a ball. Don't stir any longer than required.
Turn the mixture out onto a lightly floured surface. Pat the mixture together with your hands and flatten until about 3cm thick. Treat the dough like it is delicate and DO NOT knead.
Use a floured scone cutter to press out rounds. Don't twist the cutter as you cut out the scones. Just push down firmly and then gently pop out the scone from the cutter.
Carefully place the scones onto the baking tray, almost touching. Brush the tops of scones with a little extra buttermilk or milk.
Bake for about 15 minutes or until a pale golden colour on top.
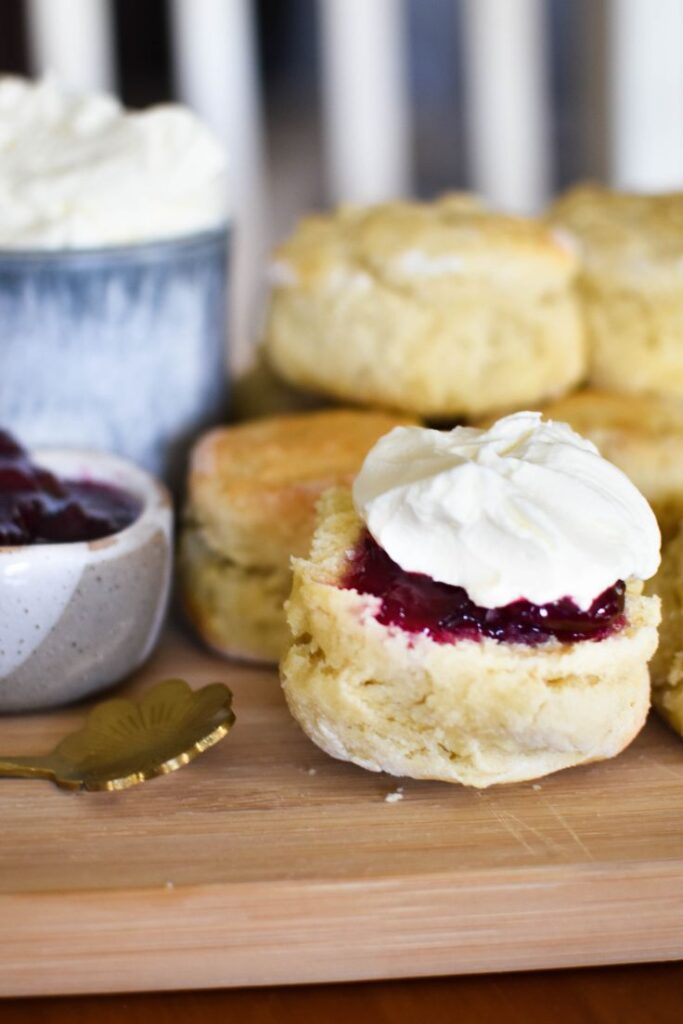
Allow to cool for a minute or two in the dish before turning out into a clean tea towel placed on a cooling rack. Wrap in the tea towel and – if possible – serve while still warm with jam and whipped cream. They will keep for a day, but you cannot beat freshly bakes scones.
Recipe FAQs
Yes, this recipe has been tested with both regular and cultured buttermilk.
You actually can! Provided you have regular milk and either lemon juice or vinegar. Just add a tablespoon of lemon juice or vinegar for every cup of milk to make buttermilk. Alternatively, try the Cream Scones recipe which also produces a lovely scone.
There's nothing better than scones fresh from the oven. But, yes, you certainly can freeze them. Let scones cool before freezing and place in a freezer bag or airtight container. Scones will keep for up to 3 months in the freezer
Scone variations
Scones are certainly hard to beat for morning or afternoon tea, and you might like to check out these nice variations on the traditional scone:


Made this recipe and love it? Please take a moment to rate the recipe and leave a comment below. It’s such a help to others who want to try the recipe. (And it really makes my day to hear how Nana Ling's recipes are being made, shared and loved all around the world! - Libby x)
For more fun and deliciousness in the kitchen, follow along on Facebook, TikTok and Pinterest, and subscribe for new posts via email.
Buttermilk Scones
Equipment
- slice tin or cake tin (or any baking dish with higher sides)
- scone cutter (5cm diameter)
Ingredients
- 2 cups SR flour (or 2 cups plain/all-purpose flour + 4 teaspoons baking powder)
- pinch salt
- 1 tablespoon icing sugar
- 50 grams butter (use cold butter)
- 1 cup buttermilk (regular or cultured) (plus a little extra for brushing tops of scones before baking)
Instructions
- Pre-heat oven to 210 degrees celsius / 410 degrees fahrenheit (fan-forced).
- Grease a slice tin or cake tin (any baking dish with higher sides) with butter.
- Whisk sifted flour, salt and sugar together in a large bowl.
- Cut butter into small cubes around the size of a dice and rub into the flour by hand until the mixture resembles fine breadcrumbs.
- Make a well in the centre and pour in all of the buttermilk.
- Stir with a butter knife until the mixture sticks together in a ball.
- Turn onto a lightly floured surface.
- Pat together mixture with your hands and flatten until about 3cm thick.
- Use a floured scone cutter to press out rounds.
- Carefully place the scones onto the baking tray, almost touching.
- Brush tops of scones with a little extra buttermilk or milk.
- Bake for about 15 minutes or until a pale golden colour on top.
- Allow to cool for a minute or two in the dish before turning out into a clean tea towel placed on a cooling rack. Wrap in the tea towel and – if possible – serve while still warm with jam and whipped cream.
Video
Notes
- Throughout the process, you want to incorporate as much air as possible. Make sure you sift flour and then whisk dry ingredients together. As you are rubbing in the butter, lift the mixture up and let it sprinkle back into the bowl rather than pushing the butter and mixture down into the bowl.
- Treat the dough like it is delicate and DO NOT knead.
- Use a floured scone cutter to press out rounds. Don't twist the cutter as you cut out the scones. Just push down firmly and then gently pop out the scone from the cutter.

Liana
I used your nice and simple recipe for cooking scones for the first time ever, and the result was delicious. 😍🥰 Thank you! 😋
Libby Hakim
You're very welcome! This is my favourite scone recipe and trust me I've tried many! Happy cooking and thanks for the great rating 🙂
Beverly
I’ve been searching for the perfect scone recipe for a long time. So many recipes promise light & fluffy but don’t deliver. This one stands up to its promise! Delicious! I will be making these again & again! Followed the recipe with the exception of mixing them in the food processor, so quick & easy! My cutter must be bigger as I only got 7 but they were 7 perfect scones! Thanks
Libby Hakim
Wonderful! I have a few scone recipes on the website and they are all good, but this one is my personal favourite too. Thanks so much for leaving a rating and review, Beverly. Happy cooking!