Rice Bubble Slice is an easy three ingredient (plus optional sprinkles) recipe that'll take you back, back, back... right back to a kids birthday party in the 1980s.
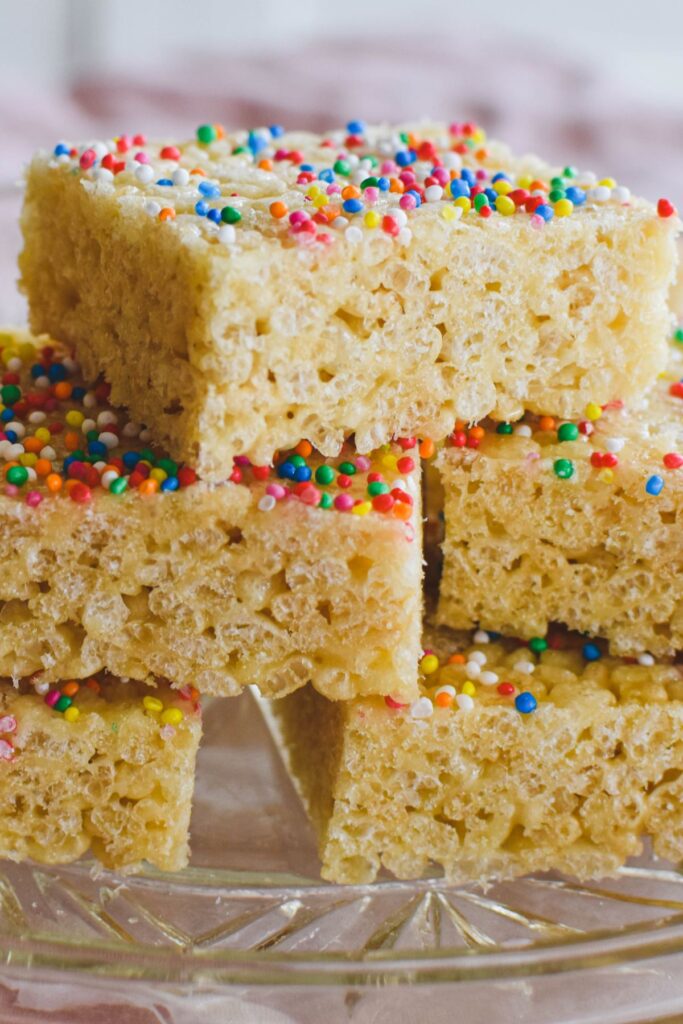
This no bake Rice Bubble Slice is one of those retro recipes that should never be allowed to fade away into home cooking oblivion.
It only takes 15 minutes to put together.
And it's ALWAYS popular in the lunchbox, at a play date, a birthday party or whenever you feel like a sweet little dose of nostalgia.
So serve up some slices today.
Here's how...
Ingredients for Marshmallow Rice Bubble Slice Recipe
To make up this easy Rice Bubble Slice you need:
- Rice Bubbles (or you might call them Rice Krispies)
- Butter
- Marshmallows
- Sprinkles (for decorating – optional, of course).
Here, I've used white marshmallows only. I just like how this slice looks using only white marshmallows.
However you can use the mixed pink and white pack of marshmallows and your slice will just be a pale pink colour.
For ingredient quantities, refer to the recipe card at the bottom of this post.
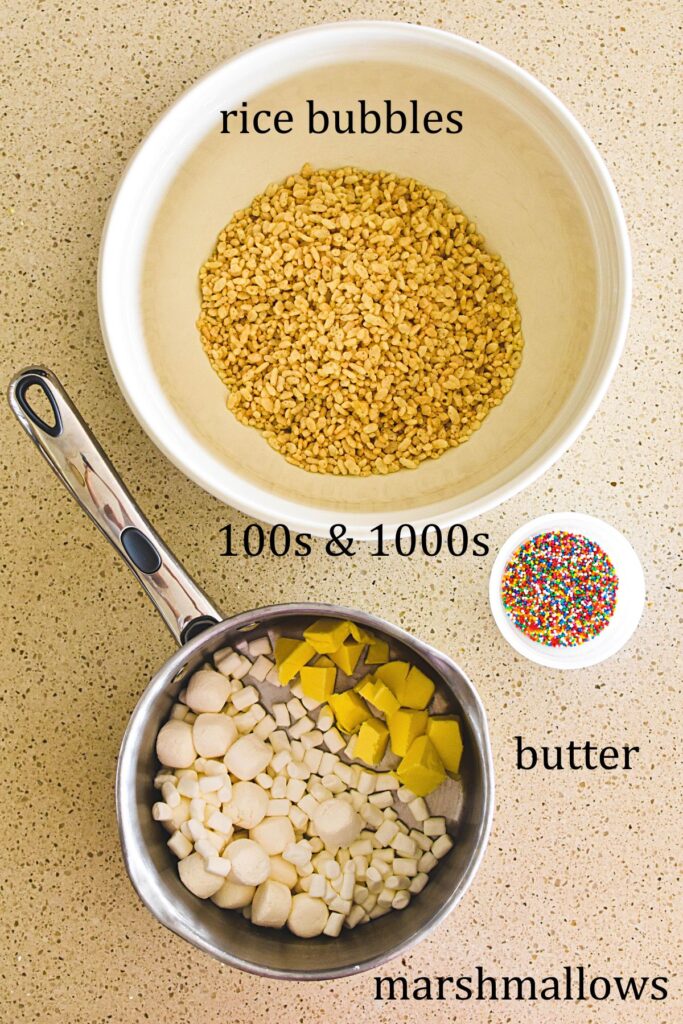
You'll also need a slice tin of about 28 x 18 cm.
How to make Rice Bubble Slice
Start by greasing the tin and line with baking paper, leaving a little paper overhanging at the sides to assist with removal of the slice from the tin later.
Melt butter and marshmallows together
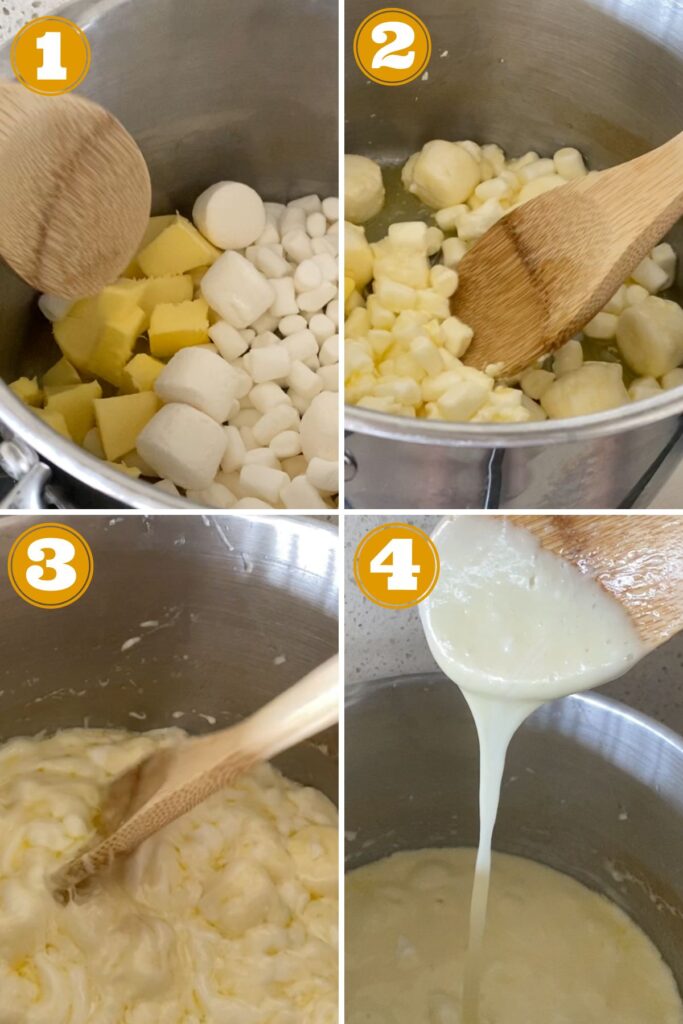
Next, you melt the butter and marshmallows over LOW heat until the mixture is completely melted and smooth.
IMPORTANT: Remember, keep the heat low and continue to stir so the mixture doesn't burn or stick to the bottom of the saucepan.
Combine melted mixture with rice bubbles
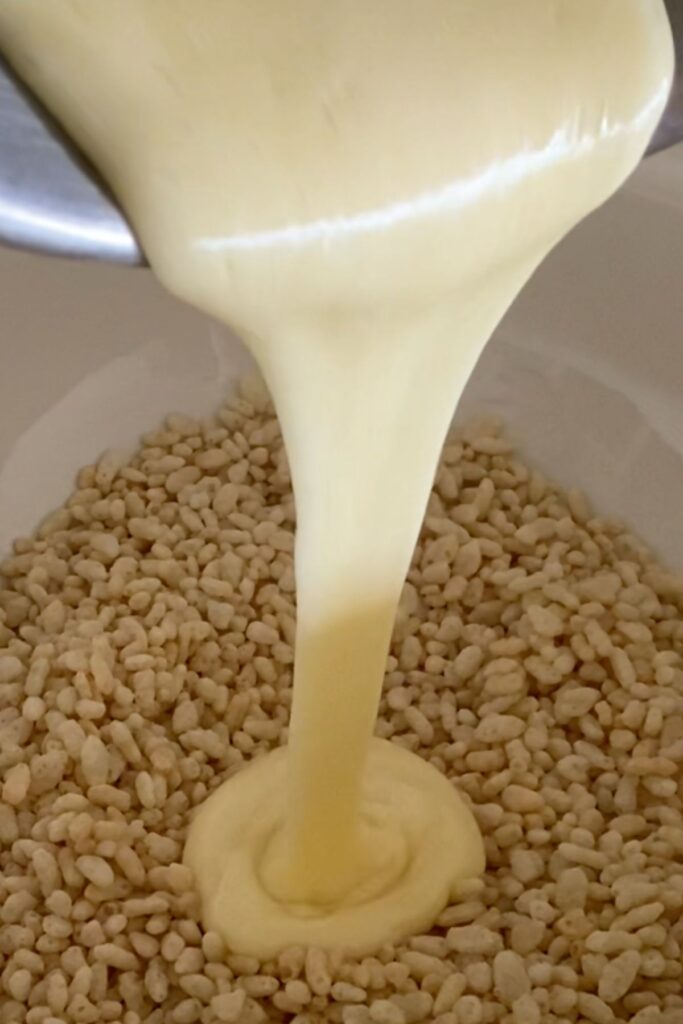
Next, pour the butter and marshmallow mixture over the rice bubbles and stir to combine.
Press into slice tin
Pour the mixture into the slice tin, then use another piece of baking paper on top of the mixture to press it into the tin using the back of a metal spoon.
The mixture will be too sticky at first to smooth it with the spoon directly. You'll need the baking paper between the mixture and the spoon and then, once it's quite level, you can use the back of a spoon directly on the slice to finish smoothing it out and ensuring it's even.
Decorate and allow to set
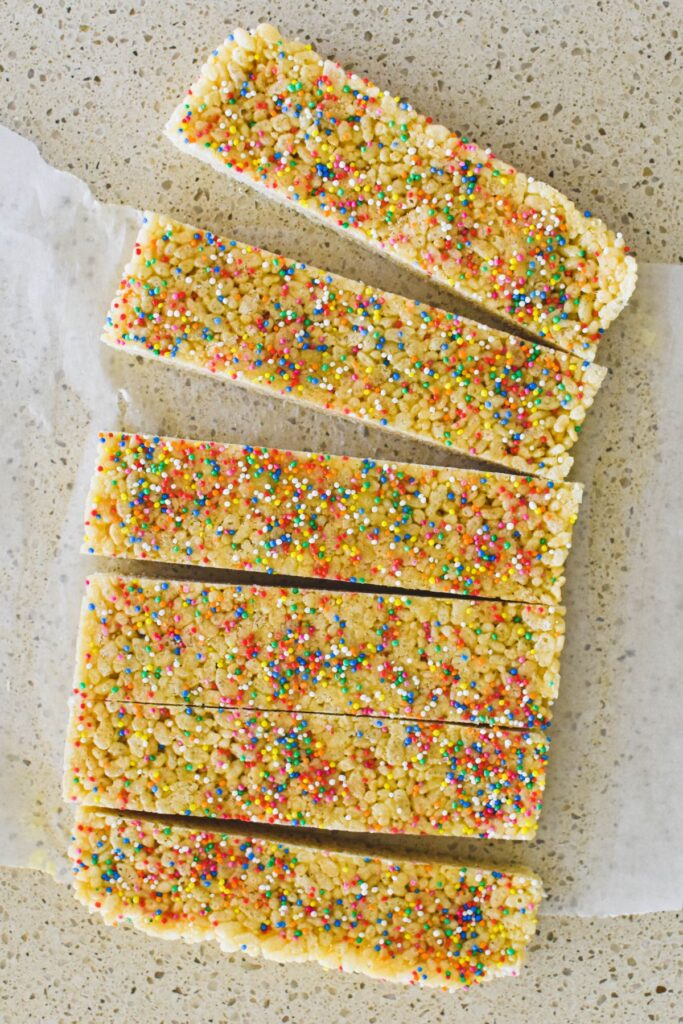
Decorate with sprinkles and then place the slice in the fridge to set for at least a couple of hours.
Cut into squares
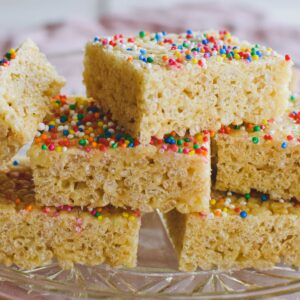
Cut the slice into squares or bars using a sharp knife.
Recipe FAQs
Q. How long does Rice Bubble Slice last?
Stored in an airtight container in the fridge, it should last for up to 5 days.
But it tends to disappear quick! I recommend gobbling up a square before anyone else gets to it otherwise you may miss out.
Q. Can I freeze Rice Bubble Slice?
You sure can. Freeze in an airtight container for up to 3 months.
Q. How can I make this slice even more fun?
Add the optional sprinkles and you'll definitely feel like you're back in the 80's.
You could also drizzle with melted chocolate, or add a top layer of chocolate.
Q. Is this gluten free Rice Bubble Slice?
You'll need to use rice bubbles, marshmallows and sprinkles that are marked "gluten free" to be sure this slice is entirely free of gluten.
Q. What other fun things can I do with rice bubbles?
Plenty.
First, you could just listen to them snap, crackle and pop!

Yes, we've been enjoying this breakfast cereal since 1928. And we're still not tired of the snap, crackle and pop.
If you want to get a little more creative, you could also try these recipes which call for rice bubbles:
Rice Bubble Slice
Ingredients
- 4 cups rice bubbles
- 75 grams butter, cubed
- 180 grams marshmallows (white/vanilla marshmallows)
- sprinkles (to decorate)
Instructions
- Grease a slice tin (approx 28 x 18cm) and line with baking paper, leaving paper overhanging at sides to assist with removal of slice later.
- Measure rice bubbles into a large mixing bowl.
- Melt butter and marshmallows over low heat until mixture is melted and smooth. Keep stirring until there are no marshmallow lumps but take care not to burn the mixture.
- Pour butter and marshmallow mixture over rice bubbles and stir to combine.
- Pour mixture into slice tin. The mixture is initially too sticky to press into the tin with your hands so you'll need a piece of baking paper placed over the mixture first. Press down with hands and then using the back of a metal spoon. Remove top piece of paper, use metal spoon again to even out slice and then add some sprinkles to the top and place into fridge to set.
- Allow to set for at least a couple of hours before removing the slice from the tin and cutting into squares.

Leave a Reply