
Hedgehog Slice is a no-bake chocolate treat we've loved for generations in Australia. And this recipe is a winner!

Jump to:
Why it's a winner
I've tested various recipes, consulted my mum (who made this slice in country bakeries for years) and refined this one to come up with a reliable Hedgehog Slice recipe that delivers that winning chocolate, biscuit and nut combination in a neat little square.
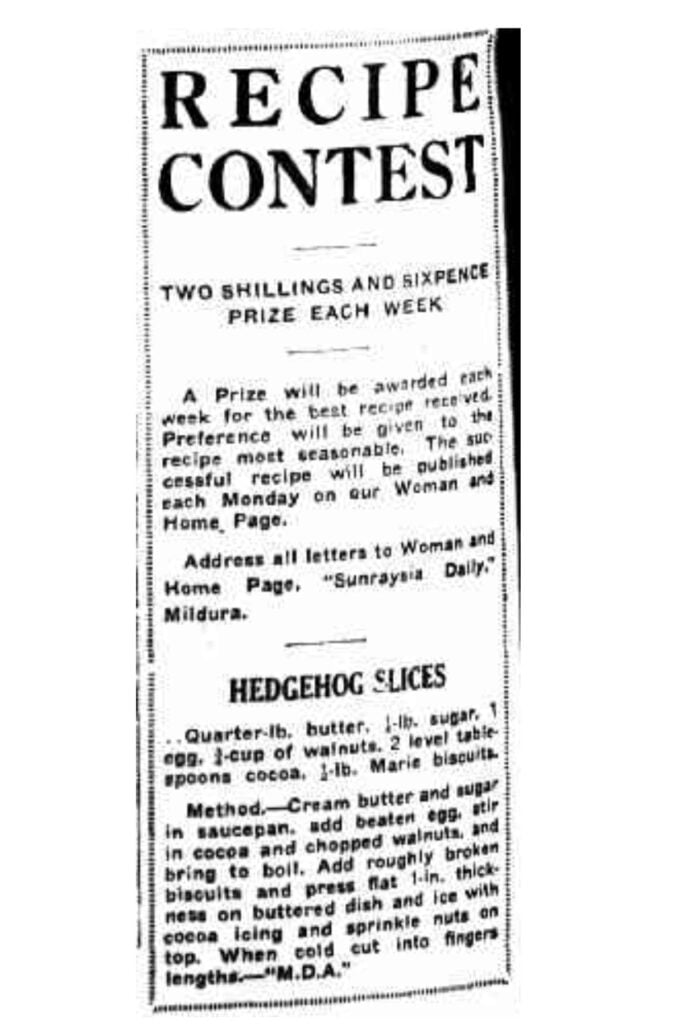
My version of this much-loved recipe is most closely based on one I found in a community cookbook from a rural NSW town and another I found in an Australian newspaper dated 1937.

This traditional Hedgehog Slice recipe is based on the old-fashioned versions of the recipe which don't use condensed milk. Yes, this is a hedgehog slice without condensed milk.
I also prefer the taste of the slice when made with eggs and butter. My mum also confirmed that although bakeries she worked in used a pre-mix, it did involve adding margarine or butter rather than condensed milk.
Like most recipes for this slice, it's a no-bake recipe – but you do cook the mixture (which incorporates the eggs) on the stovetop.
What is Hedgehog Slice?
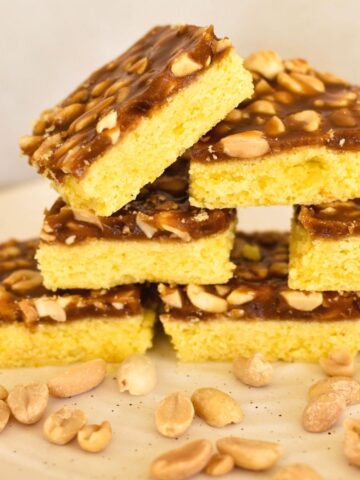
Hedgehog Slice is a chocolate slice with a distinctive light and dark pattern through the slice which comes from the combination of chocolate, plain biscuits and nuts.
(Love chocolate recipes? You might also like my Chocolate Chip Cookies, Chocolate Trifle, Rocky Road, Choc Coconut Slice and Texas Sheet Cake.)
Its mix of textures, fudge-y chocolate combined with crunchy biscuits and nuts, makes it particularly more-ish.
Hedgehog Slice is usually iced with chocolate, and sometimes coconut or nuts are sprinkled on the chocolate. Personally, I love the contrast of the smooth chocolate topping and the mosaic-like appearance of the slice, so have not sprinkled anything at all on top of the chocolate icing here.
The slice seems to have originated in Australia, though its exact origin is unclear. It was around at least as early as 1937, with a recipe appearing in an Australian newspaper that year.
It shares similarities with the English Tiffin Recipe (upon which the Queen's Favourite Chocolate Biscuit Cake is based) and the Italian Chocolate Salami (upon which my mum's Choc Cherry Log is based).
Why is it called Hedgehog Slice?
The spikes of biscuit and rough chopped nuts which can easily be seen throughout the slice are thought to have inspired the name – by resembling the spines of a hedgehog.
Hmm, I think it's a bit of a jump. But I really can't think of any other more logical explanation as to how this slice got its name.
And however it happened, the name stuck. And the name is just as distinctive as the look of Chocolate Hedgehog Slice.
Ingredient notes
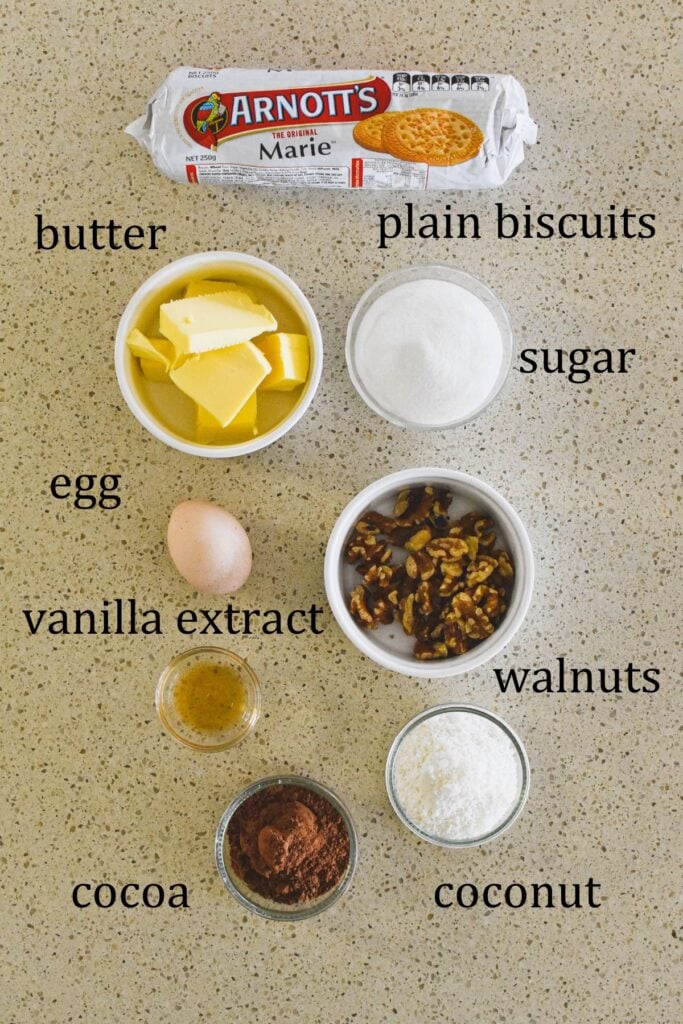
To make no bake Hedgehog Slice, you'll need:
- Marie Biscuits (or any other plain, sweet biscuit)
- butter
- caster sugar (superfine sugar)
- walnuts
- egg
- vanilla extract
- cocoa
- desiccated coconut.
To ice this slice, which I thoroughly recommend you do, you'll also need:
- chocolate
- a little vegetable oil.
The exact quantities for ingredients can be found in the recipe card at the end of this post.
How to make Chocolate Hedgehog Slice
Prep
Start by getting the slice tin ready. It should be about 28 x 18xm.
Grease the tin and line with baking paper, leaving excess on the sides to lift out slice once set.
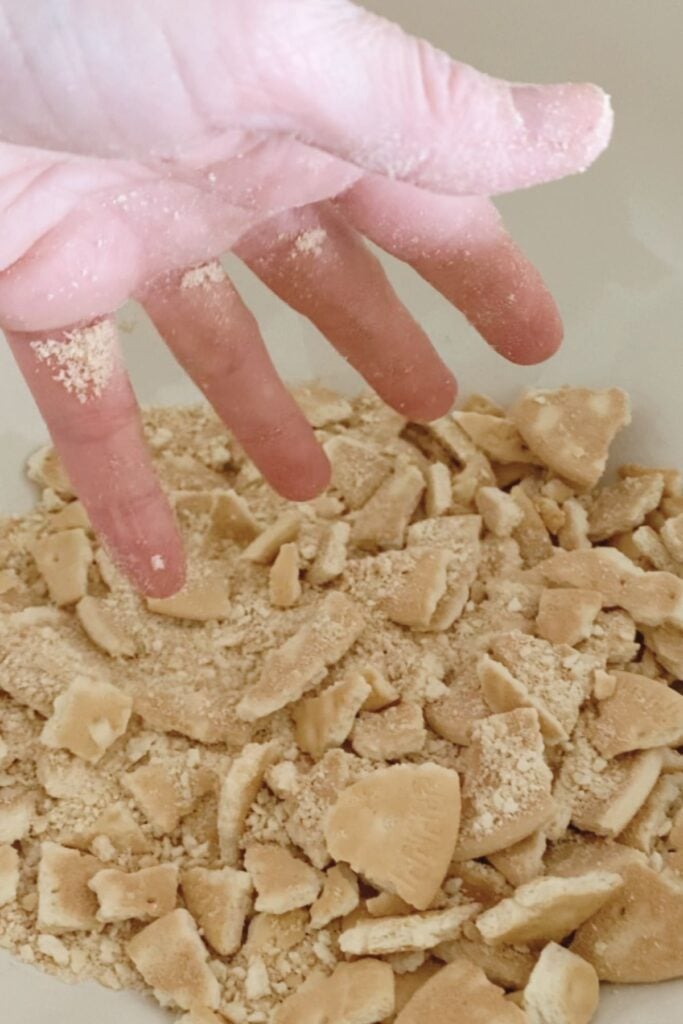
Next, measure out your ingredients and then crush half of the biscuits in a processor or chopper to reach a fine breadcrumb consistency.
Place the crushed biscuits into a large mixing bowl.
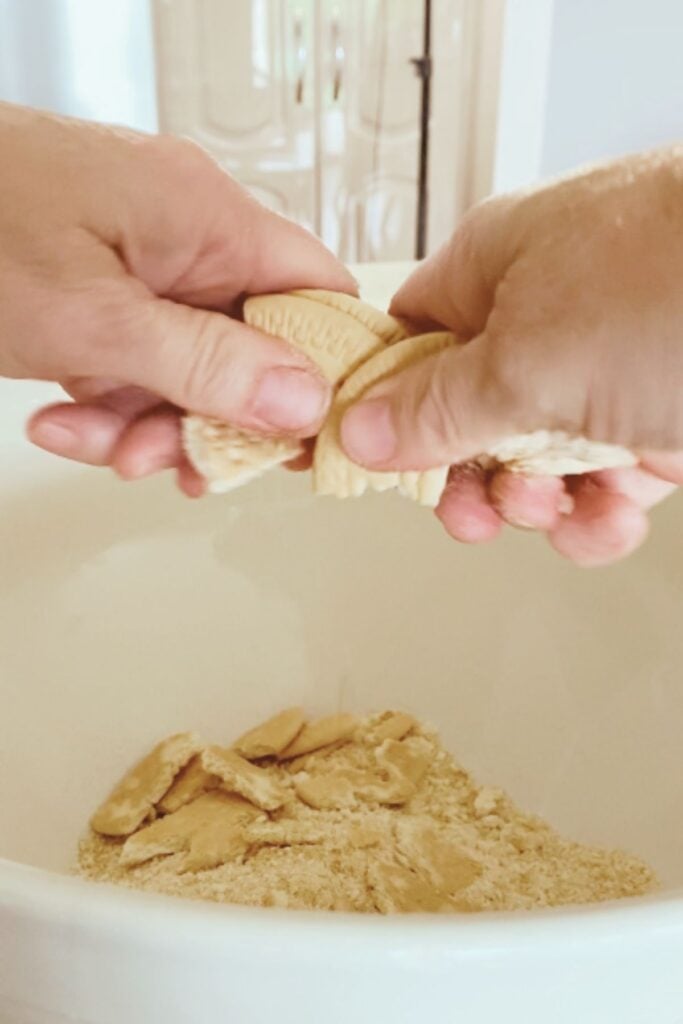
Break up the other half of the biscuits into small pieces with your hands. Aim for pieces no larger than the size of a postage stamp.
Place broken up pieces of biscuit into the mixing bowl.
Melt
Place the sugar and butter into a medium saucepan and heat gently, stirring, until the butter melts.
Increase heat and bring mixture to the boil. Remove from heat immediately once the mixture boils.
Allow to cool for 5-10 minutes.
Next, add the walnuts, vanilla, coconut and cocoa to the saucepan and stir to combine. Add the egg and quickly stir through until combined.
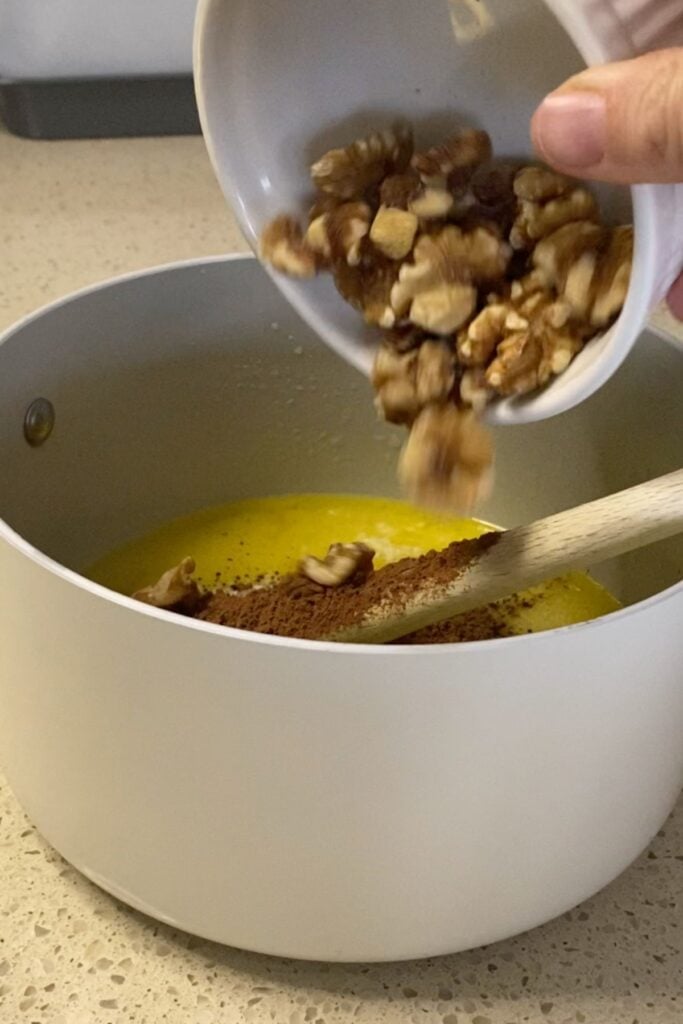
Return the saucepan to low-medium heat and bring to the boil. Cook the mixture, stirring, for 3 minutes.
Mix
Remove saucepan from the heat and pour the mixture into the mixing bowl with the crushed biscuits.
Stir well until the mixture is well combined.
Pour the mixture into slice tin and press into tin evenly using the back of a dessert spoon.
Ice
Place chocolate and vegetable oil into a microwave-proof bowl and place in microwave for 20 second bursts, stirring between each burst, until the chocolate is melted and combined with the oil.
Pour the chocolate over the top of the slice.
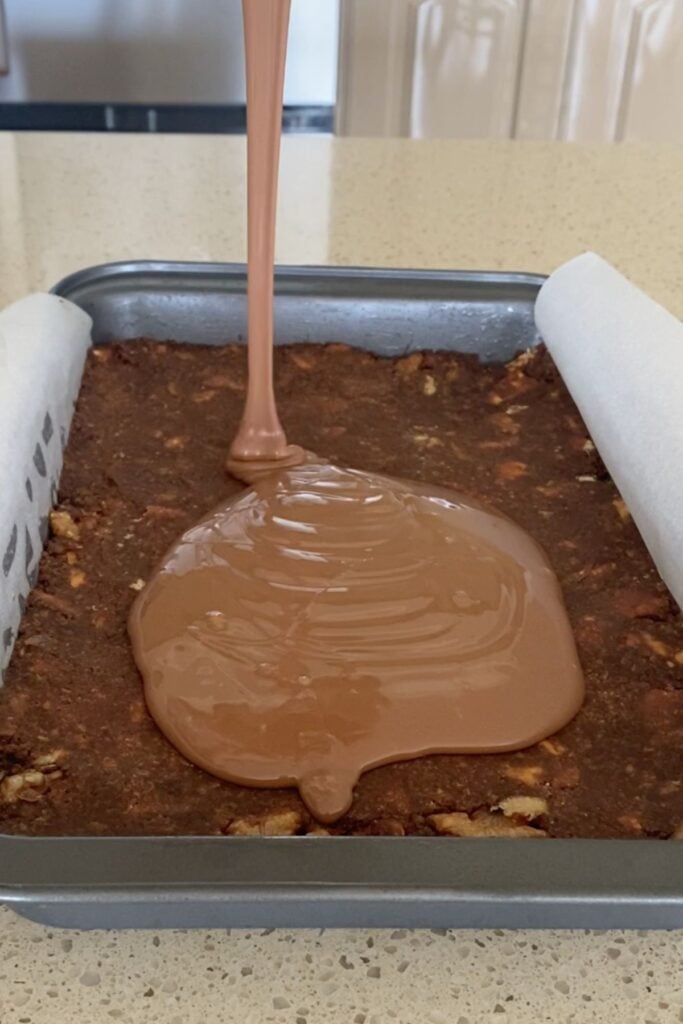
Spread chocolate to edges of the tin and place into fridge to set for at least a few hours.
Once set, remove the slice from the tin and cut into squares using a sharp knife.
Variations and substitutions
One of the wonderful things about this recipe is that you can come up with so many versions to fit your preferences.
Here are some ideas to get you started:
- Hedgehog Slice without coconut: ditch the coconut and add a few extra nuts
- Mix things up with chocolate or ginger biscuits instead of using the traditional plain sweet biscuits like Marie or Arrowroot
- Make it nut-free: omit the nuts from the recipe entirely or use seeds like sunflower or pumpkin seeds as a substitute
- Top it with white chocolate instead of milk or dark chocolate
- Add some fun with 100s and 1000s sprinkled on top
- Peppermint Hedgehog Slice: add some peppermint essence instead of vanilla.
Storage
Stored in an airtight container in the fridge, it should last up to 5 days.
Yes. Wrap it well and freeze for up to a few months.
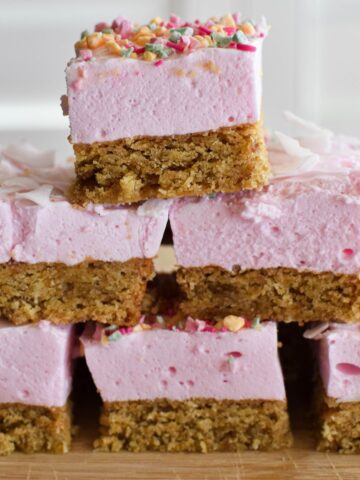
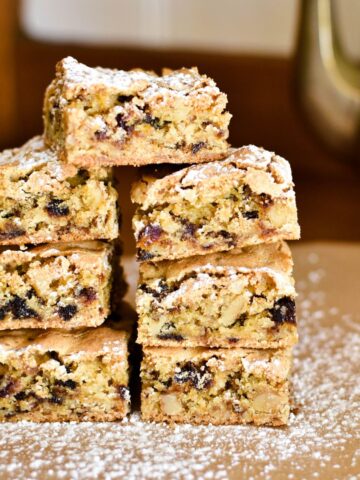
Want more old fashioned slice recipes?
People who like this slice recipe often also like:

Made this recipe and love it? Please take a moment to rate the recipe and leave a comment below. It’s such a help to others who want to try the recipe. (And it really makes my day to hear how Nana Ling's recipes are being made, shared and loved all around the world! - Libby x)
For more fun and deliciousness in the kitchen, follow along on Facebook, TikTok and Pinterest, and subscribe for new posts via email.

Hedgehog Slice
Equipment
- 1 slice tin (18 x 28cm approx)
Ingredients
- 250 grams Marie Biscuits (or any other plain, sweet biscuit)
- 125 grams butter
- 125 grams caster sugar (superfine sugar)
- ½ cup walnuts, roughly chopped
- 1 egg, lightly beaten
- ½ teaspoon vanilla extract
- 2 tablespoons cocoa
- 2 tablespoons coconut
Icing
- 230 grams chocolate, milk or dark
- 2 teaspoons vegetable oil
Instructions
- Grease a slice tin and line with baking paper, leaving excess on the sides to lift out slice once set.
- Crush half of the biscuits in a processor or chopper to reach a fine breadcrumb consistency. Place into a mixing bowl.
- Break up the other half of the biscuits into small pieces with your hands. Aim for pieces no larger than the size of a postage stamp. Place into the mixing bowl.
- Place sugar and butter into a medium saucepan and heat gently, stirring, until the butter melts. Increase heat and bring mixture to the boil. Remove from heat and allow to cool for 5-10 minutes.
- Add the walnuts, vanilla, coconut and cocoa to the saucepan and stir to combine. Add the egg and quickly stir through until combined.
- Return saucepan to low-medium heat and bring to the boil again. Cook the mixture, stirring, for 3 minutes.
- Remove from heat and pour the mixture into the mixing bowl with the crushed biscuits.
- Stir well until mixture is well combined.
- Pour mixture into slice tin and press into tin evenly using the back of a dessert spoon.
- Place chocolate and vegetable oil into a microwave-proof bowl and place in microwave for 20 second bursts, stirring between each burst, until chocolate is melted.
- Pour chocolate over top of slice.
- Place into fridge to set for at least a few hours.
- Once set, remove the slice from the tin and cut into squares using a sharp knife.


Judy
Childhood favourite that my whole family craves - make it and freeze it. Thaws quickly so that you always have something yummy when unexpected guests arrive for coffee 10/10
Libby Hakim
We all should have Hedgehog Slice in the freezer! Great tip, Judy 🙂 Thanks so much for the rating and tip x
Laura G
This was delicious, quick and easy to make and freezes really well.
I also found my family and I didn't mind it without the chocolate icing, which makes it even quicker to make.
Libby Hakim
Wonderful! Enjoy - and thanks so much for the feedback and rating 🙂
Amira McMahon
I find this base very dry. love the idea of no come. milk, but very dry.
Checked to see if it's missed something out but I didn't. Oh well! it looked amazing though.
Kelsie
Yummo! This recipe was awesome! It was very hard not to devour them all in one go! I love that it used egg instead of condensed milk!! Although next time I would crush some more of the biscuits and also make my broken ones a bit smaller as I seemed to have too many broken biscuit chunks and not quite enough of the pudding mixture to make it all stick together properly so it was a bit crumbly when eating. But this will definitely be saved as a new fave of mine!
Thanks for sharing the recipe!
Lisa McColl
I was so delighted to find your recipe. This is a recipe that I grew up with and had missed placed the recipe. When I got on the Internet, all I could find was the condensed milk version. Thank you, I have made it and it is just how l remember, yummy 😋
Libby Hakim
Yay! So pleased to hear this, Lisa. My coconut ice recipe is also made in a similar way rather than condensed milk. Enjoy!
Kelsie
Can’t wait to try your recipe! It’s nice to have one that doesn’t contain condensed milk!
I have a question, I notice the old recipe asks for the egg to be added BEFORE bringing to the boil. Where as yours says to let cool before adding the egg and then keep on low heat for 3 mins.
I wonder when it comes to raw eggs and salmonella would it be safer to follow the original recipe and boil the mixture with the egg already in it so that the egg reaches a higher temperature?
Libby Hakim
Hi Kelsie. Thanks for the question. I've clarified to add that by "cook" again for 3 minutes you do need to bring it to the boil again. Sorry about the confusion! Hope you enjoy it. Happy cooking. Libby 🙂