
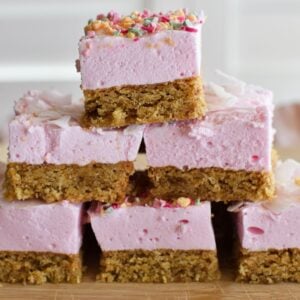
This Weetbix Marshmallow Slice is one from the good ol' days, with a buttery weetbix base and a marshmallow topping that can only be described as luscious.
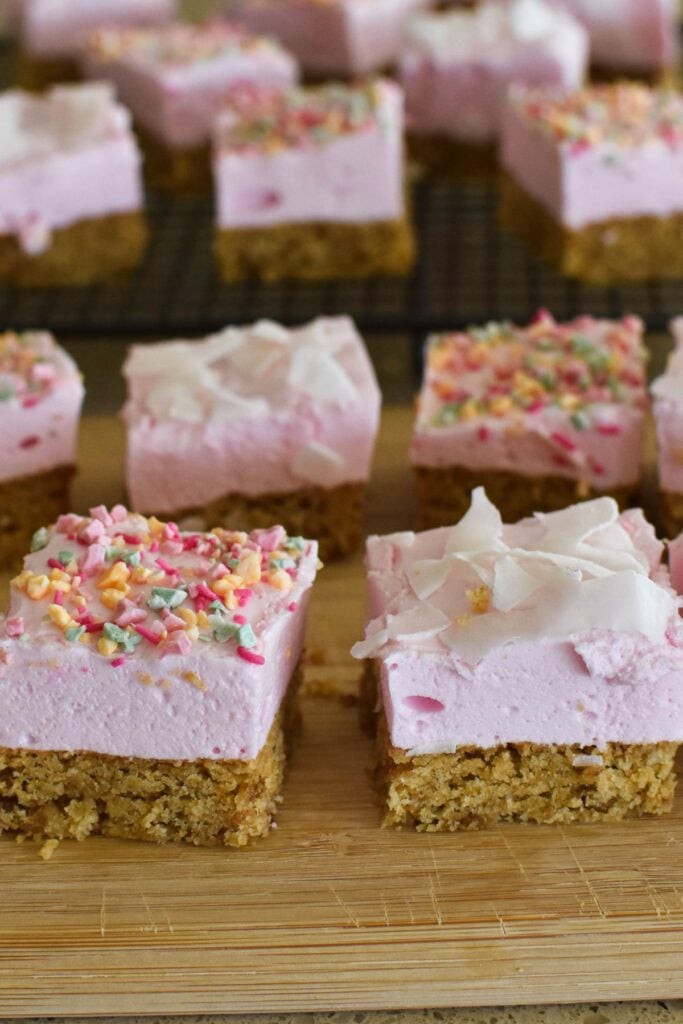
This slice is the less known but sweet and pretty cousin of the popular Chocolate Weetbix Slice.
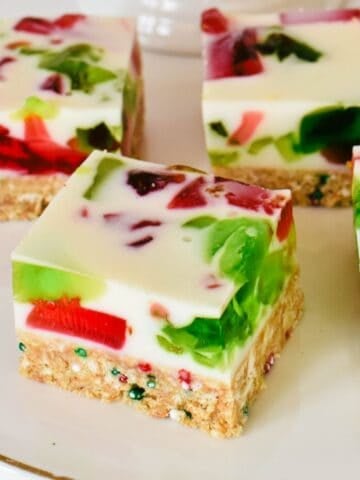
A soft baked weetbix biscuit base is topped with sweet and fluffy marshmallow.
You can colour the marshmallow topping like I've done here or leave it white.
You can also top it with sprinkles, coconut, shaved chocolate... or again just leave it plain.
It's a lovely little slice recipe that's perfect for parties or to share at a morning tea.
Jump to:
The recipe for Weetbix Marshmallow Slice
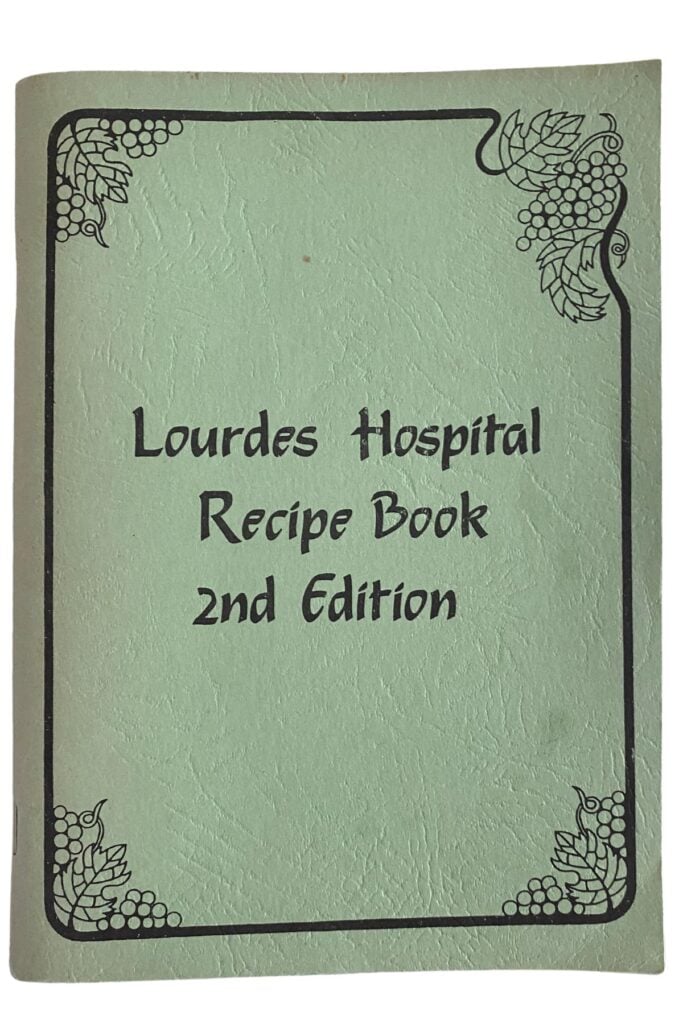
This recipe has been around for as long as I can remember, and I found a great version of it in this community cookbook from my mum's collection: Lourdes Hospital Recipe Book 2nd edition.
Lourdes Hospital is in Dubbo, NSW Australia. There's no date on the book, unfortunately, but I'd say it's from the 1970s or 80s at a guess.
My recipe here is based on the recipe in this book.
Ingredients
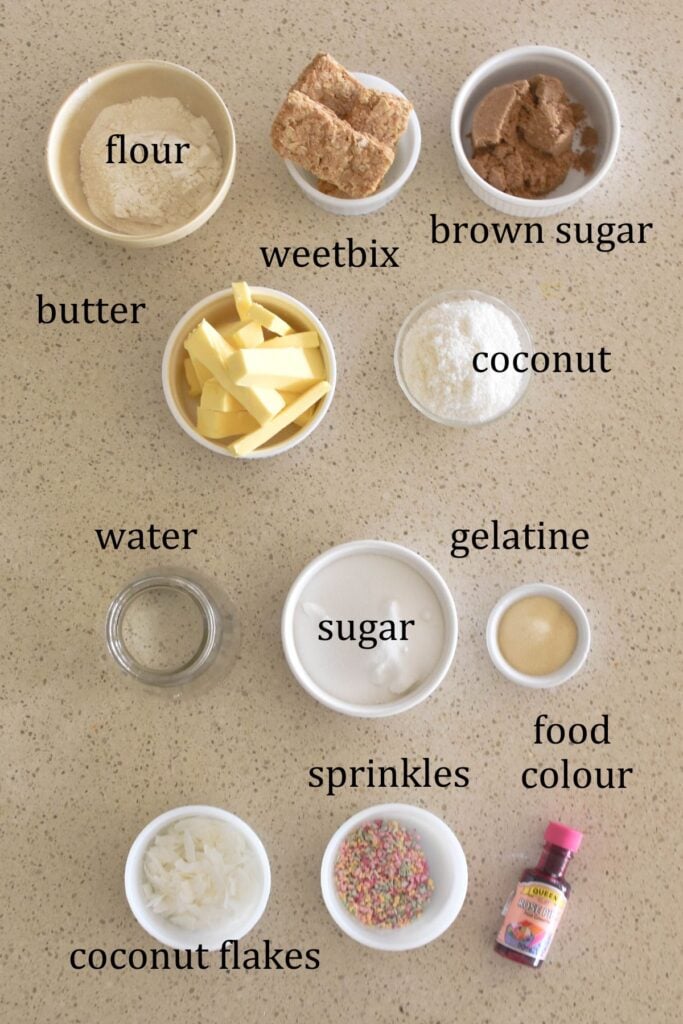
To make this slice, you'll need:
For the base
- weetbix (or another similar wheat-based cereal)
- brown sugar
- butter
- SR flour (or plain/all purpose flour + baking powder)
- desiccated coconut.
For the marshmallow topping
- sugar (caster or white)
- water
- gelatine (or substitute agar agar if you prefer a vegetarian option here)
- pink food colouring (optional)
- sprinkles or flaked coconut (optional).
Quantities for the ingredients can be found in the recipe card at the end of this post.
How to make Weetbix Marshmallow Slice
Making the base
Start by pre-heating the oven to moderate (180 degrees celsius, fan-forced).
Grease a slice tin (approx 28 x 18 x 3.5 cm) and line with baking paper, leaving excess on the sides to lift out slice once cooked.
Crush the weetbix into a bowl using your hands until fine and crumbly.
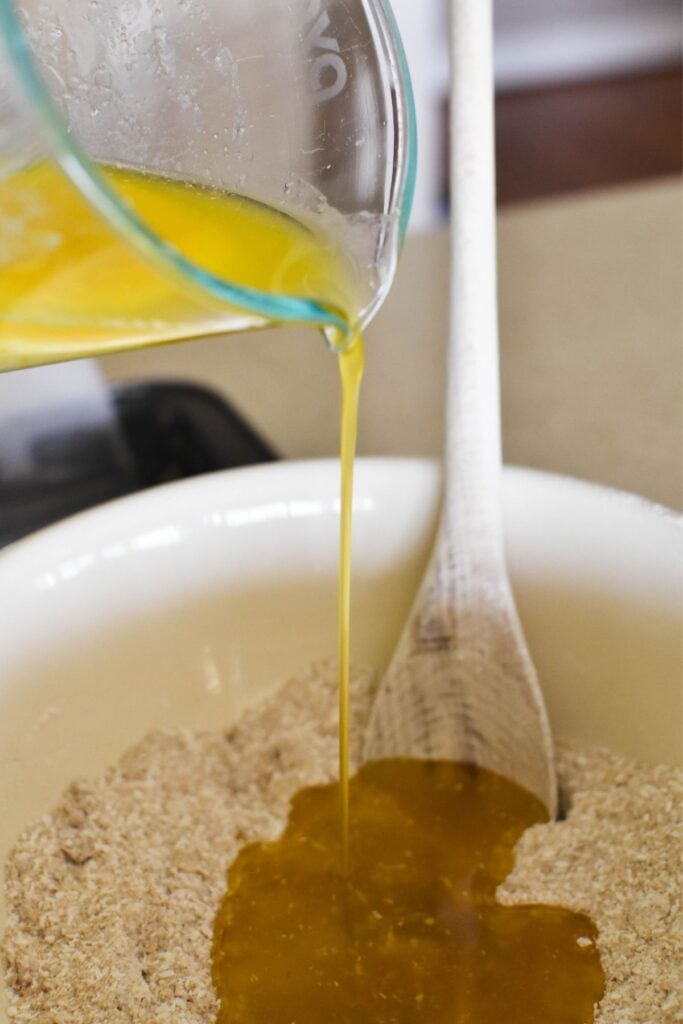
Add the remaining dry ingredients to the mixing bowl and stir to combine.
Melt the butter and add to dry ingredients. Mix well.
Press mixture into the prepared slice tin with your hands, evening the top surface using the back of a spoon.
Cook for 15 minutes.
Allow to cool before adding marshmallow topping.
Adding the marshmallow topping
To make the marshmallow, place the water, sugar and gelatine into a saucepan.
Place over low heat and stir to dissolve sugar and gelatine.
Bring to the boil and boil for 5 minutes. You should only need very low heat to boil – keep an eye on this so it doesn't boil over.
Let the mixture cool for half an hour before transferring the mixture to a mixing bowl and beating (starting on low speed and moving to high speed) for about 5 minutes or until mixture is light and fluffy.
Add the food colouring if you are opting to colour the marshmallow layer and mix again until the colour is even throughout mixture.
Pour onto top of the cooled base and use a plastic spatula to spread out evenly.

Add sprinkles or flaked coconut to the top of the marshmallow if you'd like.
Allow to set in the fridge for about 2 hours.
Lift slice from tray using the overhanging paper. Cut slice into squares using a sharp knife.
Recipe tips and FAQs
Both the marshmallow and base need to cool for about half an hour before adding the topping.
If you make the marshmallow topping while the base is cooking, they should be both ready around the same time.
Once you take the base out of the oven, set your timer for half an hour. When the time is up, beat the marshmallow mixture as indicated and then spread it over the cooled slice.
Store slice in an airtight container in the fridge for up to 5 days.
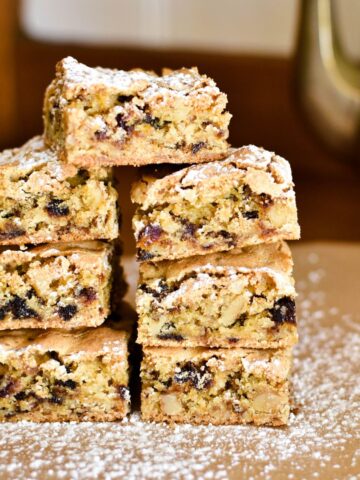
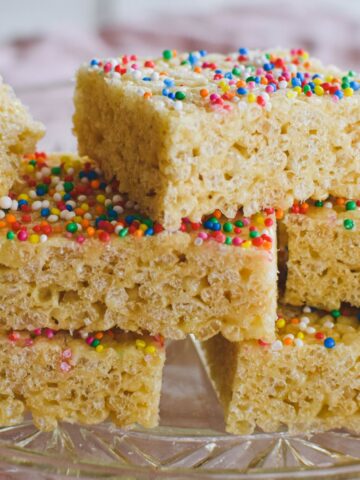
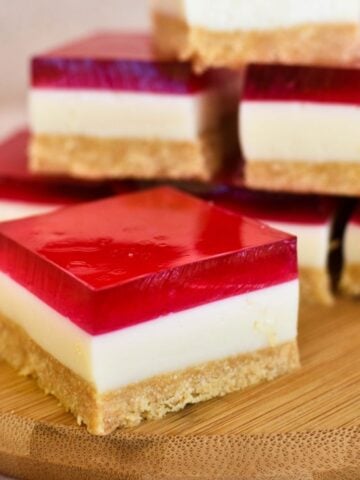
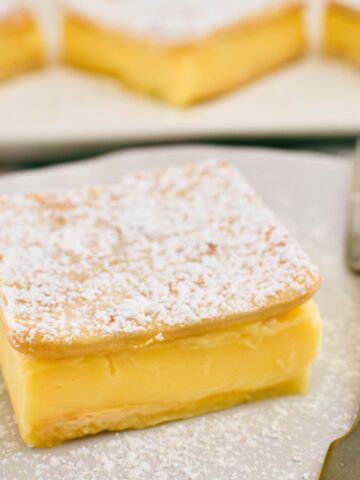
Other retro slice recipe
There are plenty more recipes where this one came from! Here's a selection to get you started (or check out the entire slice collection here):
Weetbix Marshmallow Slice
Equipment
- 1 slice tin (approx 28 x 18 x 3.5 cm)
- stand mixer or handheld mixer
Ingredients
Base
- 3 weetbix, crushed (or 50 grams of another similar wheat-based cereal)
- ½ cup brown sugar
- 190 grams butter
- 1 cup SR flour, sifted (130 grams) (or same weight of plain/all purpose flour + 2 teaspoons baking powder)
- ¾ cup desiccated coconut (60 grams)
Marshmallow Topping
- 1 cup sugar (caster or white)
- 1 cup water
- 1 tablespoon gelatine (or substitute agar agar if you prefer a vegetarian option here)
- 2-3 drops pink food colouring (optional)
- 2-3 tablespoons sprinkles or flaked coconut (optional)
Instructions
Base
- Pre-heat oven to moderate (180 degrees celsius, fan-forced).
- Grease a slice tin and line with baking paper, leaving excess on the sides to lift out slice once cooked.
- Crush weetbix into a bowl.
- Add remaining dry ingredients to bowl and stir to combine.
- Melt butter and add to dry ingredients. Mix well.
- Press mixture into slice tin with hands and even the top surface using the back of a spoon.
- Cook for 15 minutes.
- Allow to cool before adding marshmallow topping.
Marshmallow Topping
- Place water, sugar and gelatine into a saucepan. Place on low heat and stir to dissolve sugar and gelatine.
- Bring to the boil and boil for 5 minutes. (You should only need very low heat to boil)
- Let cool for half an hour before transferring to a mixing bowl and beating (starting on low speed and moving to high speed) in a stand mixer or with electric handheld beaters for about 5 minutes or until mixture is light and fluffy.
- Add food colouring if you are opting to colour the marshmallow layer and mix again until colour is even throughout mixture.
- Pour onto top of cooled base and use a plastic spatula to spread out evenly.
- Add sprinkles or flaked coconut to top of marshmallow if you're opting to add these.
- Allow to set in the fridge for about 2 hours.
- Lift slice from tray using the overhanging paper. Cut slice into squares using a sharp knife.
- Store slice in an airtight container in the fridge.
Susan Vincent says
This recipe was made regularly when my brother and I were children. My mother was a very good cook of anything. However, she died young and I have missed her for 46 years. Now my family are enjoying this blast from my past! Love it. Thanks.
Libby Hakim says
Hi Susan. Oh, so pleased that the slice recipe can bring back memories of your dear mum's wonderful cooking - and you can share it with the family. Enjoy x
Helen says
yes yummy
Julie says
Do you mix while in pot or transfer marshmallow mix into another bowl to mix?
Libby Hakim says
Hi Julie - transfer to a mixing bowl (if using handheld electric beaters) or the bowl of a stand mixer before beating. Thanks for the question - I've updated the post to clarify.
K says
it doesn't actually say how many marshmallows??
Libby Hakim says
You make the marshmallow - see the recipe card at the end of the post.
Julia says
Have you actually made this with agar agar as per your suggestion ? I would desperately love it to work but it doesn’t .. what do you do to make agar work ? Cheers
Kim says
Awesome recipe. I had no detailed method in my book. Many thx. How much sugar does one need per recipe
Karen Lindsay says
1cup
Deborah says
Hello, have you ever tried making this with cornflakes instead of Weet-bix? Thanks
Libby Hakim says
Hi Deborah - I haven't but I'm sure it would be lovely!
PJ says
Can this be made with gluten free wheatbix?
Libby Hakim says
Hi PJ - I imagine it would work fine however haven't tested it myself. Happy cooking!
Pat says
I've been making this since 1970 love it...
Libby Hakim says
It's just one of those slices you never get tired of! Thanks for leaving your rating and review, Pat 🙂