
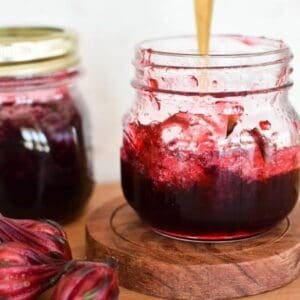
If you need something to brighten your day, this Rosella Jam may be the answer. It's a gorgeous crimson-coloured treat that will light up not just your day but the weeks ahead! Enjoy it on toast, scones or wherever else you can squeeze in some jam.
This recipe is an old-fashioned one that's been tried and tested over decades and just works! It's inspired by Nana Ling's jam recipes and others I found from that early-mid 1900s era.
Like all of the jams in the Cooking with Nana Ling collection, I've made it super simple to find success.
Jump to:
Where to find rosellas
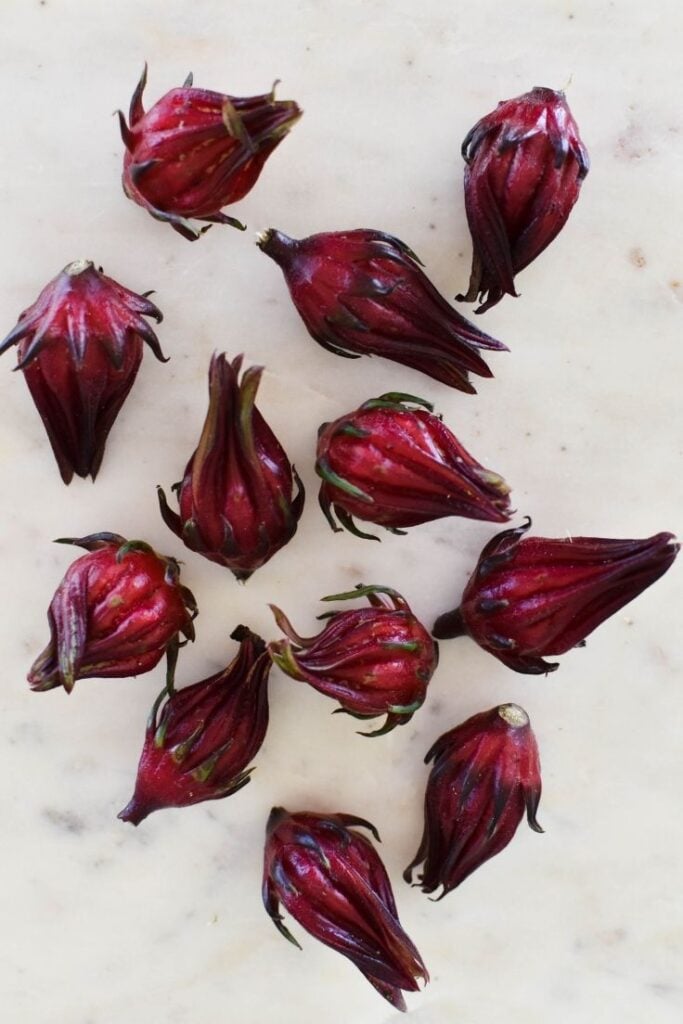
Rosellas (Hibiscus sabdariffa) are edible hibiscus flowers from a plant that was introduced to Australia and now grows in the wild. It's gorgeous red hues and deliciously tart flavour have made it a favourite in cordials, teas and jams.
You might find the fresh rosella flowers at a farmers market or specialty fruit shop. You could also try growing your own rosella plant. Otherwise, you could substitute for hibiscus flowers in syrup (again, you can try finding those in a store or online).
Recipe and ingredient notes
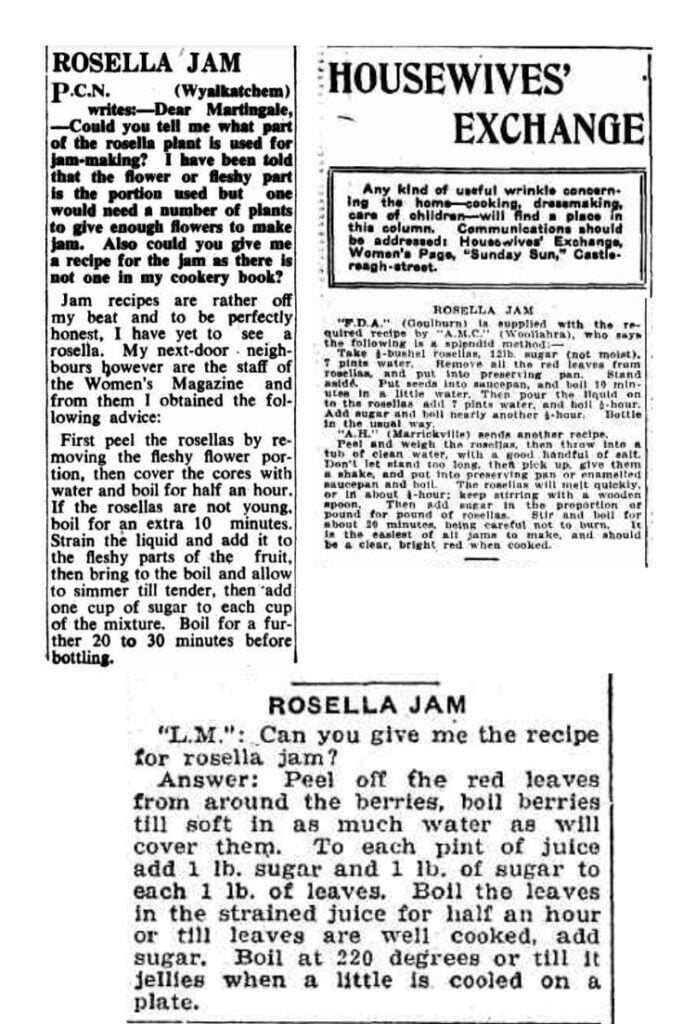
Rosella Jam is one of the easier jams to make according to one of the old recipes I found in newspapers.
These older recipes also confirm that all you need to make this jam is fresh rosellas, sugar and water.
And they provide another hint about determining when the jam is ready, saying "it should be a clear, bright red when cooked."
How to make Rosella Jam
To start the jam-making process, you first need to separate the red petals from the seed pod inside.
Just tear the red, fleshy part of the flower from the green seed pod inside using your hands.
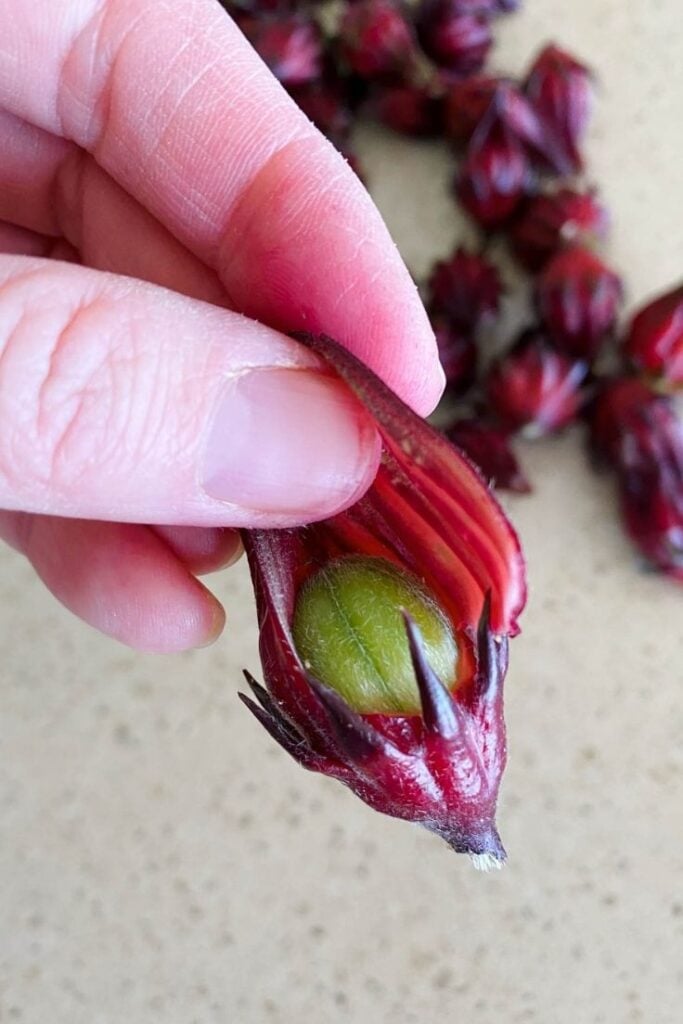
It might take a while to separate the flowers and seed pods, but you'll get there. Consider it a form of mindfulness or meditation. Or ask the kids/partner/whoever else is around to help.
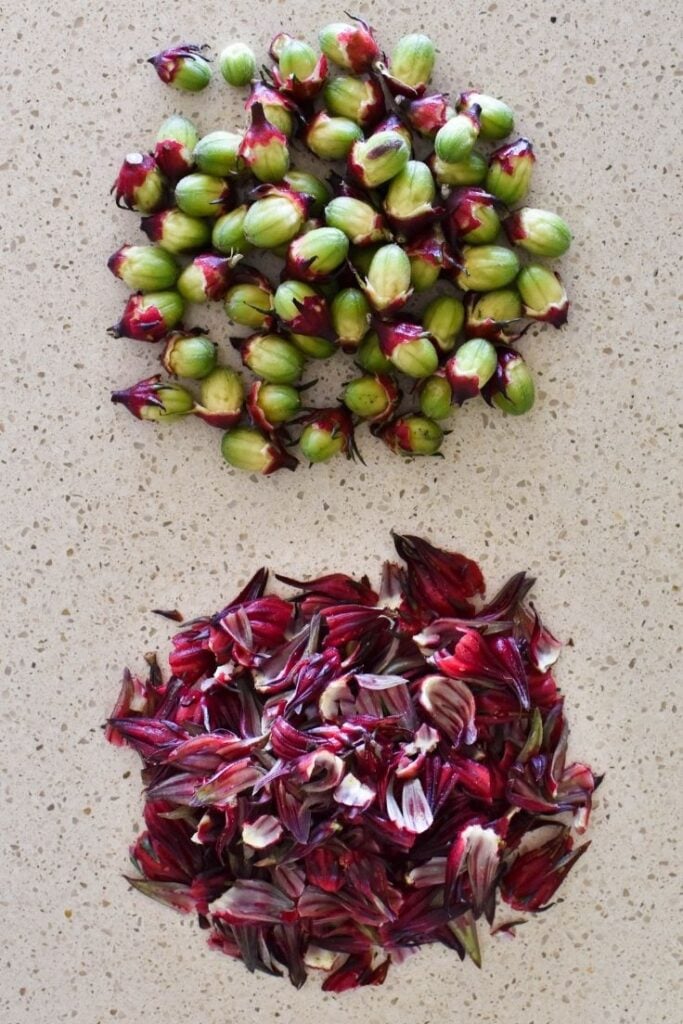
Next, wash the seeds in water and then place in a saucepan. Cover with water (just) then bring to the boil and boil, covered, for 30 minutes.
Strain and retain liquid but discard seed pods.
Wash the calyces in water and place in a saucepan. Add the liquid from the seeds and a little extra water if necessary to cover the calyces (just).
Bring to the boil and then simmer on medium heat for 20 minutes or until fruit is tender.
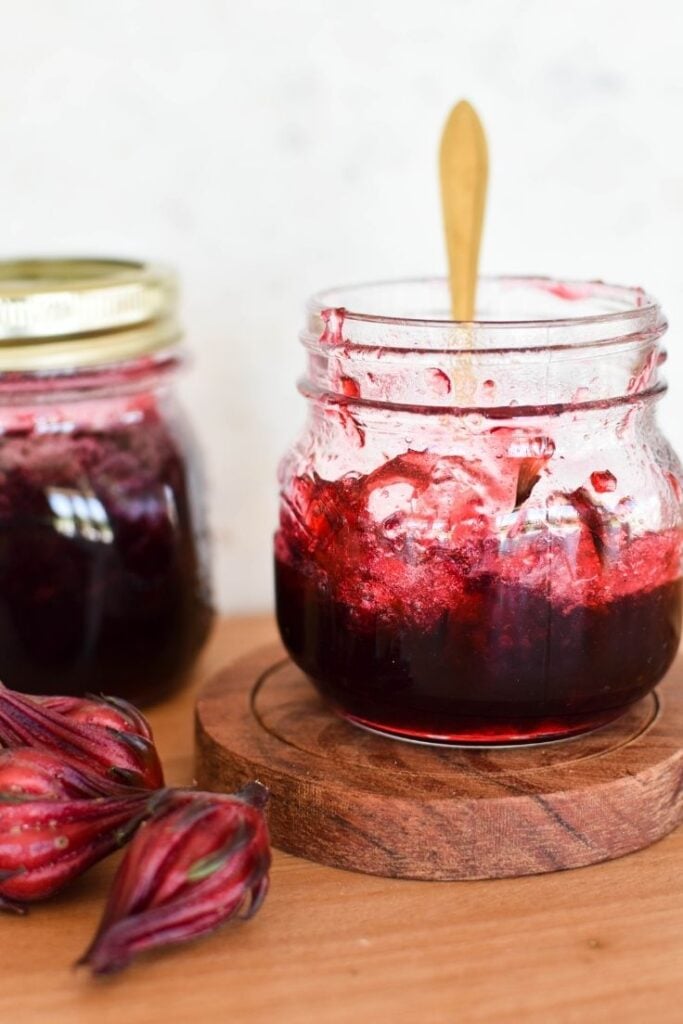
Remove from the heat and measure the volume of the mixture. Add the same volume of sugar and heat gently to dissolve the sugar.
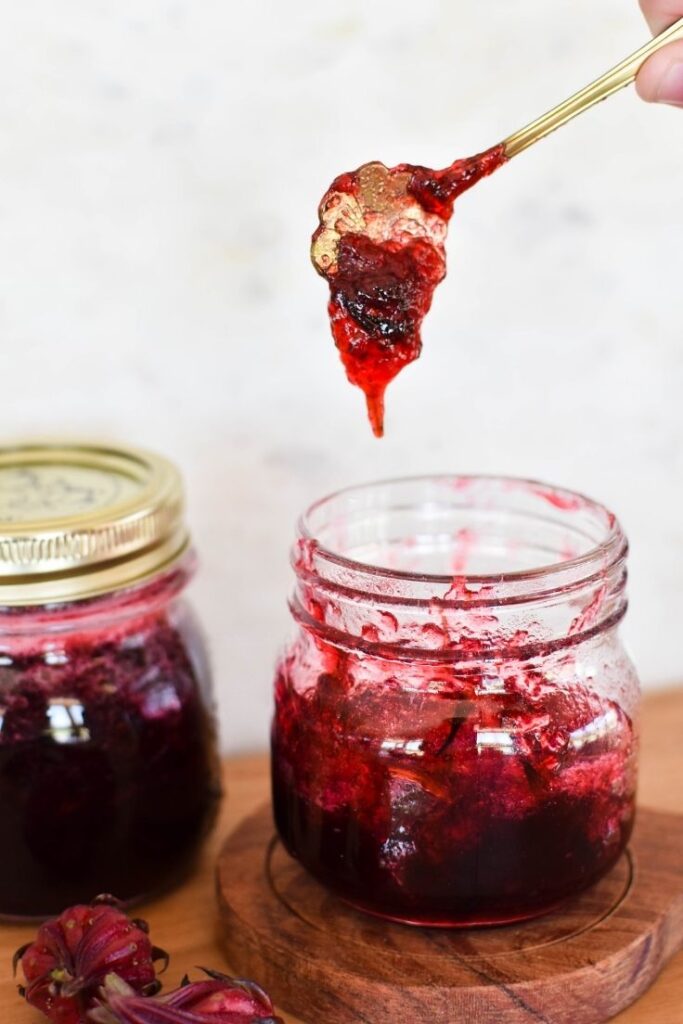
Bring to the boil and then simmer for 20-30 minutes. The mixture will thicken and turn a very bright red colour.

TIP: Stir a couple of times throughout the process to gauge whether it's thickening and make sure it's not sticking to the bottom of the saucepan.
Is my rosella jam set?
The trick to making great jam is, of course, making sure you cook it just enough so it sets to perfection.
I've supplied time guidelines here, but getting familiar with how you can tell when jam is set means you'll never be left with runny jam or a sticky mess again.
Bottling and storing your jam
Finally, pour the mixture into sterilised jars and place in the fridge once they reach room temperature.
Store for up to 6 months (unopened) or 2 months (once opened). There is the option of "canning" this jam so you can store it for longer periods on the shelf in your pantry. However, you'll need to rely on your own knowledge of canning and preserving as the process is too extensive to cover here.
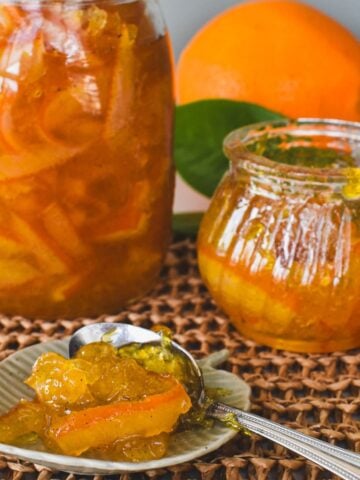
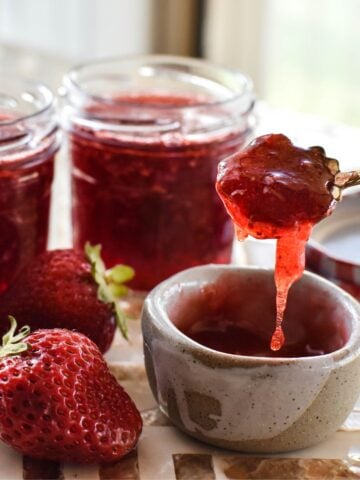
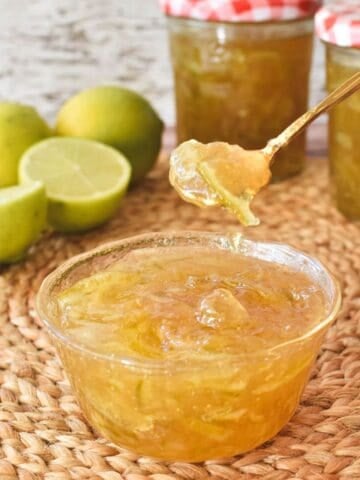
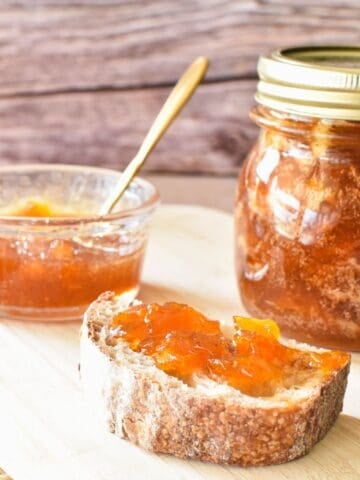
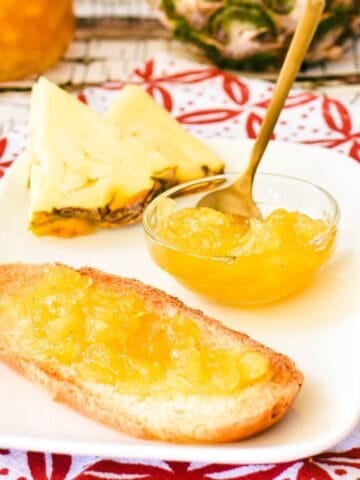
More old-fashioned jam recipes
Check out more recipes from the collection:
Made this recipe and love it? Please take a moment to rate the recipe and leave a comment below. It’s such a help to others who want to try the recipe. (And it really makes my day to hear how Nana Ling's recipes are being made, shared and loved all around the world! - Libby x)
For more fun and deliciousness in the kitchen, follow along on Facebook, TikTok and Pinterest, and subscribe for new posts via email.
Rosella Jam Recipe
Equipment
- sterilised jars with lids
Ingredients
- fresh rosellas (this recipe uses ratios rather than specific quantities - see steps below)
- water
- caster or white sugar
Instructions
- Separate the red, fleshy flower part of the rosellas (calyces) from the seed pods.
- Wash seeds in water and then place in a saucepan. Cover with water (just) then bring to the boil and boil, covered, for 30 minutes.
- Strain and retain liquid but discard seed pods.
- Wash the calyces in water and place in a saucepan. Add the liquid from seeds and a little extra water if necessary to cover the calyces (just).
- Bring to the boil and then simmer on medium heat for 20 minutes or until fruit is tender.
- Remove from heat and measure the volume of the fruit mixture. Add the same volume of sugar and heat gently to dissolve the sugar.
- Bring to the boil and then simmer for 20-30 minutes. The mixture will thicken and turn a very bright red colour. Stir a couple of times throughout the process to gauge whether it's thickening and make sure it's not sticking to the bottom of the saucepan.
- Pour mixture into sterilised jars and place in fridge once they reach room temperature.
KATE says
I added a couple of slices of Ginger and a homegrown Myer lemon to the mix. Made superb Jam and syrup.
Margaret says
If growing your own rosellas do you wait until after the yellow flower erupts from the pod to pick or do you pick before the pod opens. If the pod has opened can you still use the red petals once the flower has withered and fallen out
Tony says
The flower only lasts one day,yellow petals turns pink the next and drops leaving the red calyx bud. You have to wait a few weeks after that for the bud to grow to full size before harvesting, Its the calyx bud you want not the flower. You usually harvest the buds 3 -4 times a year, a few times before the summer solstice and then again at the end of Autumn. seperate the calyx (red bits) from the green seed pods and wash and freeze seperatly until your ready to make your jam.
Rachel Guyer says
I may have stumbled on a happy accident. After decreasing the sugar by half, I simmered the sugar into the calyx mixture for a long time (got distracted by my toddler, plus it wasn’t thickening but threatened to boil over three times). I cut the heat when it turned from bright red to rust-red, and I thought I’d ruined it. Turns out I made something akin to roselle caramel: very sticky, thick syrup with a pleasant browned flavor. I can’t to wait to try it after it cools overnight to really test the viscosity. I’m envisioning topping apple crisps, waffles, toast, stirring into seltzer with a dash of bitters for a roselle soda. Yum! Thanks for the recipe!
Libby Hakim says
That's how many favourite recipes are discovered! Enjoy 🙂
Joha says
Is it mandatory to refrigerate? O
If so is there a way to make it so that you can store on shelf at room temp?
Libby Hakim says
You can store on the shelf if the correct canning process is used - there is plenty on the web to guide you here if you are not familiar. Happy cooking!
Vinny says
Hi! This looks amazing. Any idea how long it lasts in the fridge?
Libby Hakim says
Hi Vinny. It should last a couple of months at least in the fridge.
Karol A Neal says
Delicious and luxc yummo
Libby Hakim says
Thanks! Happy Cooking!