Stained Glass Cookies are the most magical of Christmas treats. Melted boiled sweets create a coloured glass "window" in the cookie, creating a mesmerising effect.
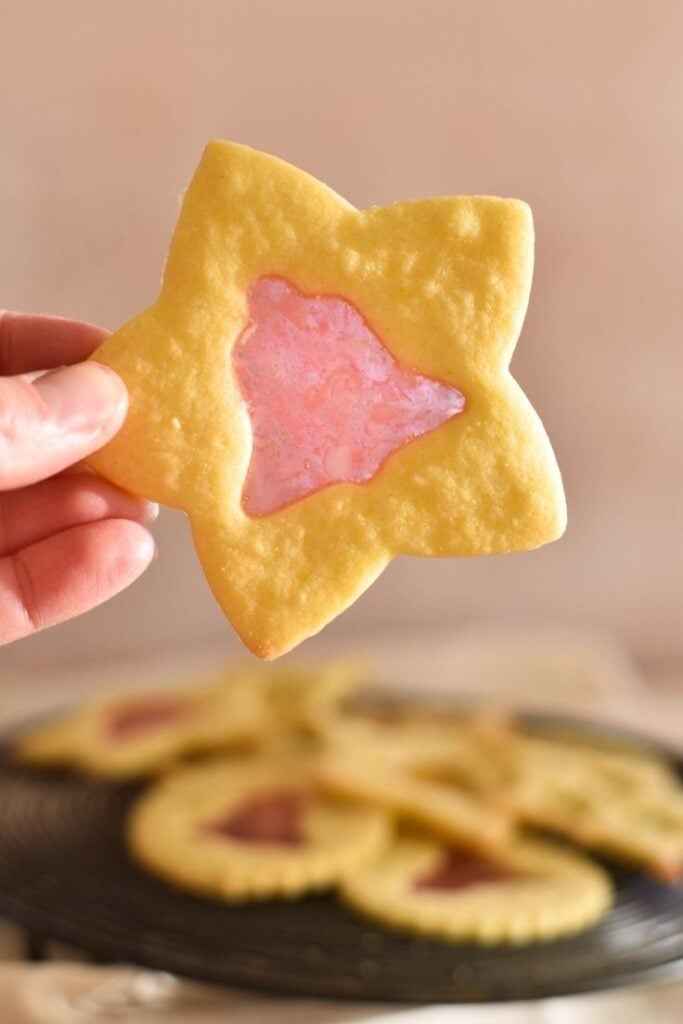
These sweet cookies will add the wow factor to your Christmas table and also make a beautiful gift – and they're easier than you might think to make. So gather up your favourite festive cookie cutters and get ready to unleash your creativity.
Jump to:
Ingredient notes
Gather some standard biscuit baking ingredients: butter, caster sugar, an egg, vanilla extract, plain flour (all-purpose flour), baking powder and custard powder.
And, of course, you'll need that extra ingredient that is used in the magic-making process: boiled sweets. They become the coloured glass windows in these cookies. Major supermarkets should have these old-fashioned lollies. I picked up a bag from my local Woolworths.
How to make Stained Glass Biscuits
Start by pre-heating your oven to 180 degrees celsius / 360 degrees fahrenheit, fan-forced. Line baking trays with baking paper, greasing the corners first to prevent paper slipping.
Next, we've got a standard cooking making method. Cream the butter and sugar on med-high in a stand mixer. Add egg and vanilla and beat again for a couple of minutes. Fold in sifted flour, baking powder and custard powder.
Flour the kitchen bench. Separate dough into two parts and knead each until smooth. Wrap the dough in baking paper and place into the fridge for 15-30 minutes.
Now it gets fun! Separate the boiled lollies by colour. Place each colour bundle into a separate plastic bag and crush well using a rolling pin.
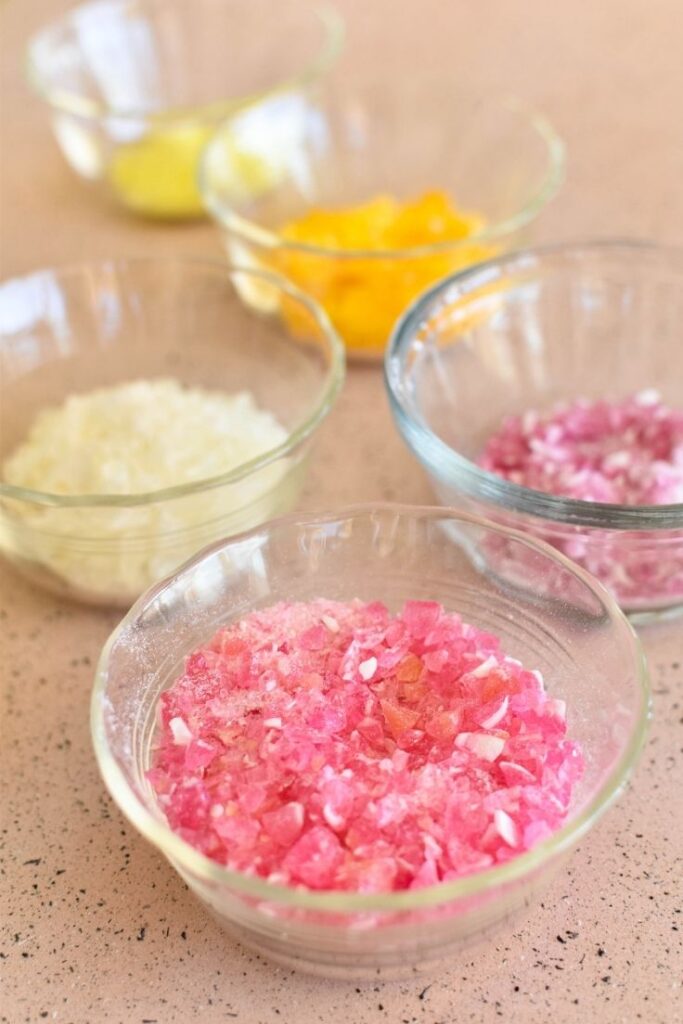
Back to the cookie dough. Once chilled, roll it out to a thickness of about 3mm – making sure the bench you're working on is well floured.
Cut out cookies using medium cookie cutters. Cut out smaller shapes from the cookies using smaller cookie cutters. Use a spatula to transfer the cookies to the baking tray.
TIP: Another fun part of this recipe is that you can get creative with your cookie cutters. You'll need medium sized cutters for the cookies and smaller shapes for the cutouts. Here, I used bells, stars and Christmas trees – but you can use whatever you have in the cupboard provided the sizing works.

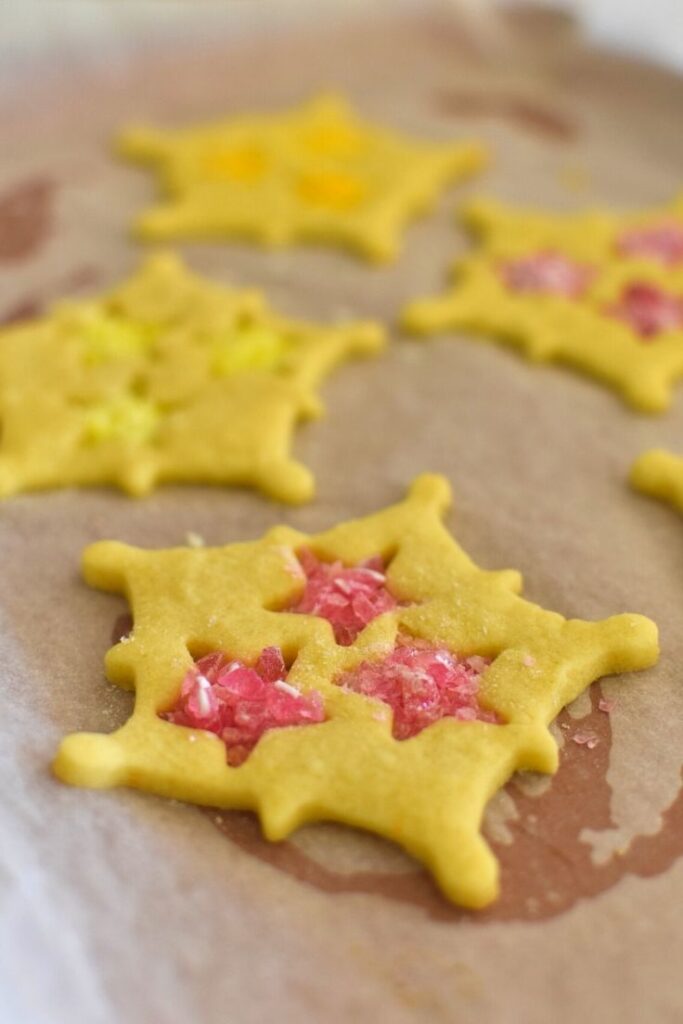
Bake for 5 minutes and then remove from oven. Carefully fill each small cutout section with the crushed boiled lollies. Return to the oven and bake for a further 5-7 minutes or until lollies have melted – creating the stained glass effect.
Allow to cool on the trays for a few minutes before transferring to a cooling rack.
Once completely cooled, store biscuits in an airtight container in a cool, dry place for up to one week.
Tips for making perfect Stained Glass Christmas Cookies
This recipe is more straightforward than you may imagine. Be sure, though, to read through the instructions carefully.
And these final tips may also help you create these wondrous Christmas treats without to much fuss:
- Be aware that the smaller the cutout in the cookies, the more fiddly it is to fill with the crushed sweets.
- Take care filling the cutouts as sweets spilt on the cookie will look a little messy (though they'll still taste great!)
- If the dough feels too sticky and is hard to work with, add more flour to your workbench as you're kneading it and rolling it out.
- Make sure your butter and egg are at room temperature before you start.
More Christmas magic
It's the most wonderful time of the year. So why not add some more fun desserts to your festive menu?
Made this recipe and love it? Please take a moment to rate the recipe and leave a comment below. It’s such a help to others who want to try the recipe. (And it really makes my day to hear how Nana Ling's recipes are being made, shared and loved all around the world! - Libby x)
For more fun and deliciousness in the kitchen, follow along on Facebook, TikTok and Pinterest, and subscribe for new posts via email.
Stained Glass Cookies
Equipment
- Medium and small cookie cutters.
Ingredients
- 225 grams butter
- ¾ cup caster sugar (160 grams)
- 1 egg
- 1 teaspoon vanilla extract
- 2 cups plain flour (all-purpose flour)
- ½ teaspoon baking powder
- 1 teaspoon custard powder
- 100 grams boiled lollies
- extra flour (for kneading and rolling dough)
Instructions
- Pre-heat oven to 180 degrees celsius/360 degrees fahrenheit, fan-forced.
- Line baking trays with baking paper, greasing the corners first to prevent paper slipping.
- Cream butter and sugar on med-high in a stand mixer.
- Add egg and vanilla and beat again for a couple of minutes.
- Fold in sifted flour, baking powder and custard powder.
- Flour the kitchen bench. Separate dough into two parts and knead each until smooth.
- Wrap dough in baking paper and place into the fridge for 15-30 minutes.
- Separate the boiled lollies by colour. Place each colour bundle into a separate plastic bag and crush well using a rolling pin.
- Once chilled, roll out pastry to a thickness of about 3mm making sure the bench you're working on is well floured.
- Cut out cookies using medium cookie cutters. Cut out smaller shapes from the cookies using smaller cookie cutters. Use a spatula to transfer the cookies to the baking tray.
- Bake for 5 minutes and then remove from oven. Carefully fill each small cutout section with the crushed boiled lollies. Return to the oven and bake for a further 5-7 minutes or until lollies have melted.
- Allow to cool on trays for 10 minutes before removing cookies and placing on a cooling rack.
Notes
- You'll need medium sized cutters for the cookies and smaller shapes for the cutouts. Here, I used bells, stars and Christmas trees – but you can use whatever you have in the cupboard provided the sizing works.
- Be aware that the smaller the cutout in the cookies, the more fiddly it is to fill with the crushed sweets.
- Take care filling the cutouts as sweets spilt on the cookie will look a little messy (though they'll still taste great!)
- If the dough feels too sticky and is hard to work with, add more flour to your workbench as you're kneading it and rolling it out.
- Make sure your butter and egg are at room temperature before you start.




Leave a Reply