It may have taken the efforts of four generations of mums, but I finally managed to bake a Sponge Cake that doesn't sink.
This Sponge Cake recipe has been taunting me for a few months. Until now – I've finally found the courage to give it a go.
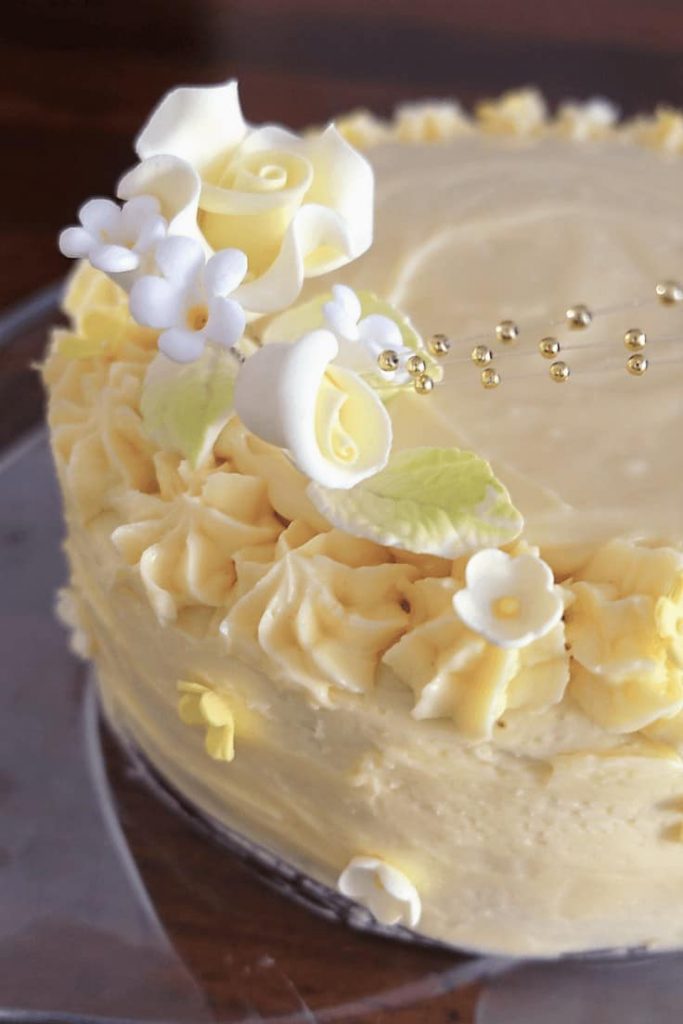
Sponge Cakes: the most intimidating recipe for home cooks?
Eating sponge cakes is easy peasy. But baking them is a whole other matter.
The reason why I find sponge cakes so intimidating comes down to two things.
First, they're tricky – like many home cooks, I've had a few sponge cake fails.
Second, I have a hard act to follow.
My Nan Mac (Nana Ling's daughter) was the master of sponge cakes. When she arrived at a family gathering you could be sure she had two things: Mock Chicken and a perfectly baked and decorated sponge cake.
As a child, I was in awe of her sponge cake creations. As an adult, after attempting a sponge cake on several occasions without success, I'm baffled. I really don't know how she made them so perfect time after time.
The Sponge Cake challenge
I like a challenge, though, so despite my earlier fails I decided to put all my efforts into creating a sponge cake that would at least get a "pass" grade.
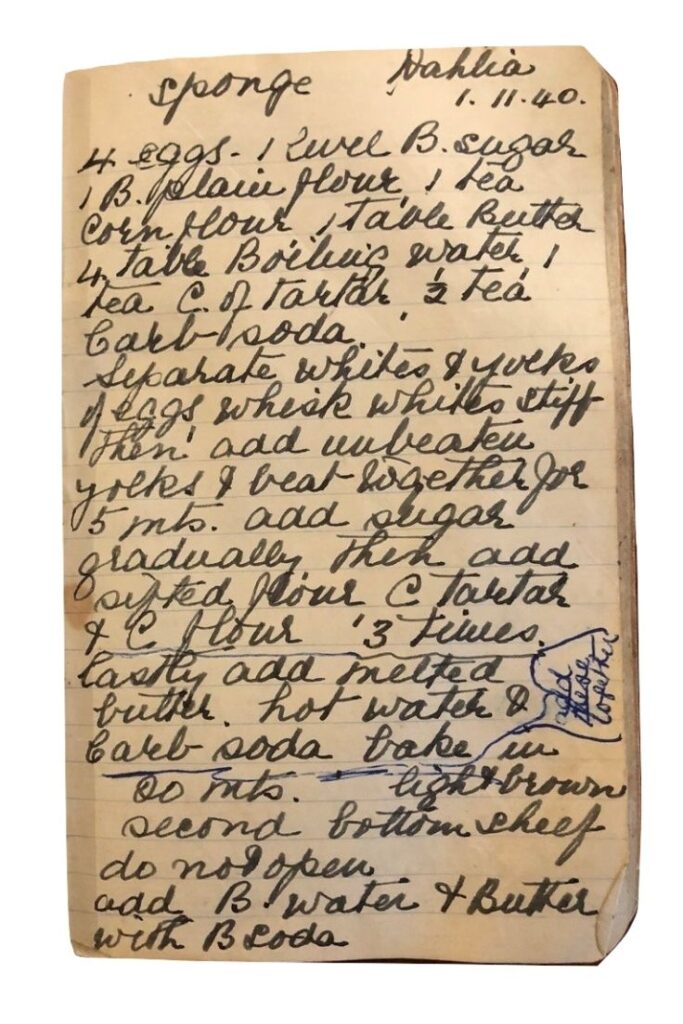
I had a head start – a recipe written by Nana Ling with side notes by Nan Mac. I had my mum, a pastry cook, on the end of the phone for troubleshooting.
That's four generations of mums making one little sponge cake.
I also enjoy the benefits of technology, with Google delivering many ideas when I asked it for tips on how to make a sponge cake. And I have my little daughters, Miss Z and Miss Y, my cheer team in the kitchen.
Seven generations in two photos (Nan Mac, sponge-making extraordinaire, is in both photos)

From L to R: Nana Ling, her grandmother (Louisa Dray, centre) and mother (Granny Sharpe) and a young Nan Mac (sitting, front).

From L to R: My mum (Julie), Nan Mac and me (holding Miss Z)
Let's bake this Sponge Cake!
So, I did my research, read through the recipe a few times, and set to work.
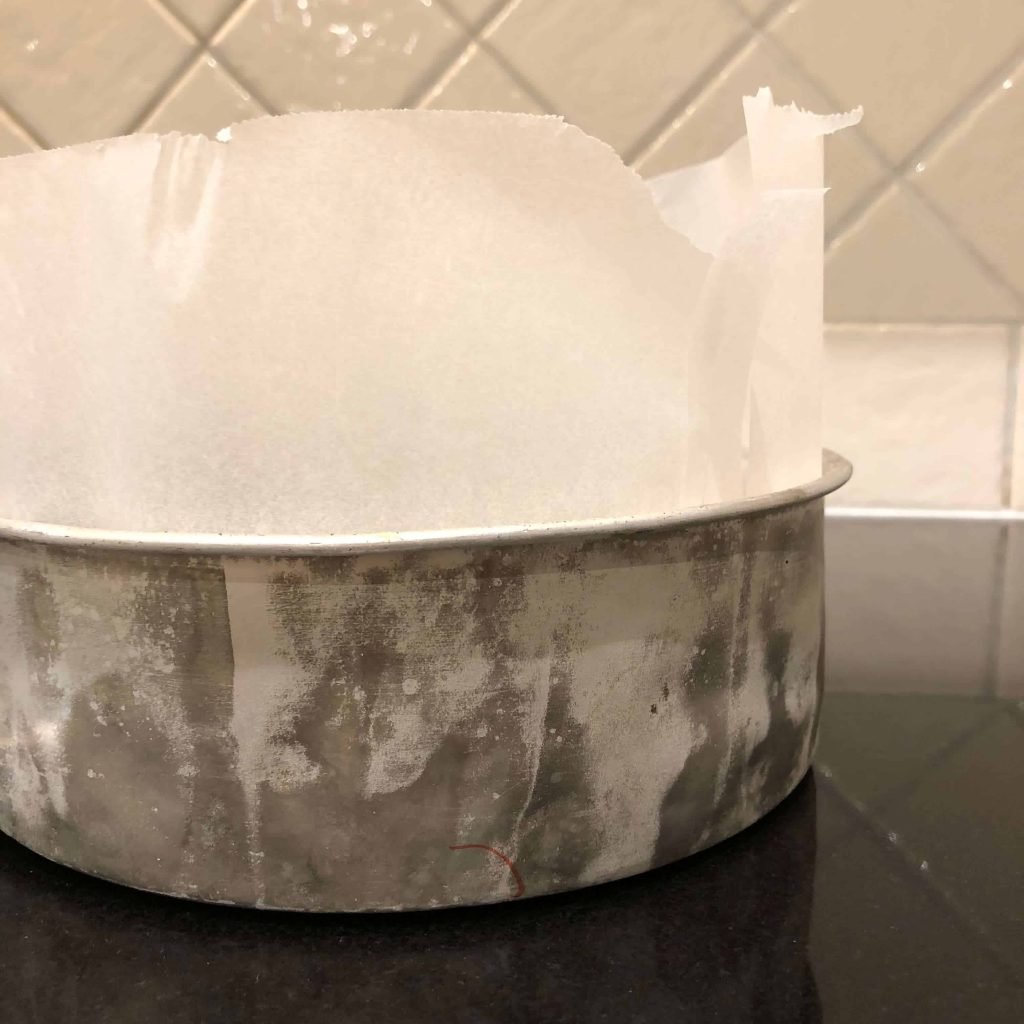
I found these sponge-making tips helpful along the way:
- make sure your eggs are at room temperature
- use cake flour instead of all-purpose flour
- consult your oven's guide to determine the exact temperature at which you should cook your sponge cake
- don't use a stand mixer, use a hand held mixer
- don't open the oven door during cooking and don't pierce the cake with a cake tester
- if the cake is still cooking, it will make a sizzling/crackling sound if you put your ear close to the cake
- press the top of the sponge lightly and it should spring back if cooked properly
- the cake will lift from the sides of the pan once it's cooked
- turn the cake onto a cooling rack covered with two tea towels (to avoid marking bottom of sponge) and cool right way up.
The results of the Sponge Cake challenge
After much beating, sweating and praying...
After much nervous oven-watching...
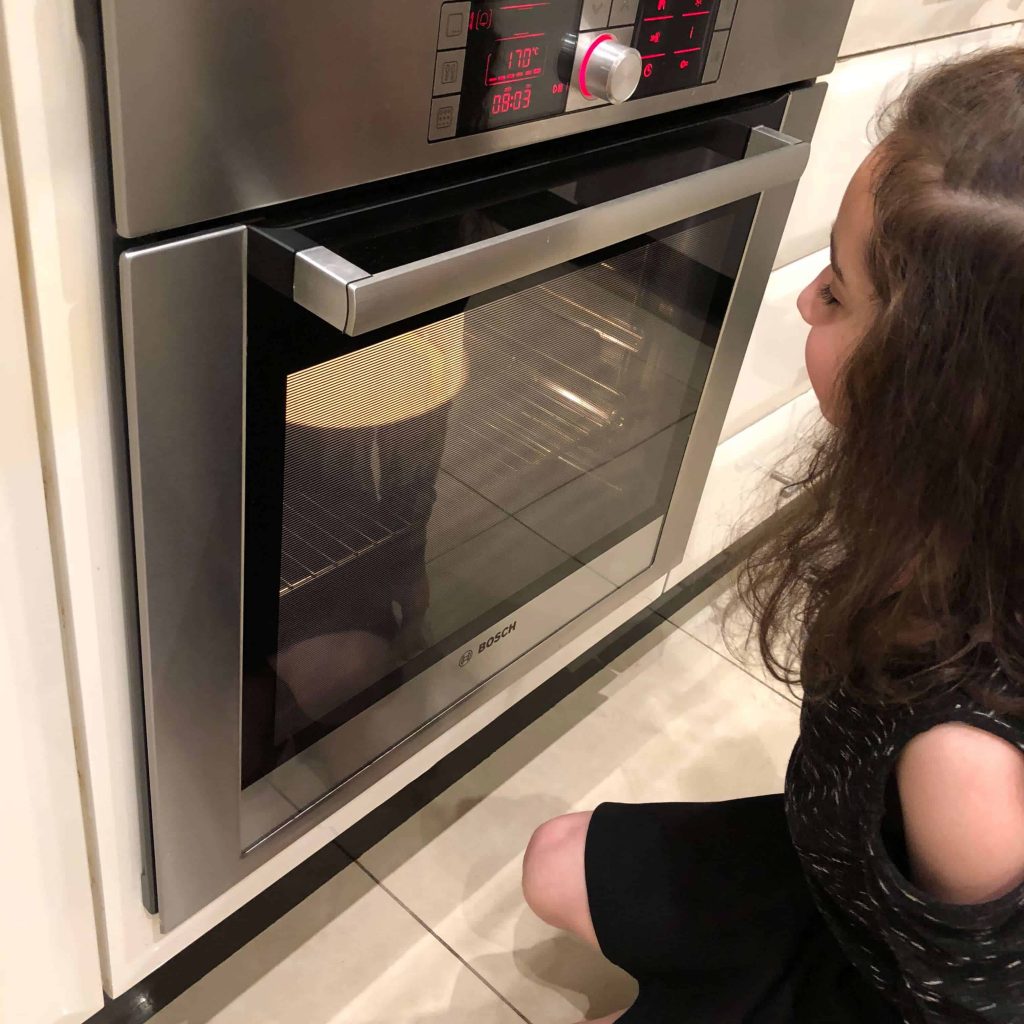
We breathed a huge sigh of relief...
We did it!
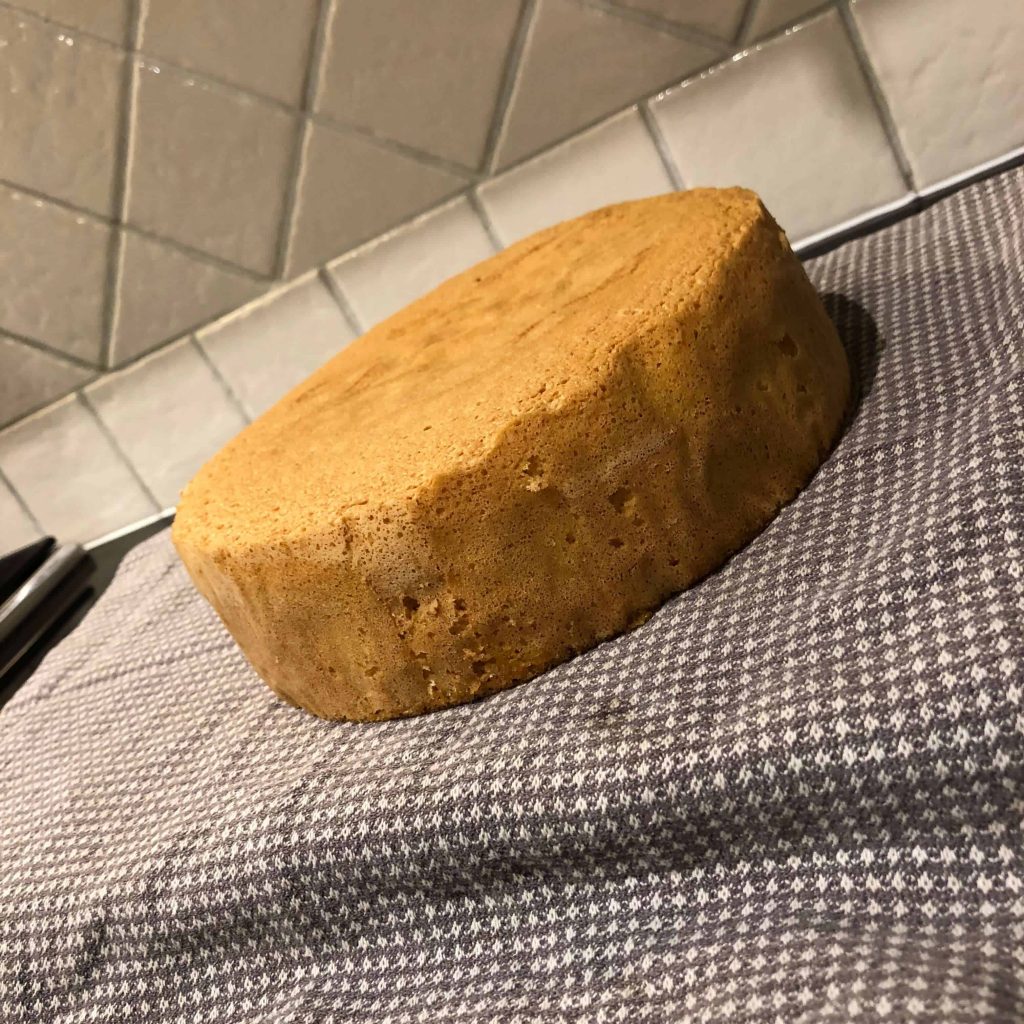
The sponge cake rose.
It didn't sink.
So, it was time to cool off – me and the cake – ready for the next step.
The icing on the Sponge Cake
I was tempted to add a modern twist and decorate the Sponge Cake in the new "naked" fashion. That was until I imagined explaining this new trend (which involves icing only half the cake and leaving bits of it showing through) to Nan Mac. I could see her puzzled look.
So, I decided to go completely old school (and a little fancy) instead.
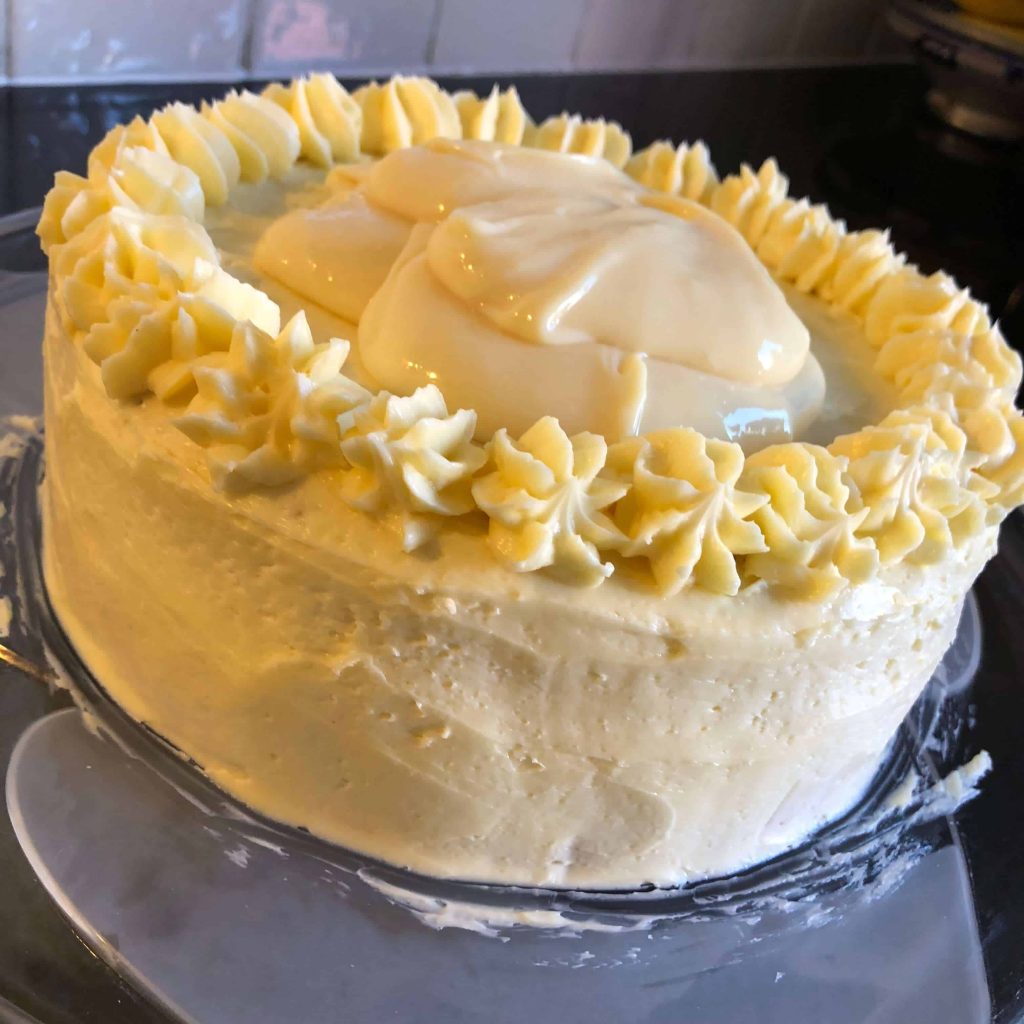
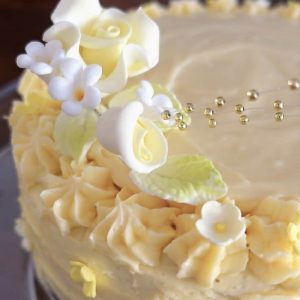
I decorated the top of the Sponge with mock cream stars and condensed milk filling, just like Nan Mac used to. I then went all out and purchased some sugar flowers from my local cake decorating store to add the final touches to my first ever sponge cake.
Winning the Sponge Cake challenge
The result? Well, they says a picture tells a thousand words. So, here's 2,000 words for you:
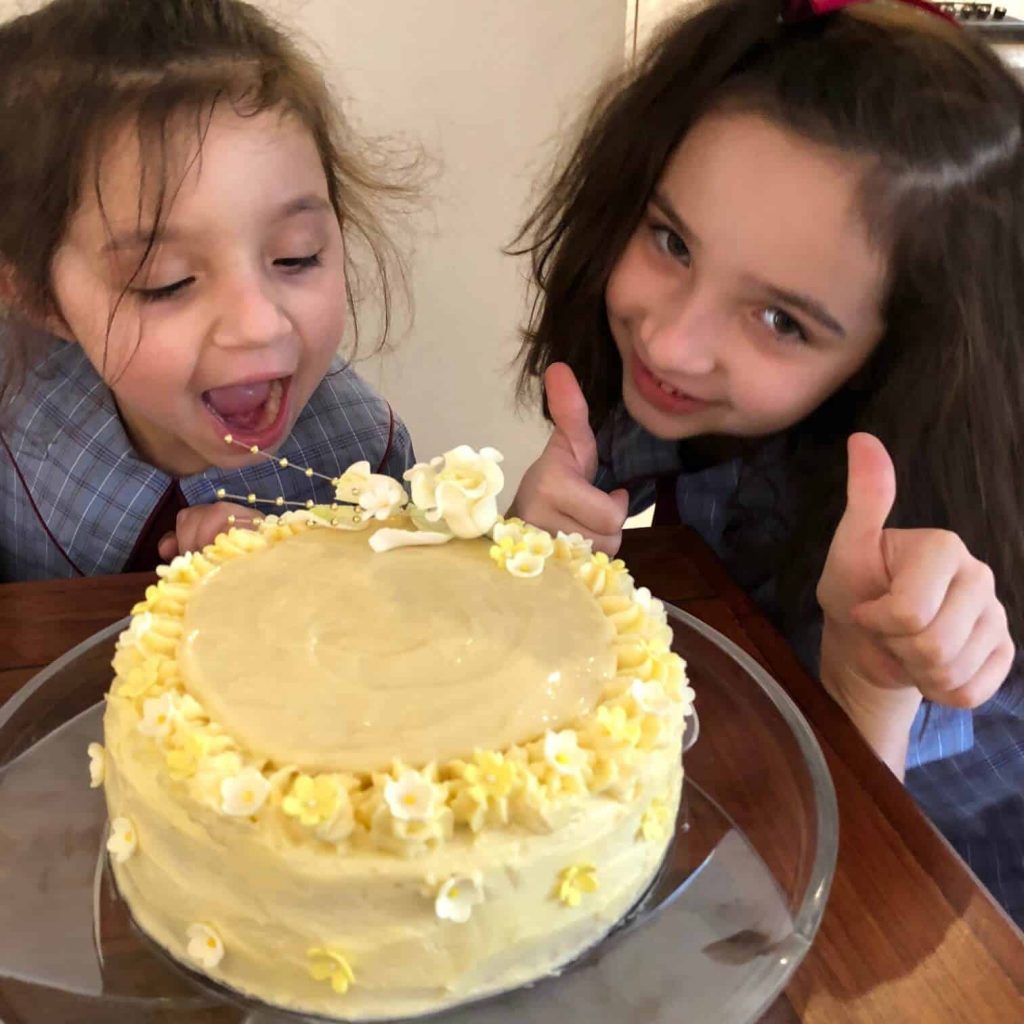
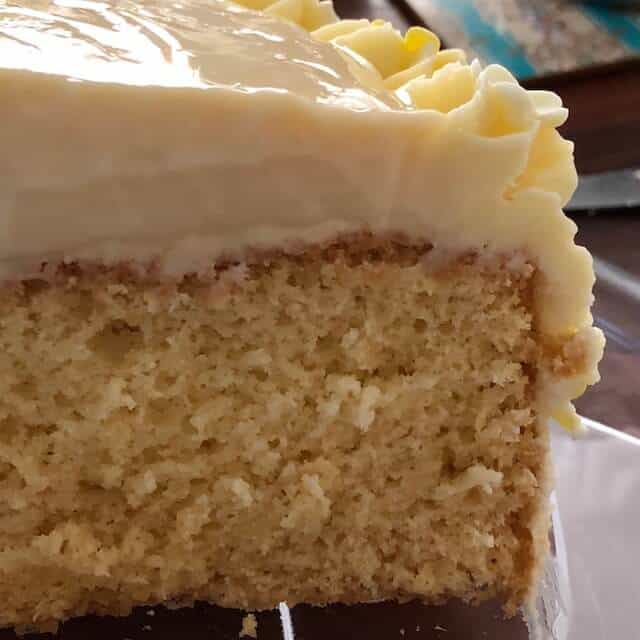
And after offering a neighbour a slice, he asked for a second.
I'm declaring that a win.
I give myself an A for effort and a B for the overall result.
I don't imagine ever reaching have Nan Mac's A+ sponge cake standards, but overall I'm chuffed with the results and can't wait to bake another.
Are you ready to you take up the Sponge Cake challenge?
The original recipes are below, but you'll need to keep scrolling for the tested and tweaked recipes for Sponge Cake, Mock Cream and Condensed Milk filling. I've added as much detail as possible to help you find your own Sponge Cake success.
If you take up the challenge, I'd love to hear from you in the comments below.
Nana Ling's Sponge Cake recipe
Keep scrolling for the tested and tweaked version.
Sponge Cake
Ingredients
Sponge Cake
- 4 eggs
- 1 cup caster sugar
- 1 cup plain flour (preferably cake flour)
- 1 teaspoon cornflour
- 1 tablespoon butter
- 4 tablespoons boiling water
- 1 teaspoon cream of tartar
- ½ teaspoon bicarb soda
Condensed Milk Filling
- 1 tin condensed milk
- 2 lemons
Instructions
Sponge Cake
- Separate egg whites from yolks.
- Whisk whites using a hand beater on low-medium speed until stiff.
- Add egg yolks and continue beating for another five minutes.
- Add sugar gradually to egg mixture while continuing to beat on low-medium speed.
- Sift flour, cream of tartar and cornflour three times.
- Fold dry ingredients through egg and sugar mixture using a spatula.
- Combine melted butter, boiling water and bicarb soda. Once combined, add to mixture and combine well using a spatula.
- Pour mixture into a lined round cake tin and bake in a moderately slow oven for 50 mins.
- Once cake is cooked, allow to cool for two minutes before turning out onto a cooling tray covered with two clean tea towels.
Condensed Milk Filling
- To make condensed milk filling, pour condensed milk into a bowl.
- Juice the two lemons and add the lemon juice to the condensed milk.
- Whisk by hand until mixture is an even, thick consistency.
Notes
 Then pour thickened condensed milk filling into centre of cake and decorate with bought sugar flowers.
pamela thomasson
Thank you for a beautiful story and will be trying out your recipe .
Libby
Thanks for reading it, Pamela. Happy sponge making! Libby x
Libby
Hi Liz. You don't cut the cake in half. Leave it whole and then pipe around the outside of the top with the cream. You then add the condensed milk filling to the top of the cake with the piped cream acting like a barrier to keep the condensed milk on top of the cake. If you take another look at the photos above it might help too. Hope all that makes sense!
Liz Walford
Where does the condensed milk filling go? Do you cut the cake in half?