
This Black Forest Cheesecake Slice is based on a recipe I found in an Australian magazine clipping from the 80s. It immediately caught my eye because it brings together a few much-loved retro treats: Black Forest cake, cheesecake slice and jelly slice.
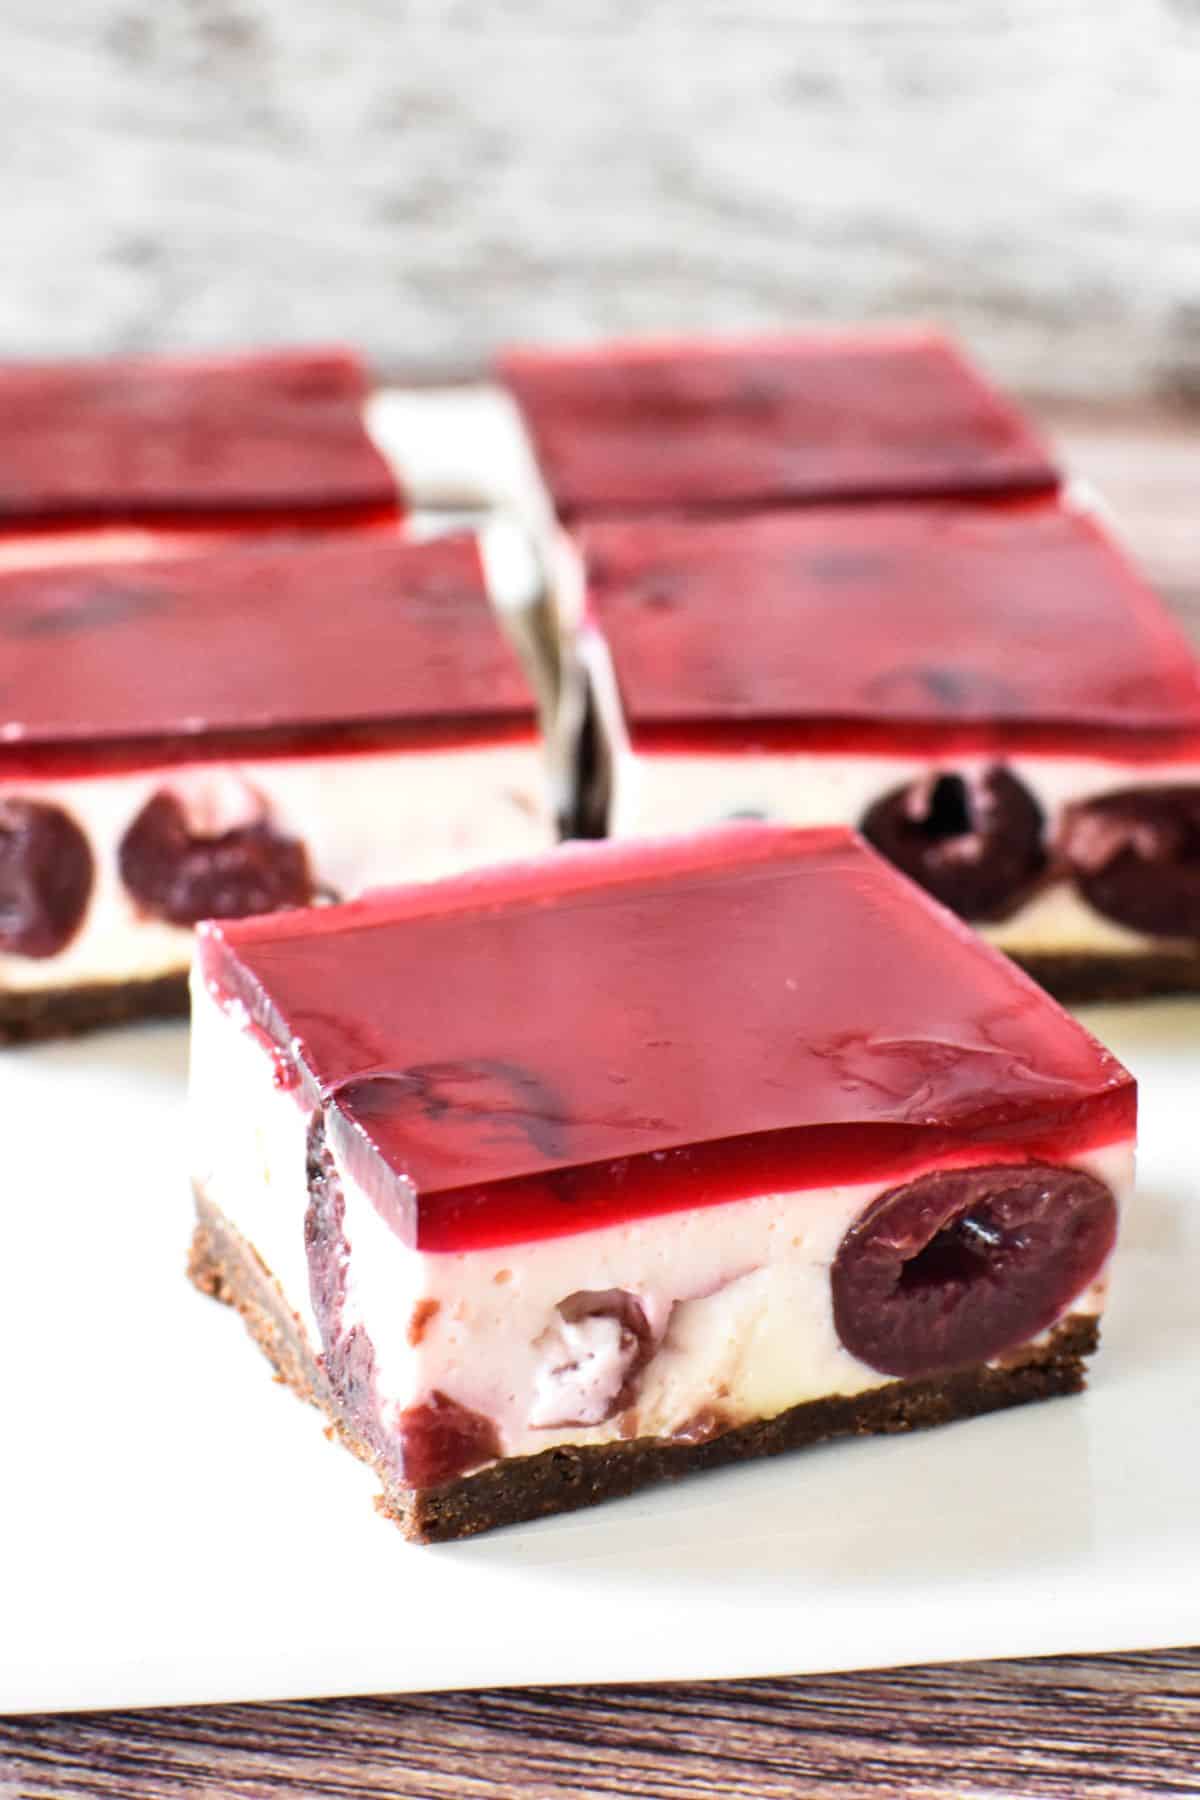
I made it, and... wow! It’s rich, creamy, and wonderfully easy to serve. With a chocolate biscuit base, cherry cheesecake filling and sweet jelly topping, it's the kind of slice that feels a little special. And, it's no-bake!
Jump to:
The recipe
Black Forest cake, or Schwarzwälder Kirschtorte, is a classic German dessert traditionally made with chocolate sponge, cherries, whipped cream and kirsch. It’s closely associated with Germany’s Black Forest region — famous for cherries and cherry brandy.
Black Forest flavours were quite popular in Australia during the 1970s and 1980s, especially in cakes, desserts and celebration recipes. In Australia, the combination of chocolate, cherries and cream feels a little fancy, but still familiar. This slice recipe captures those same flavours in a simple and practical slice form.
Ingredient notes
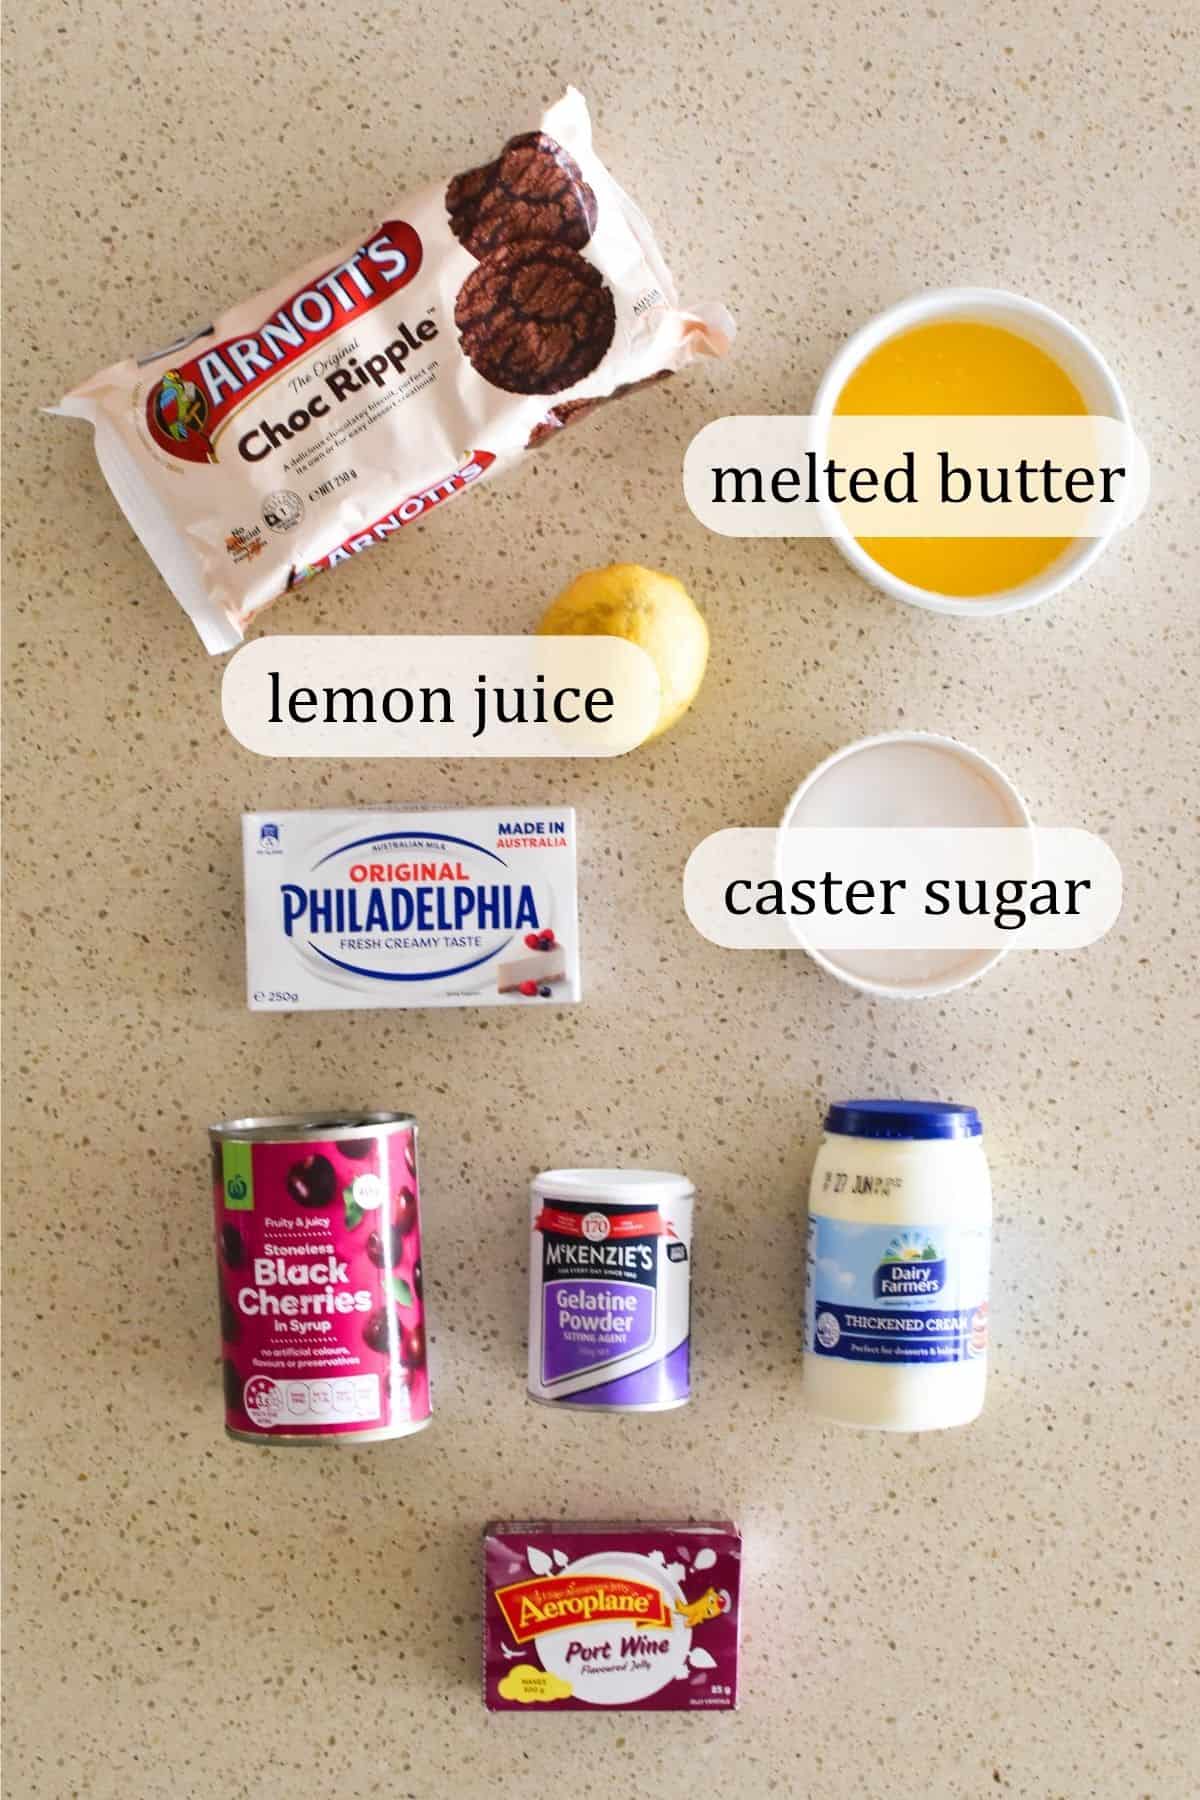
The full list of ingredients and quantities is in the recipe card at the end of this post.
How to make Black Forest Cheesecake Slice
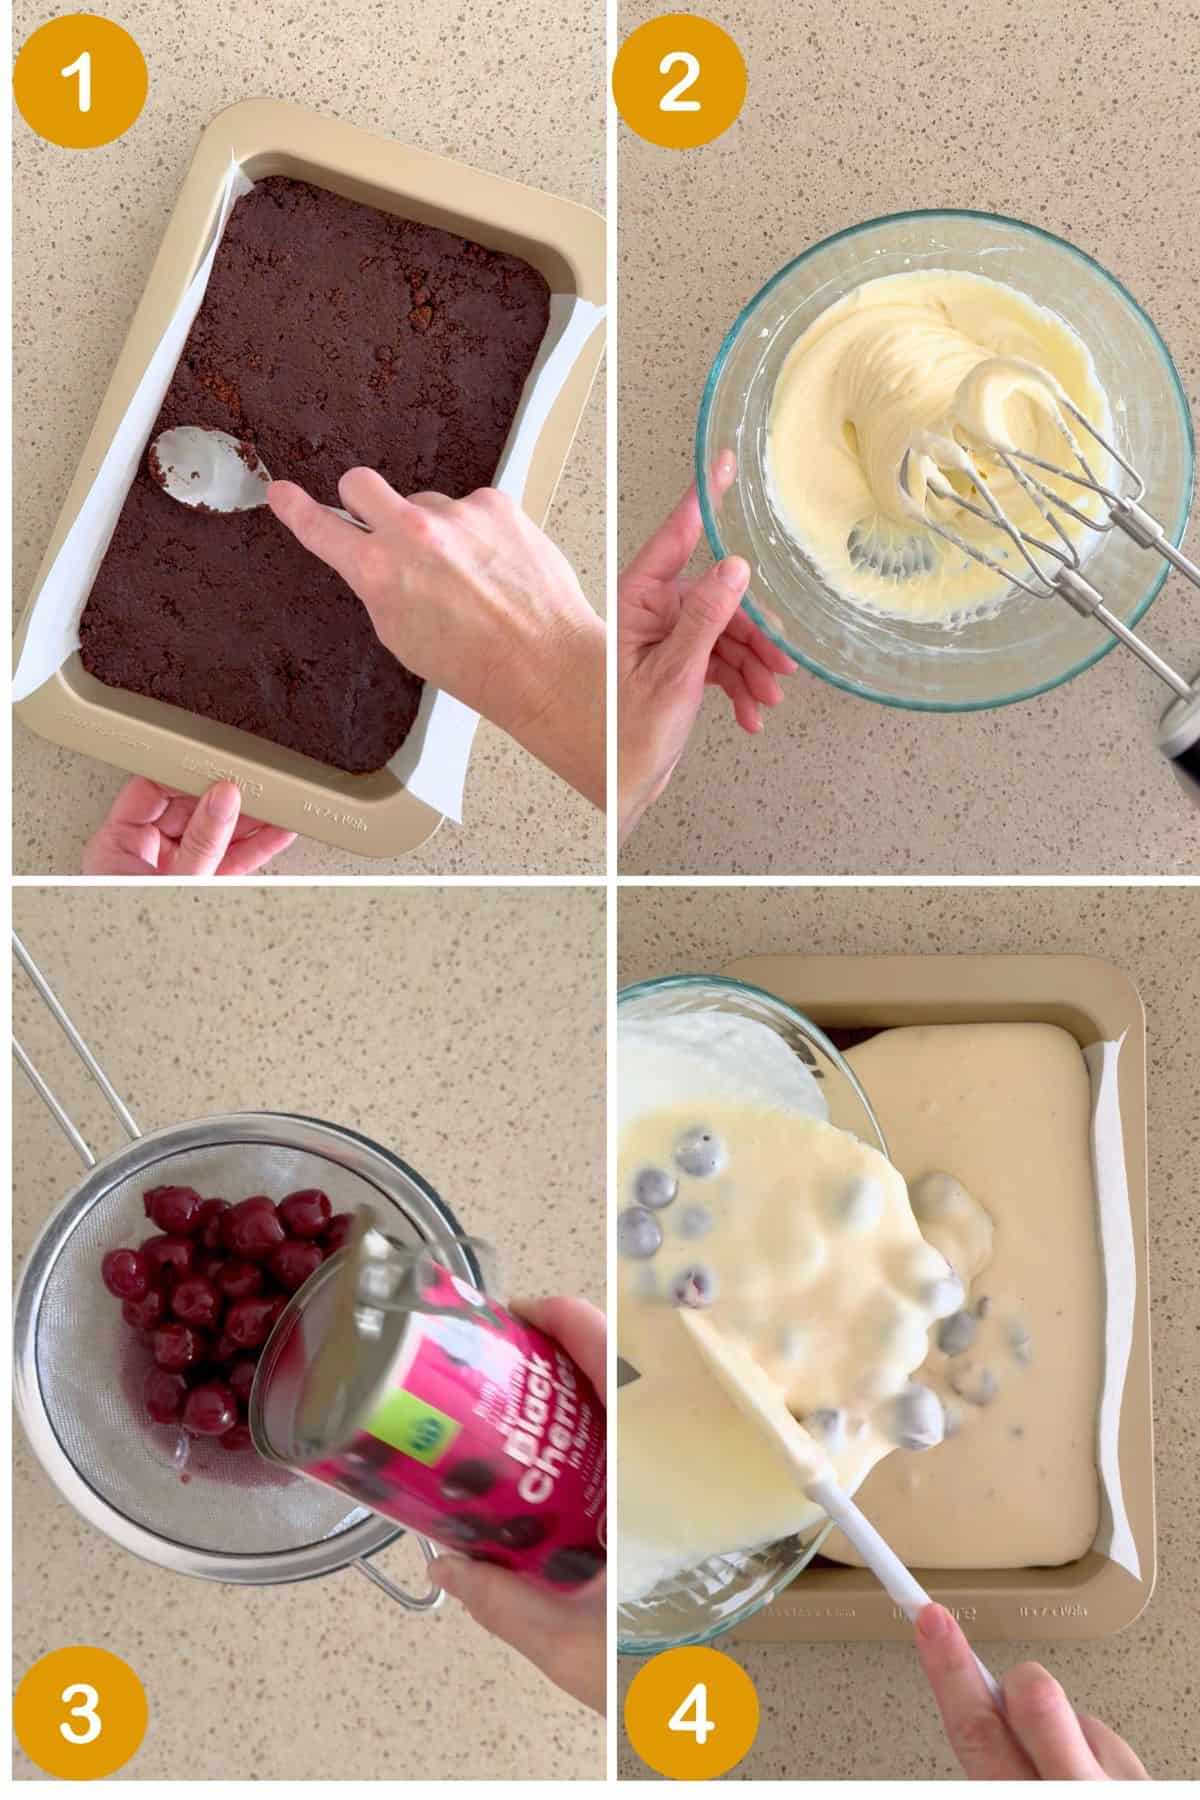
Start by prepping your slice tin (27 x 17cm). Grease it and line with baking paper, leaving excess on the sides to lift out the slice once cooked.
The choc biscuit base
Blitz the chocolate biscuits until finely crushed and then add the melted butter. Stir to combine and then press the mixture firmly and evenly into the base of the prepared slice tin using the back of a metal spoon (see image 1). Place into the fridge to chill while you prepare the cheesecake filling.
The cherry cheesecake filling
Place the cream cheese, caster sugar and lemon juice into a mixing bowl and beat with electric beaters until smooth. Dissolve the gelatine powder in boiling water and whisk until dissolved. Add to the cream cheese mixture along with thickened cream and beat again for one minute (see image 2).
Drain the syrup off the cherries (reserving the liquid – you'll need some of it for the jelly topping) (see image 3) and add the cherries to the cream cheese mixture. Stir through to combine. Pour mixture over the chocolate biscuit base (see image 4) and use a spatula to spread out evenly. Place slice tin back into fridge to chill.
TIP: To ensure there are no stray stones in the cherries, you can push a fork into each cherry or cut them in half before adding to the mix.
The jelly topping
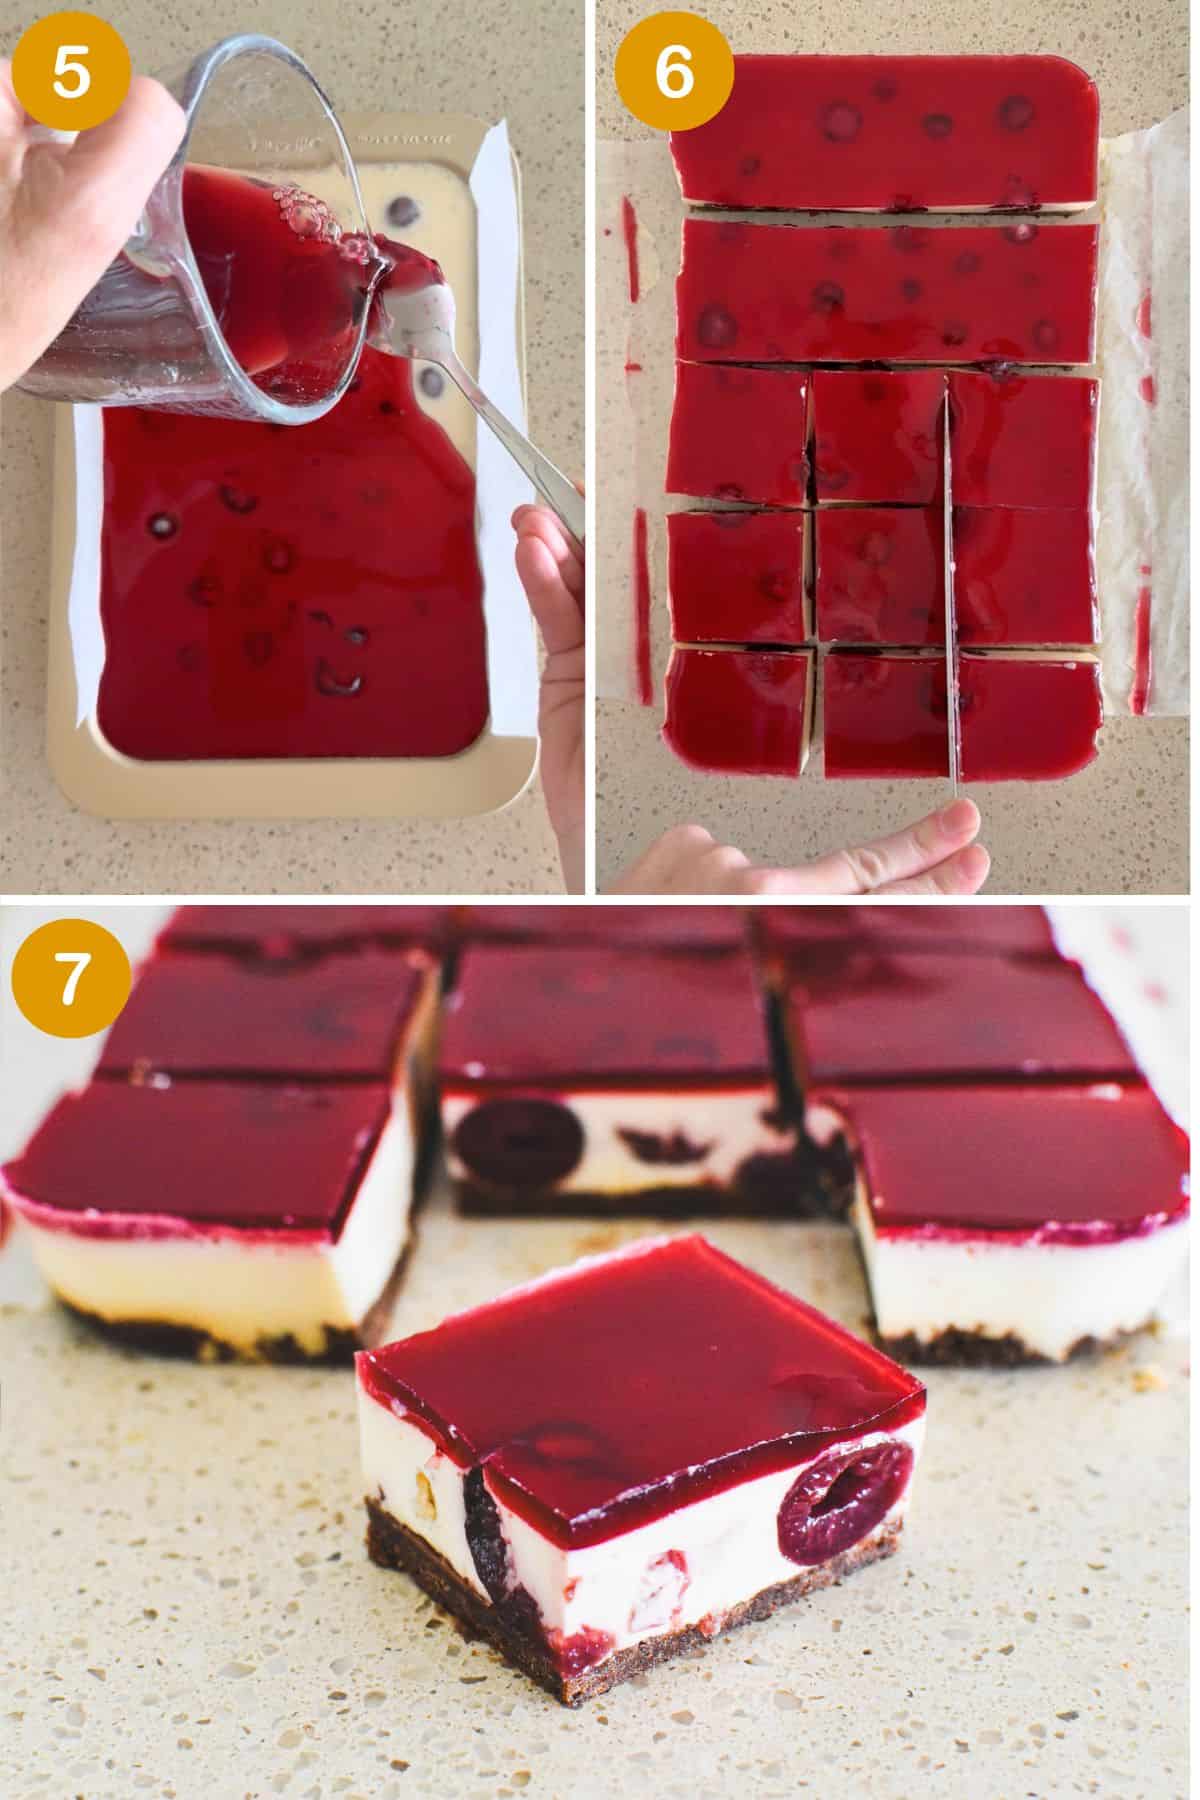
Combine the jelly crystals with boiling water and 125ml only of the reserved cherry syrup. You can discard the remaining syrup. Stir until dissolved and then leave to cool at room temperature for one hour.
TIP: Note that the jelly is not made up according to the instructions on the packet.
After an hour, pour jelly (very carefully!) into the slice tin (see image 5).
TIP: The best way to do this is to leave the tin in the fridge if possible so you don't have to move the tin (and possibly spill the jelly – the tin will be very full!)
Setting, serving and storage
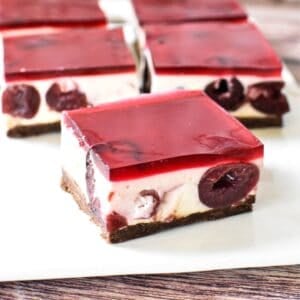
The slice looks so good, but you'll have to wait a little longer to sink your teeth into it! Allow the slice to set for at least 6 hours, ideally overnight. Willpower!
Once set, carefully ease slice out of tin using the overhanging baking paper. Use a sharp knife to slice into 15 squares (5 x 3) (see images 6 and 7).
Store in the fridge for up to a few days.
Tips for success
- Make sure the base is firmly pressed into the tin so the slice holds together well when cut.
- Use softened cream cheese for the smoothest cheesecake layer.
- Allow plenty of chilling time before slicing.
- For neat pieces, use a sharp knife and wipe it clean between cuts.
- Drain canned cherries well so the filling doesn’t become too soft.
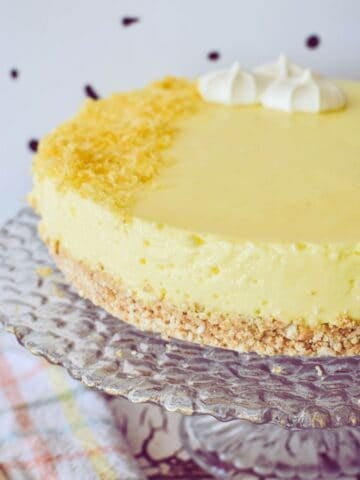
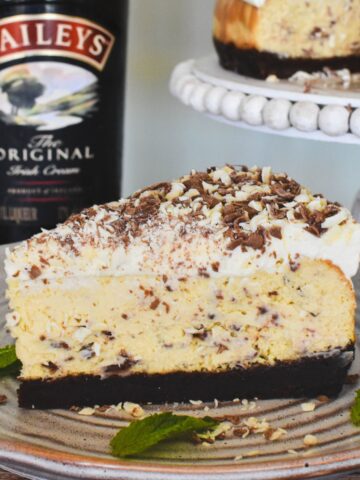
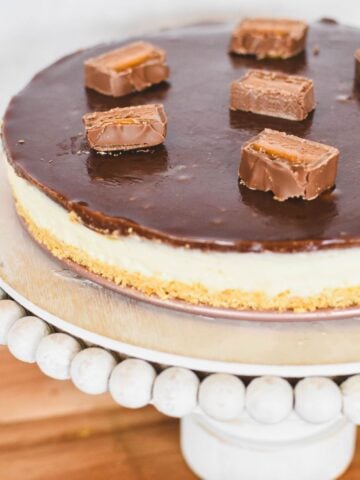
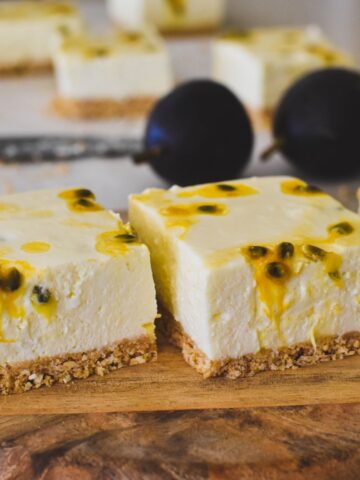
More cheesecake
Love your cheesecake? Here are some more recipes to try:
Made this recipe and love it? Please take a moment to rate the recipe and leave a comment below. It’s such a help to others who want to try the recipe. (And it really makes my day to hear how Nana Ling's recipes are being made, shared and loved all around the world! - Libby x)
For more fun and deliciousness in the kitchen, follow along on Facebook, TikTok and Pinterest, and subscribe for new posts via email.
Black Forest Cheesecake Slice
Equipment
- slice tin (27 x 17cm)
- handheld electric beaters
- mesh strainer
Ingredients
Chocolate Base
- 200 grams chocolate biscuits (Choc Ripple or similar)
- 125 grams butter, melted
Cheesecake Filling
- 250 grams cream cheese, softened
- ½ cup caster sugar / superfine sugar (½ cup = 110 grams)
- 1 tablespoon lemon juice
- 250 ml thickened cream
- 1 tablespoon gelatine powder
- 125 ml boiling water
- 415 gram stoneless black cherries in syrup (drain cherries and reserve syrup)
Jelly topping
- 85 grams port wine jelly crystals
- 125 ml boiling water
- 125 ml reserved cherry syrup
Instructions
- Grease a slice tin (approx 27 x 17 cm) and line with baking paper, leaving excess on the sides to lift out slice once cooked.
Chocolate Base
- Place the biscuits in a food processor or blender and blitz until finely crushed, with no large pieces remaining.
- Add melted butter and stir to combine.
- Press mixture firmly and evenly into the base of the prepared slice tin using the back of a metal spoon.
- Place into fridge to chill.
Cheesecake Filling
- Place cream cheese, caster sugar and lemon juice into a mixing bowl and beat with electric beaters until smooth.
- Dissolve gelatine powder in boiling water and whisk until dissolved. Add to cream cheese mixture along with thickened cream and beat again for one minute.
- Add cherries (syrup drained off and reserved) and stir through to combine.
- Pour over chocolate biscuit base and use a spatula to spread out evenly. Place slice tin back into fridge to chill.
Jelly topping
- Combine jelly crystals with boiling water and 125ml only of the reserved cherry syrup. You can discard remaining syrup. Stir until dissolved and then leave to cool at room temperature for one hour.
- After an hour, pour jelly (very carefully!) into the slice tin. The best way to do this is to leave the tin in the fridge if possible so you don't have to move the tin (and possibly spill the jelly - the tin will be very full!)
Setting, serving and storage
- Allow slice to set for at least 6 hours, ideally overnight.
- Once set, carefully ease slice out of tin using the overhanging baking paper. Use a sharp knife to slice into 15 squares (5 x 3).
- Store in fridge for up to a few days.


Leave a Reply