
Love making slices—or ready to try your first one? This complete guide covers everything you need to know about making perfect Australian slices, from choosing and preparing your slice tin to creating even layers, cutting neat pieces and storing your finished slice. I’ve also included some slice history, helpful tips for overseas readers and links to plenty of recipes to get you started.
Jump to:
Looking for slice recipes?
This is my complete guide to making and baking slices rather than a collection of recipes. If it’s recipes you’re after, jump on over to the Cooking with Nana Ling Slice Collection.
What is a slice?
Most Australian and New Zealand home cooks would know immediately what a "slice" is, but how would we explain it to someone unfamiliar with our great Australian slice tradition? I'll give it a go...
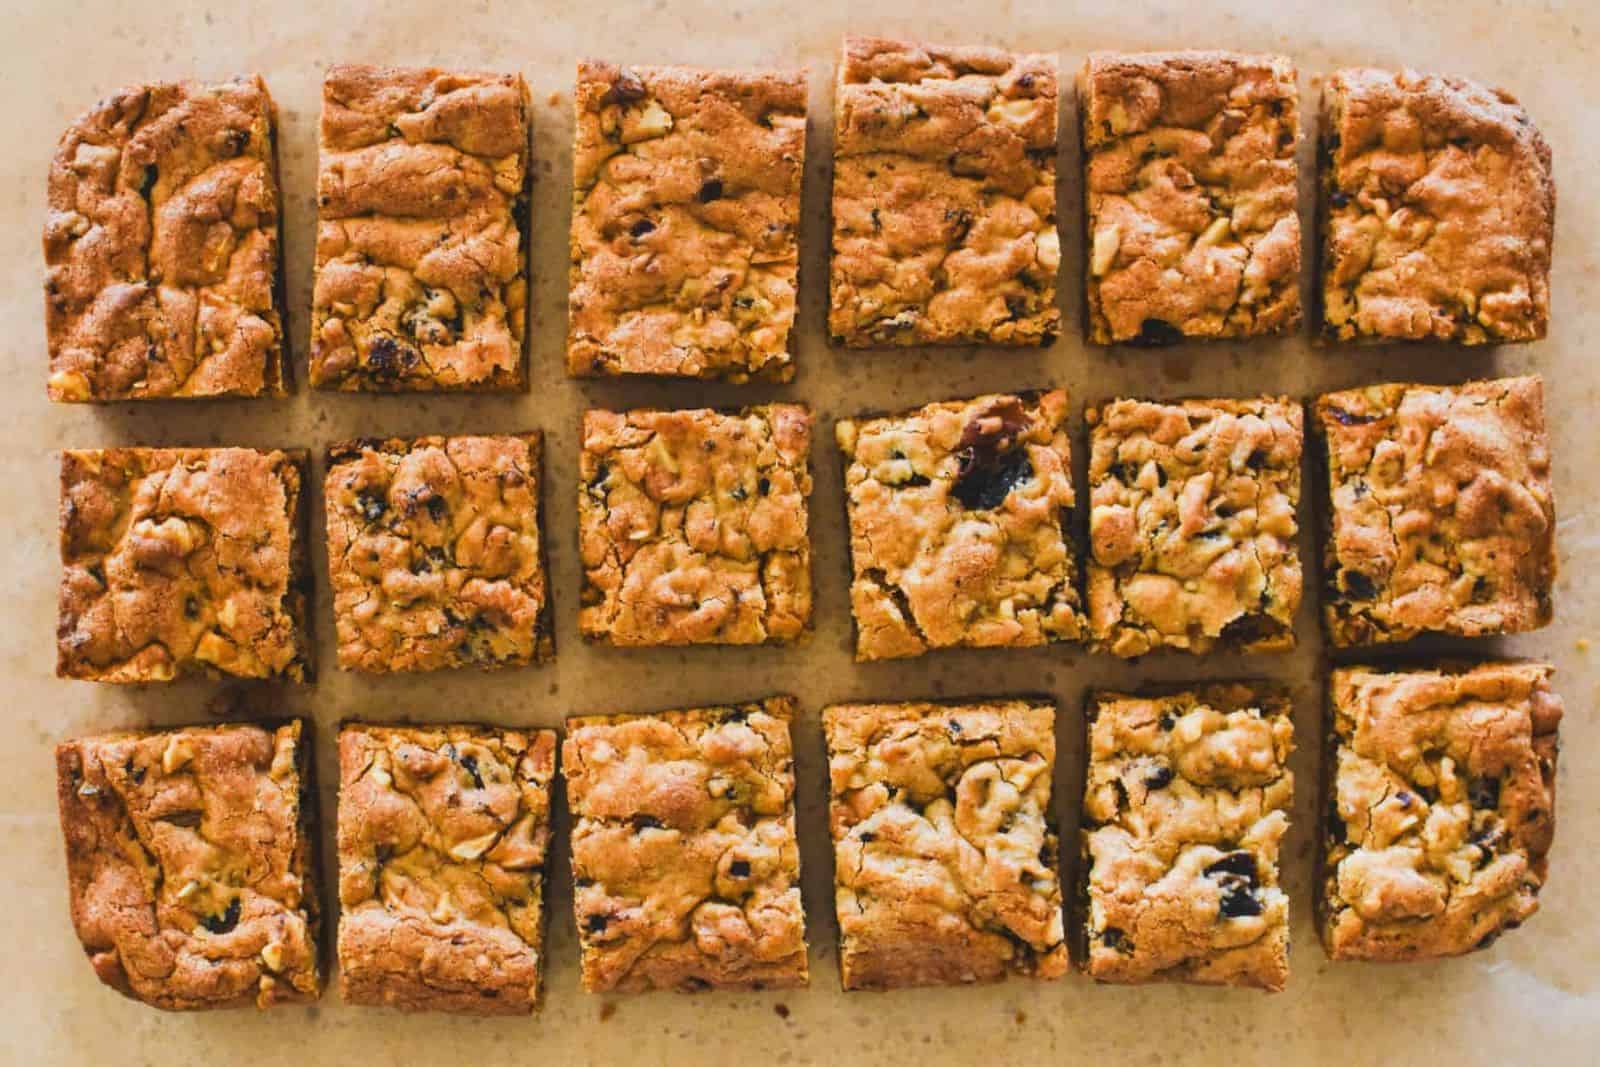
In Australian baking, a slice is generally a sweet—and occasionally savoury—food made in a shallow rectangular tin and cut into squares, bars or fingers once it has set or cooled. Slices can be baked or no-bake.
The classic Aussie slice sometimes overlaps with what people in other countries might call a bar, tray bake, sheet cake, square or dessert bar. In the US, something like a Texas Sheet Cake falls into my broad slice category, while Chester Cake is a traditional Irish example. And in Scotland, Millionaire’s Shortbread became what we Aussies know and love as Caramel Slice.
History of Australian slices
Back in the late 1930s and early 1940s, when Nana Ling was jotting down recipes, she called things we now know as slices by different names. Caramel Date Slice was Caramel Fingers in Nana Ling's day, Raspberry Coconut Slice was Raspberry & Coconut Squares and Lemon Meringue Slice was Lemon Cheese Shortbread.
However, during this period, recipes for slices started to appear in Australian newspapers, including an Apple Slice recipe in 1932 and a Currant Slice in 1945.
Fast forward to 1970, and the comprehensive Australian Women's Weekly Cookbook contained about 10 slice recipes. They appeared as a subcategory under “cakes”, however, and “slices” did not appear as a separate category in the table of contents.
Slices rose in popularity in Australia during the 1970s and 1980s. By 1987, the first Women's Weekly cookbook featuring slices in the title was published: Cakes & Slices. Earlier books like The Big Book of Beautiful Biscuits (1982) had included slice recipes, but it was the Cakes & Slices recipe book that was the first to prominently feature the word in its title.
Why are slices so popular?
Because they are easy to portion, transport and serve, slices are ideal for lunchboxes, afternoon tea, school fetes, bake sales and family gatherings. They are a much-loved part of Australian home baking: practical, shareable and wonderfully nostalgic.
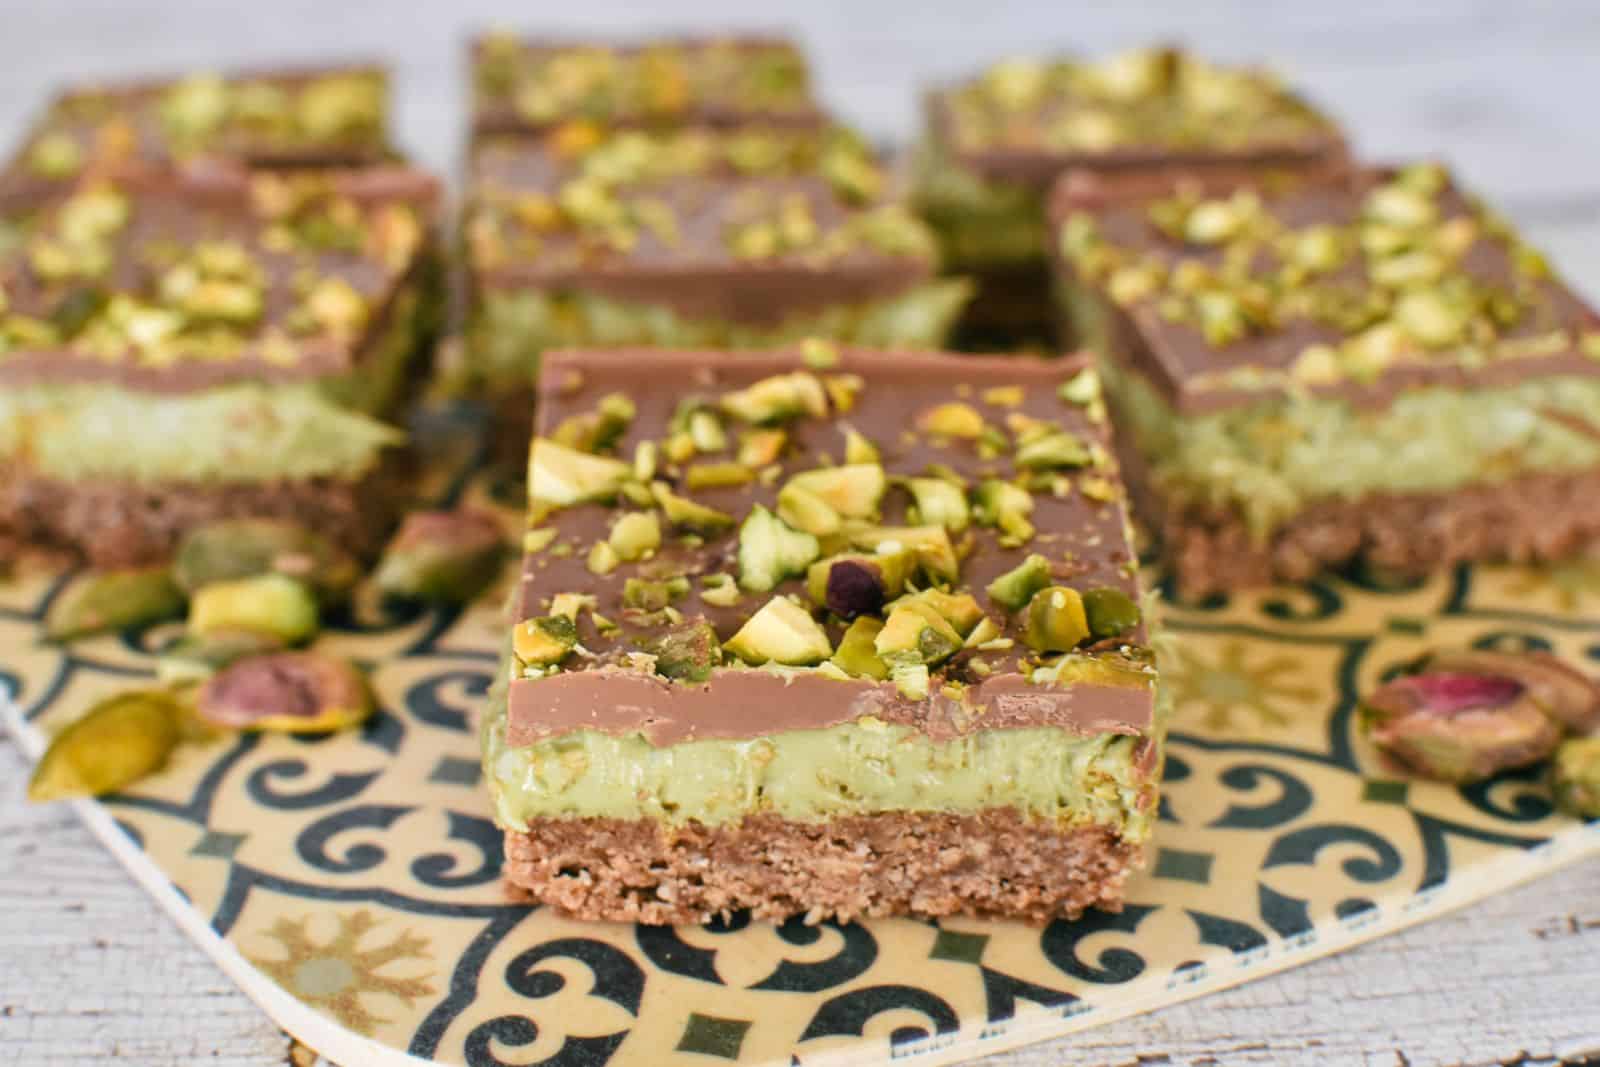
We love slices so much that we frequently turn other favourites into slice form. Anzac Biscuits become Anzac Slice, Florentine Biscuits inspire Florentine Slice, and Banana Cake becomes Banana Slice. I’ve even transformed the viral Dubai chocolate bar into a hugely popular Dubai Chocolate Slice.
Types of Australian slices
The slice is firmly established as a category of baking in Australia and New Zealand, with several distinct subcategories:
| Slice subcategory | Examples |
| Classic Australian slices | Mars Bar Slice, Weet-bix Slice, Anzac Slice, Caramel Slice |
| No-bake slices | Lemon Slice, Apricot Slice |
| Chocolate slices | Chocolate Coconut Slice, Texas Sheet Cake, Cherry Ripe Slice |
| Bakery favourites | Vanilla Slice, Peppermint Slice, Hedgehog Slice, Passionfruit Slice |
| Lunchbox favourites | Muesli Slice, Banana Slice, Apricot Slice |
| Fruit slices | Fruit Salad Slice, Peach Slice |
| Old-fashioned slices | Date Slice, Chester Cake, Lemon Slice, Coconut Ice, Chinese Chews, Raspberry Coconut Slice |
| Dessert slices | Black Forest Cheesecake Slice, Passionfruit Cheesecake Slice |
| Savoury slices | Savoury Slice, Zucchini Slice |
| Christmas slices | Christmas Jelly Slice, Baileys Mars Bar Slice, Christmas Crack, White Christmas |
Slice tin guide
What is a slice tin?
A modern Australian slice tin, sometimes called a slice pan, is a shallow, rectangular tin, with dimensions of 27–28 × 17–18 × 3–4 cm (or approximately 11 × 7 × 1½ inches). I use the slice tin pictured below. Similar tins are commonly available from supermarkets, Big W, Spotlight and kitchenware stores. The particular tin I use is non-stick and safe to use in the dishwasher, fridge and freezer.
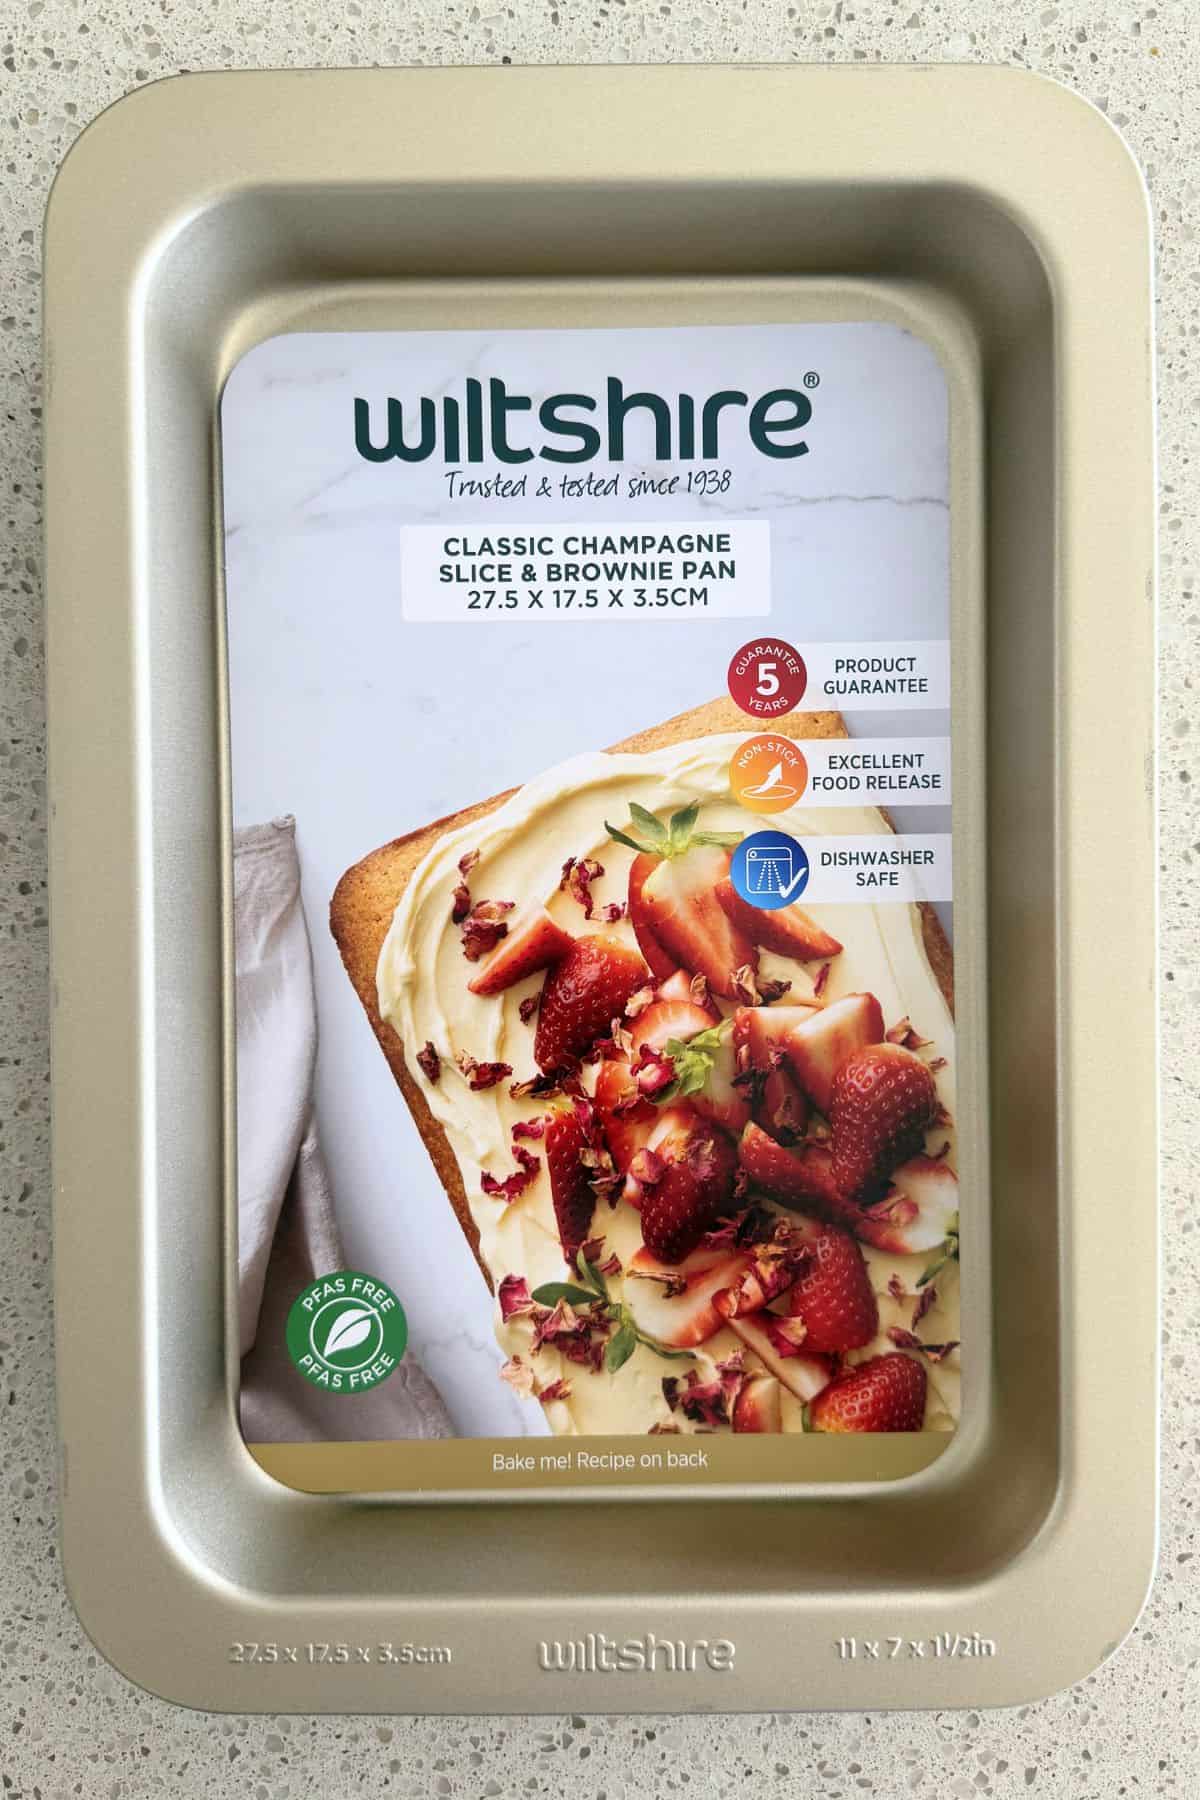
The straight sides and shallow depth help the layers of the slice set evenly and make slicing much easier.
Slice tin vs lamington tin
These two terms are sometimes used interchangeably in Australian baking. Both are shallow rectangular tins, but a lamington tin is usually a little larger – commonly around 20 x 30 cm.
Traditionally, a lamington tin was used to bake the sponge slab for lamingtons, while a slice tin is the everyday tin used for slices, bars and tray bakes.
Can I use a slightly different size when making a slice?
If you use a lamington tin to make a slice, or another similarly sized tin, the recipe will usually still work, but the slice may be a little thicker or thinner and the baking time may need a slight adjustment.
Want to make this later?
How to prepare a slice tin
For most slice recipes, you'll need to prepare the tin by greasing and lining with baking paper – even if the slice just sets in the tin rather than being baked.
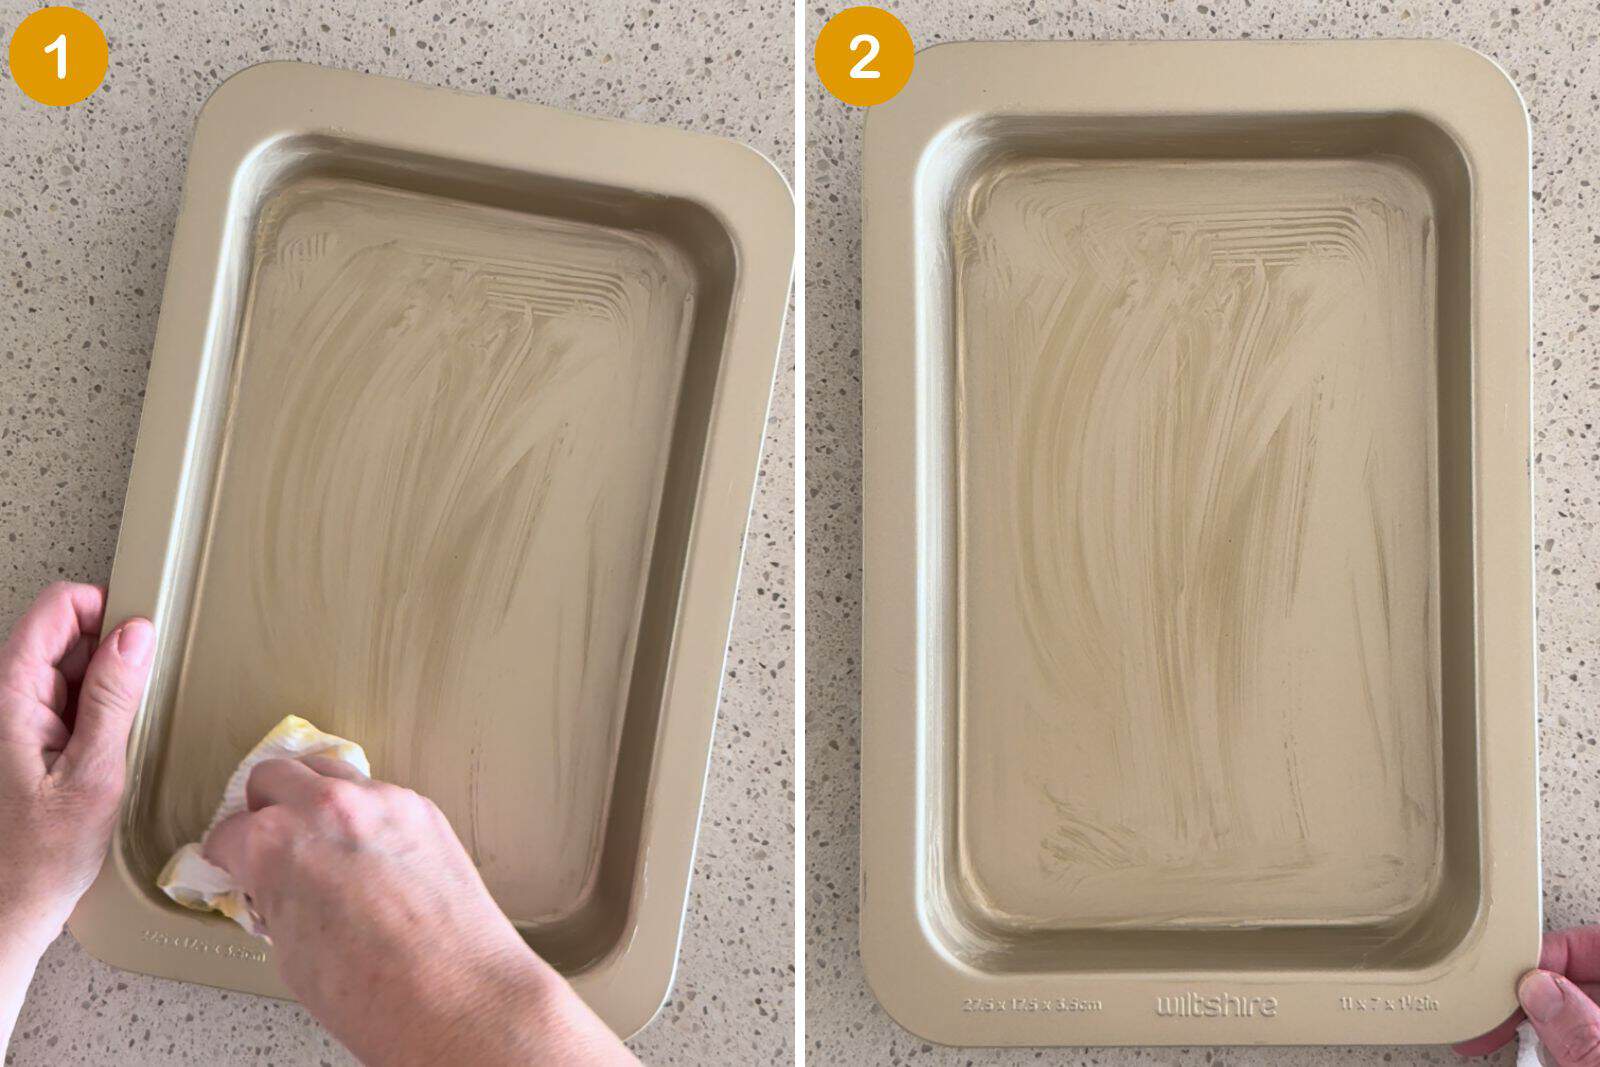
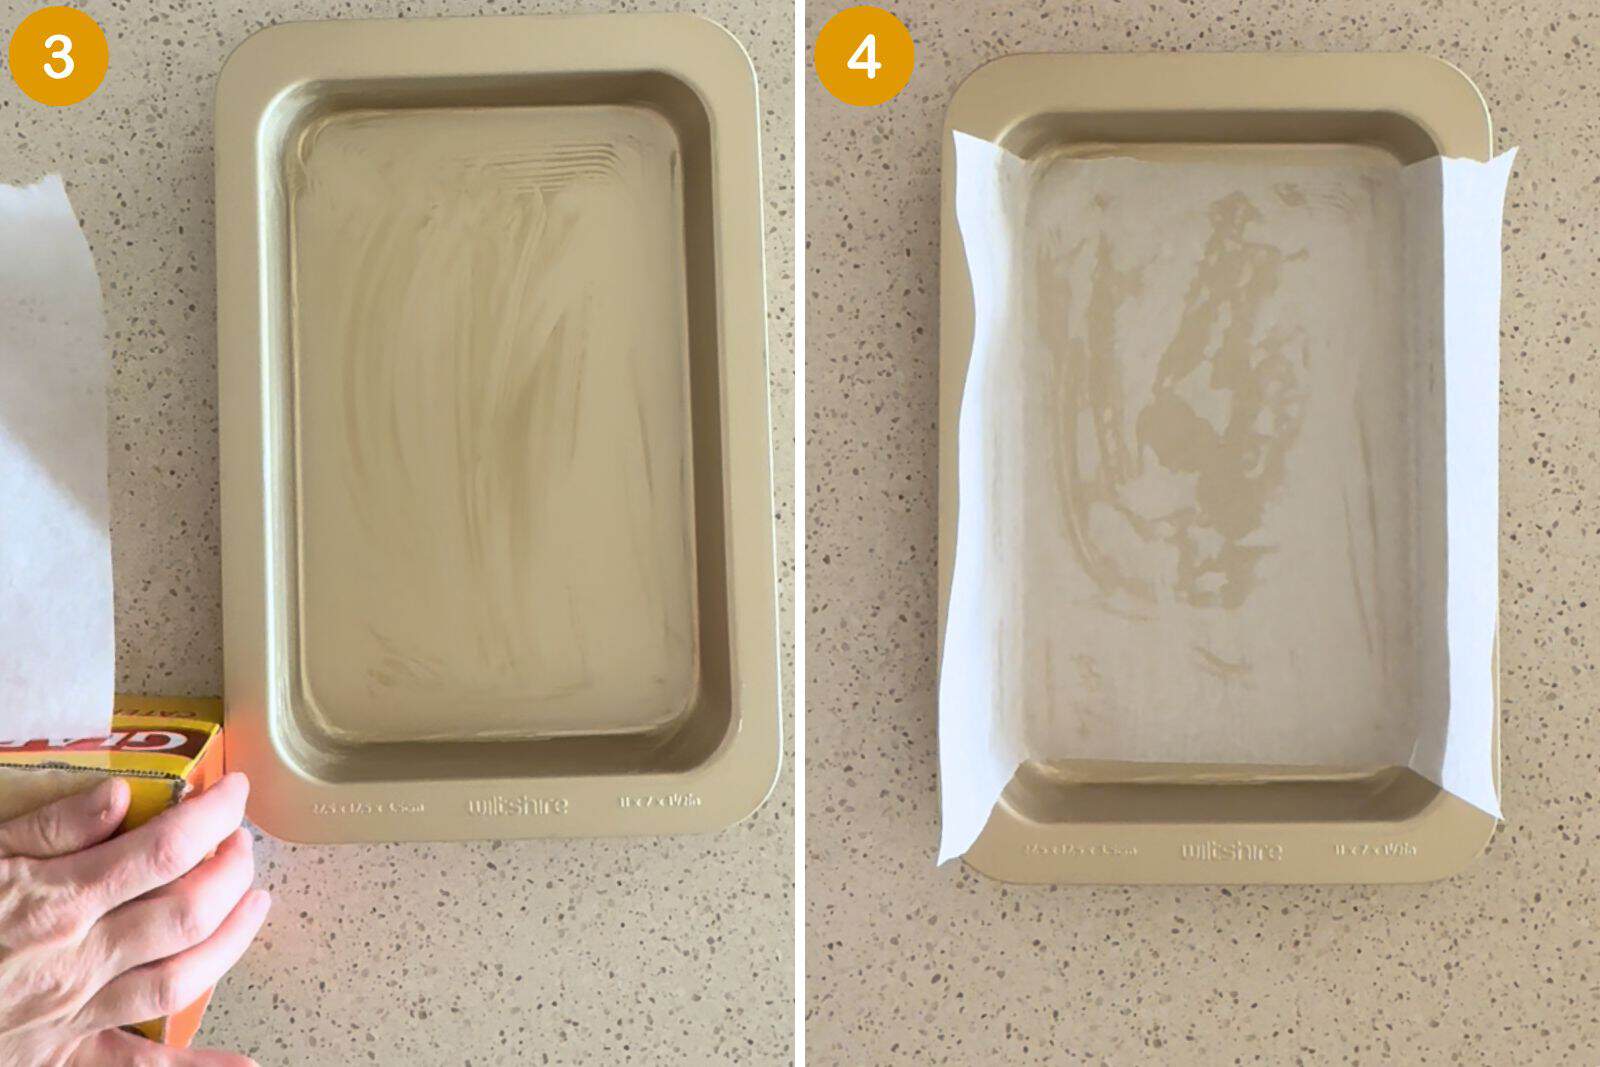
I grease my slice tin by placing a little spreadable butter on a piece of paper towel and wiping it over the inside of the tin (see images 1 and 2). The butter also helps the baking paper stay in place while I add and spread out the slice mixture.
TIP: Make sure you don't miss the corners or tops of the sides.
To measure the baking paper, I hold it against the long edge of the slice tin and cut off the length I need (see image 3). I then use this single piece to line the base and two long sides, leaving a little paper extending above the edges to act as handles (see image 4). I don’t usually line the two short sides, as greasing them is adequate for most slices. Once the slice has cooled or set, you can use the baking paper to lift it neatly from the tin.
Removing the slice from the tin
It all sounds very simple to lift the slice, whole, from the tin using the overhanging baking paper. It’s generally straightforward, but it can occasionally be a little tricky. Here are some tips if you run into problems:
- If the slice isn't coming out in one piece, it may need longer to cool or set.
- If the slice is sticking, carefully run a blunt butter knife or thin silicone spatula between the slice and the sides of the tin. Take extra care not to scratch a non-stick coating.
How to look after your slice tin
- Always follow the manufacturer’s instructions for cleaning and caring for your particular slice tin.
- Allow the tin to cool before washing it, as sudden temperature changes may cause it to warp.
- Unless the manufacturer says it is dishwasher-safe, wash the tin by hand to help preserve its finish.
- Wash the tin in warm, soapy water using a soft cloth or sponge. Avoid steel wool and abrasive cleaners, which can scratch the surface.
- Don’t use a sharp knife to cut a slice while it is still in the tin, particularly if the tin has a non-stick coating. Lift the slice out using the baking paper first, then cut it on a board.
- Avoid using metal utensils that may scratch or damage the tin’s surface.
- Dry the tin thoroughly before storing it to help prevent rust, staining and discolouration.
- Store it somewhere dry and avoid stacking heavy cookware directly inside it unless you place a cloth or paper towel between the tins.
How to make perfect slices
For an even, well-shaped slice, spread the base mixture right into the corners of the prepared tin and press it down firmly. Sometimes your hands—and their gentle warmth—can help bring the mixture together and press it firmly into place. Then use the back of a metal spoon to smooth the surface and create a really even layer. Before adding the next layer, wipe away any mixture that has spread up the sides of the tin or baking paper. This helps create cleaner, more distinct layers.
Measure the ingredients carefully and use the tin size specified, as this affects the thickness of the layers and the cooking or setting time. Allow each layer to cool or set as directed before adding the next.
Finally, read the entire recipe post before starting, as it may contain extra tips and tricks specific to that particular slice. For example, when making Jelly Slice, I leave the tin in the fridge while I pour over the top jelly layer. That way, I don’t have to carry a tin full of liquid jelly and risk spilling it.
How to cut slices neatly
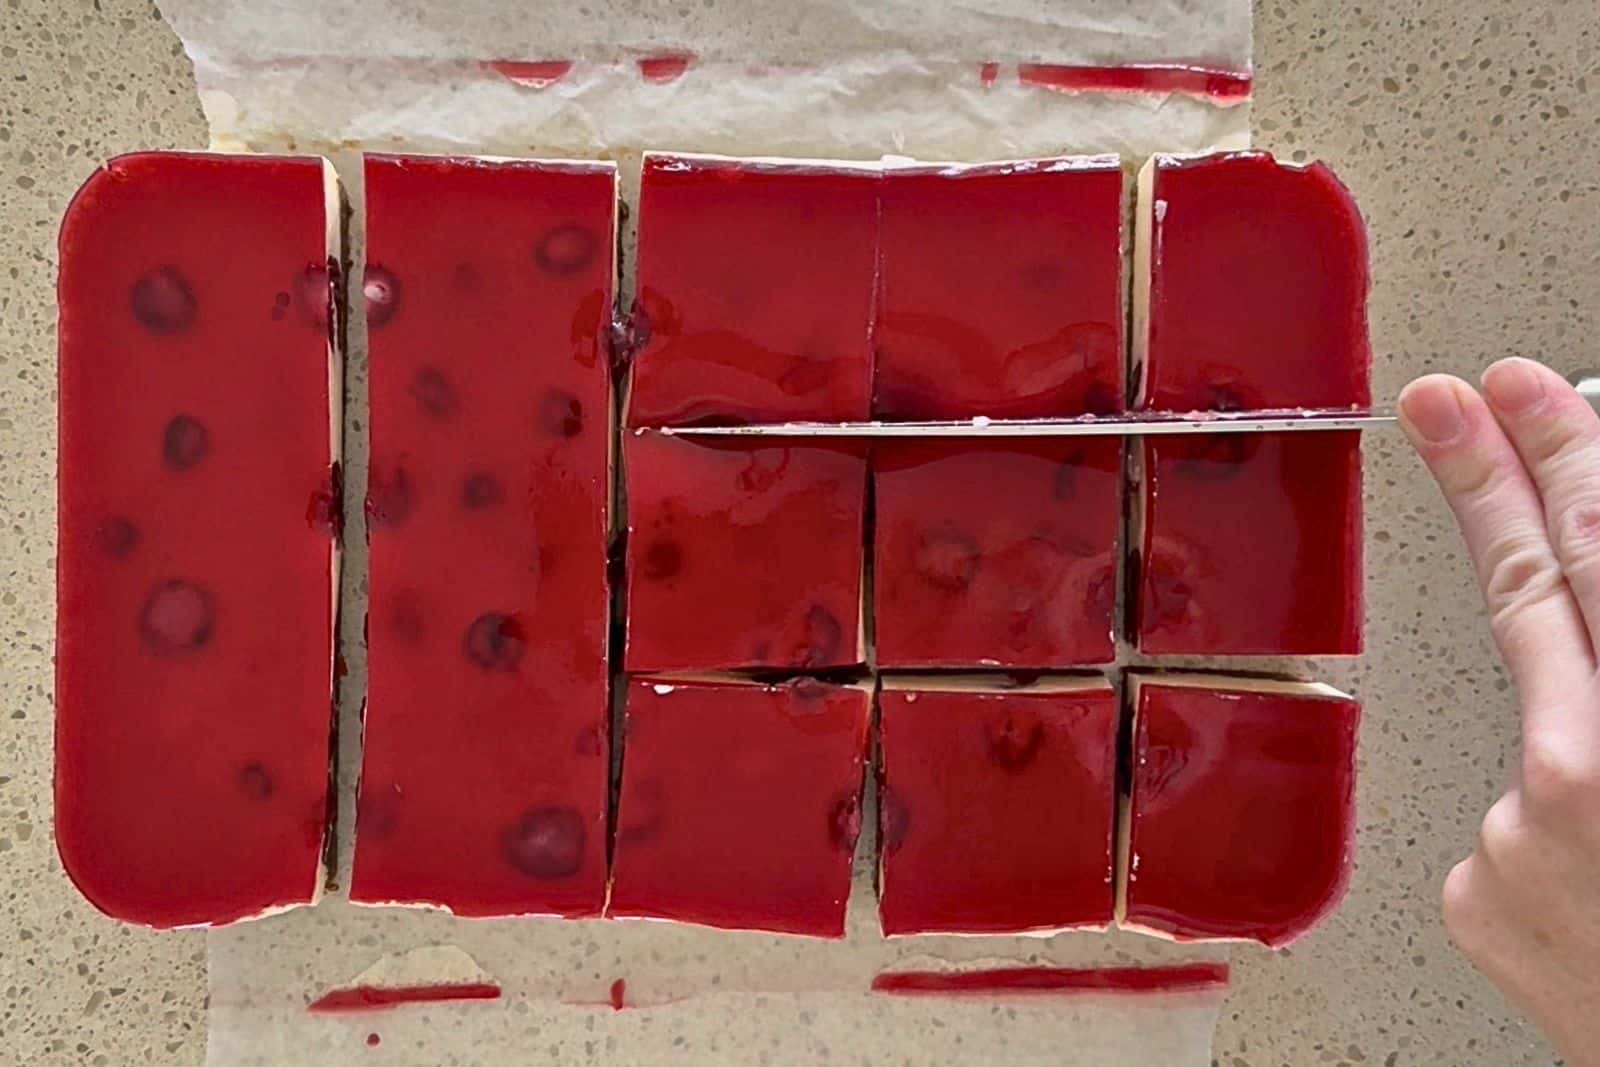
My mum always says that presentation is everything when it comes to food, and I absolutely agree. Slices, especially, look wonderful when they’ve been cut into even, neat portions. For layered slices, you want the layers to be even and each slice to reveal those layers. So, how do we achieve this slice perfection? Here are some tips:
- Allow a baked slice to cool completely before cutting. Cutting it while warm can cause it to crumble or lose its shape.
- Chill no-bake, chocolate-topped and creamy slices until firm, but avoid cutting them when they are extremely cold, as the topping may crack. Some chocolate-topped slice recipes suggest adding a small amount of neutral oil or butter to the chocolate topping, which can also make it easier to cut.
- Don't try to cut the slice while it's still in the tin. Lift the whole slice from the tin using the overhanging baking paper and place it on a cutting board.
- Use a large, sharp knife with a straight blade rather than a serrated knife.
- For clean, even pieces, lightly mark the cutting lines before cutting all the way through.
- Warm the knife under hot water and dry it thoroughly before cutting sticky, chocolate-topped or creamy slices.
- Use a firm downward motion rather than dragging or sawing the knife through the slice.
- Wipe the blade clean between cuts so crumbs, chocolate or filling are not transferred to the next piece.
- Trim the outer edges first if you want especially neat pieces for a platter or special occasion.
- Use a ruler as a guide when you want every piece to be the same size.
How to store slices
How you store a slice depends on its ingredients. Most plain baked slices can be kept in an airtight container at room temperature, preferably somewhere cool and away from direct sunlight. If the weather is warm, or the slice contains chocolate that may soften, the fridge may be a better option. Place baking paper between layers to prevent the pieces from sticking together.
Slices containing cream cheese, custard, fresh cream or other perishable fillings should always be stored in an airtight container in the fridge. Many no-bake slices are also best refrigerated so they remain firm. For the best texture and flavour, take firm chocolate or biscuit-based slices out of the fridge a short time before serving. Always check the individual recipe, as it should provide storage advice suited to that particular slice.
Many slices can also be frozen. Place the pieces in an airtight, freezer-safe container with baking paper between the layers, or wrap them individually before placing them in a container or freezer bag. Thaw the slices in the fridge or at room temperature, depending on their ingredients. Slices topped with jelly, custard or fresh cream generally do not freeze well, as their texture may change after thawing.
Extra slice-making tips for overseas readers
So if you've landed here from somewhere outside Australia, welcome!
A special Kia ora to my Kiwi friends across the ditch! You are like family to us Aussies and probably need no extra help here. You get what a slice is, we share the same measurement units and... well, we also share our love of pavlova. Yes, yes, it may have originated in New Zealand, but I stand firm in my belief we can both share the recipe and claim it as a national dish.
Everyone else may still have a few hurdles to jump when it comes to understanding my slice recipes, even after reading this guide. So, head on over to my Guide to Using Australian Recipes and Baking Resources Hub to discover more. Or feel free to ask a question in the comments below.
New to slice making?
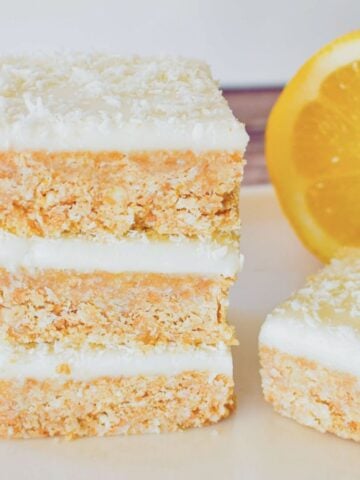
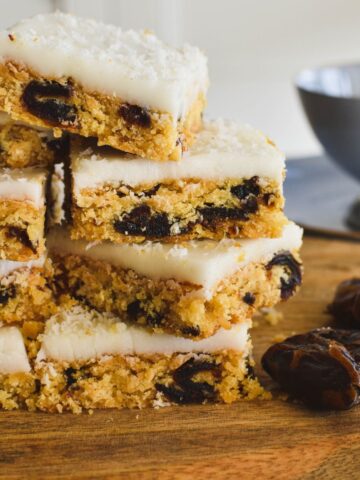
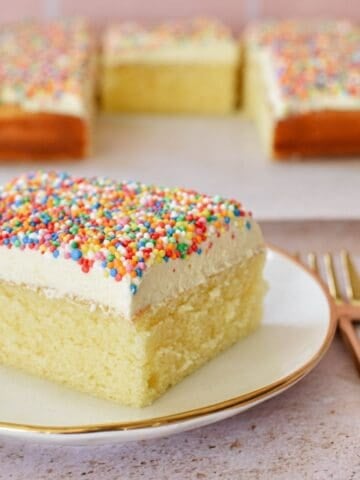
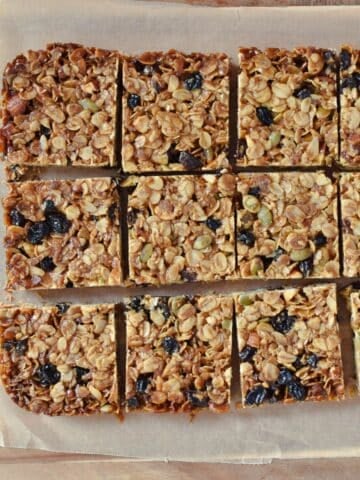
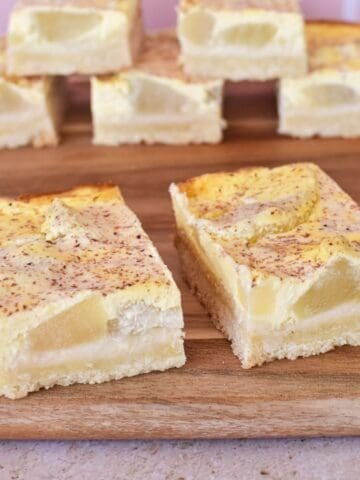
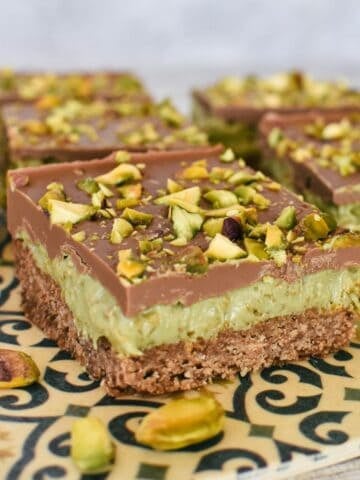
So, you're new to slice making but after reading this guide you're ready to give it a go? Okay, these are the slices I recommend you start with:
Leave a Reply